

Ocean Reef Limestone tiles are a stunning and durable choice for both indoor and outdoor spaces. Their natural beauty, unique texture, and eco-friendly properties make them a popular option for homeowners and designers alike. However, proper installation is key to ensuring their longevity and aesthetic appeal. In this comprehensive guide, we’ll walk you through the step-by-step process of installing our Ocean Reef Limestone tiles offering lasting beauty and strength, along with tips, tools, and best practices to achieve a flawless finish.
The Benefits of Ocean Reef Limestone Tiles: Why They’re Worth It
Before diving into the installation process, it’s important to understand why Ocean Reef Limestone tiles are worth the effort:
- Natural Beauty: The stone’s unique color variations and fossilized patterns create a one-of-a-kind look.
- Durability: our seamless Ocean Reef limestone for clean and modern looks is highly resistant to wear and tear, making it ideal for high-traffic areas.
- Eco-Friendly: As a natural stone, it’s a sustainable choice for environmentally conscious projects.
- Versatility: Suitable for floors, walls, countertops, and outdoor spaces like patios and pool decks.
Tools and Materials You’ll Need
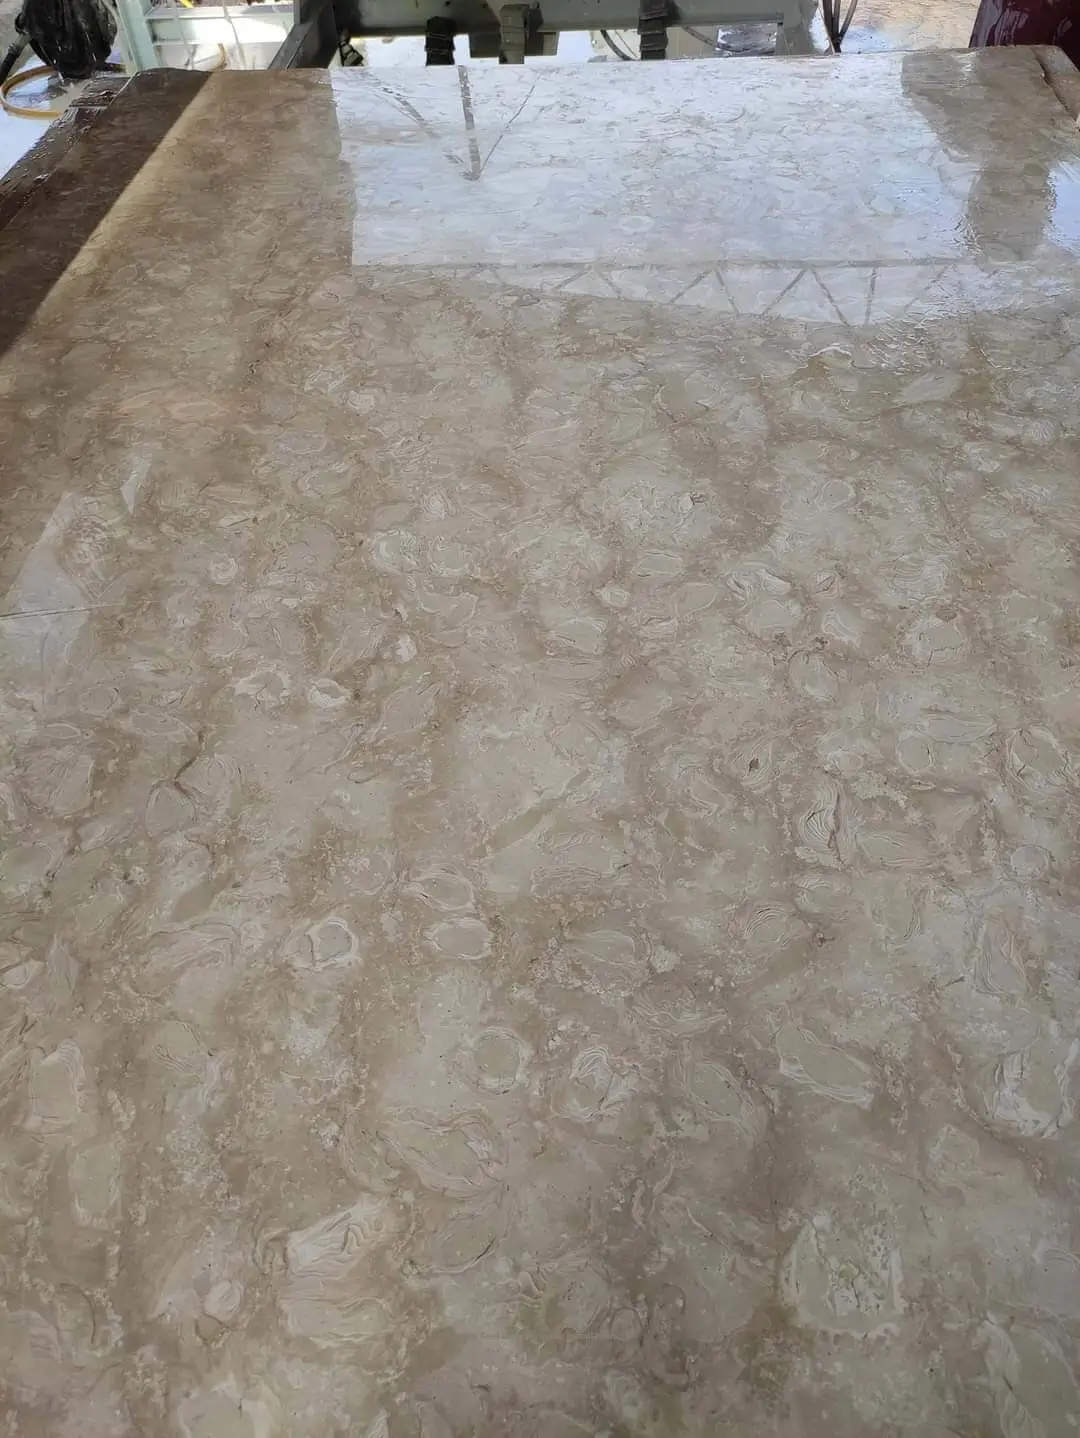
To install Ocean Reef Limestone tiles, gather the following tools and materials:
- Ocean Reef Limestone tiles
- Thin-set mortar (appropriate for natural stone)
- Notched trowel
- Tile spacers
- Wet saw (for cutting tiles)
- Grout (sanded or unsanded, depending on tile spacing)
- Grout float
- Sponge and bucket
- Level
- Tape measure
- Rubber mallet
- Sealer (for porous limestone)
- Safety gear (gloves, goggles, and knee pads)
Step 1: Prepare the Surface
1.1 Clean the Subfloor
Ensure the subfloor is clean, dry, and free of debris. Remove any old flooring, adhesive, or uneven patches. For outdoor installations, clear the area of dirt, rocks, and vegetation.
1.2 Check for Levelness
Use a level to check if the surface is even. Uneven surfaces can cause tiles to crack or shift over time. If needed, use a self-leveling compound to smooth out the area.
1.3 Apply a Waterproof Membrane (If Necessary)
For areas prone to moisture, such as bathrooms or outdoor spaces, apply a waterproof membrane to protect the subfloor and prevent water damage.
Step 2: Plan the Layout
2.1 Measure the Area
Measure the space where the tiles will be installed. Calculate the number of tiles needed, accounting for cuts and waste (typically 10-15% extra).
2.2 Dry Lay the Tiles
Before applying adhesive, dry lay the tiles to plan the layout. This helps you visualize the final look and make adjustments if needed. Start from the center of the room and work outward to ensure symmetry.
2.3 Mark Guidelines
Use a chalk line or pencil to mark guidelines on the subfloor. These lines will serve as a reference for aligning the tiles during installation.
Step 3: Apply the Adhesive
3.1 Mix the Thin-Set Mortar
Follow the manufacturer’s instructions to mix the thin-set mortar to the right consistency. Use a drill with a mixing paddle for even blending.
3.2 Spread the Mortar
Using a notched trowel, spread the mortar evenly over a small section of the subfloor. Work in manageable areas to prevent the mortar from drying out before you place the tiles.
3.3 Comb the Mortar
Hold the trowel at a 45-degree angle to create ridges in the mortar. This ensures proper adhesion and prevents air pockets.
Step 4: Lay the Tiles
4.1 Place the First Tile
Start at the center of the room and place the first tile along the guidelines. Press it firmly into the mortar, twisting slightly to ensure a strong bond.
4.2 Use Tile Spacers
Insert tile spacers between the tiles to maintain consistent gaps for grout. This step is crucial for achieving a professional-looking finish.
4.3 Continue Laying Tiles
Work outward from the center, following the guidelines. Use a rubber mallet to gently tap the tiles into place and ensure they are level.
4.4 Cut Tiles as Needed
For edges or corners, measure and cut the tiles using a wet saw. Always wear safety gear when cutting tiles.
Step 5: Allow the Mortar to Cure
Once all the tiles are laid, allow the mortar to cure for at least 24 hours. Avoid walking on the tiles during this time to prevent shifting.
Step 6: Apply Grout
6.1 Mix the Grout
Prepare the grout according to the manufacturer’s instructions. Use sanded grout for wider gaps (1/8 inch or more) and unsanded grout for narrower gaps.
6.2 Spread the Grout
Using a grout float, spread the grout over the tiles at a 45-degree angle, pressing it into the gaps. Work in small sections to avoid drying out.
6.3 Remove Excess Grout
After filling the gaps, use the edge of the float to remove excess grout from the tile surfaces.
6.4 Clean the Tiles
Wait 10-15 minutes for the grout to set, then wipe the tiles with a damp sponge to remove haze. Rinse the sponge frequently to avoid smearing grout on the tiles.
Step 7: Seal the Tiles
Textured Ocean Reef limestone for enhanced visual interest is porous, so sealing is essential to protect it from stains and moisture.
7.1 Choose the Right Sealer
Select a high-quality penetrating sealer designed for natural stone.
7.2 Apply the Sealer
Using a foam brush or roller, apply the sealer evenly over the tiles and grout lines. Allow it to dry according to the manufacturer’s instructions, then apply a second coat if needed.
Step 8: Final Touches
- Polish the Tiles: Once the sealer has dried, buff the tiles with a soft cloth to restore their natural shine.
- Inspect the Installation: Check for any loose tiles, uneven grout lines, or imperfections. Make adjustments as needed.
Maintenance Tips for Ocean Reef Limestone Tiles
To keep your Ocean Reef Limestone tiles tailored for elegant landscapes looking their best:
- Clean Regularly: Sweep or vacuum to remove dirt, and mop with a pH-neutral cleaner.
- Avoid Harsh Chemicals: Acidic or abrasive cleaners can damage the stone.
- Reapply Sealer: Reseal the tiles every 6-12 months, depending on foot traffic and exposure to moisture.
- Prevent Stains: Clean up spills immediately to avoid staining.
Real Orders, Real Deliveries
We only publish projects we have actually supplied. See our Las Vegas white limestone delivery — two containers, 6,884 sq ft, 32 crates, shipped door to door — and how we supplied Creative Environments in Arizona with 21 containers across a 70,000+ sq ft installation: white limestone pavers and tiles, shellstone and Ocean Reef pavers.
Had Citadel Stone material installed on your project? Send us your photos and we will feature the work here, with your permission.
Conclusion
Installing our Ocean Reef Limestone tiles with subtle, earthy variations is a rewarding project that can transform any space into a stunning, durable, and eco-friendly environment. By following this step-by-step guide, you can achieve professional-quality results that will last for years to come. Whether you’re renovating your home or designing a commercial space, Ocean Reef Limestone tiles known for their distinctive appearance offer timeless beauty and unmatched durability.
With proper installation and maintenance, your Ocean Reef Limestone tiles adding charm to any property will continue to impress for decades. So, roll up your sleeves, gather your tools, and get ready to create a masterpiece!