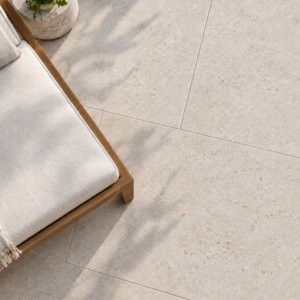
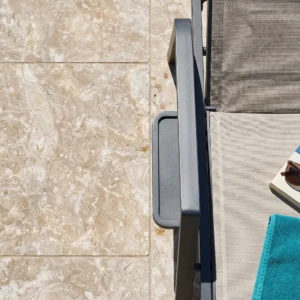
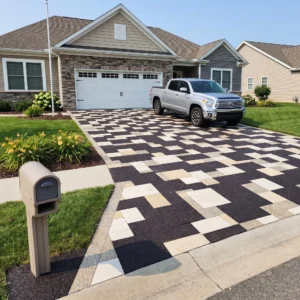
Natural stone patio ideas tend to look effortless in finished photos, but the material decisions behind them are anything but casual. The stone you choose determines not just the aesthetic — it dictates joint behavior, drainage geometry, slip resistance, and how the surface ages over a decade of foot traffic and weather cycles. Getting those decisions right from the start is what separates a patio that looks better at year ten than it did on day one from one that’s already showing stress fractures and efflorescence by year three.
Why Material Choice Defines Your Patio
The stone you specify sets the ceiling on everything else — no amount of skilled installation recovers from a poor material match. Different stone types carry distinct absorption rates, flexural strength values, and thermal expansion coefficients, and those numbers interact directly with your base preparation, joint compound selection, and long-term maintenance schedule. According to Natural Stone Institute outdoor patio stone guidance, material variety selection should precede any other specification decision on a stone patio project.
Your project’s performance window — whether you’re targeting 15 years or 30 — depends on matching material properties to site conditions before a single piece is laid. Outdoor patio stone ideas that photograph beautifully but ignore drainage slope, base compaction depth, or freeze-thaw exposure tend to generate costly callbacks within five years.
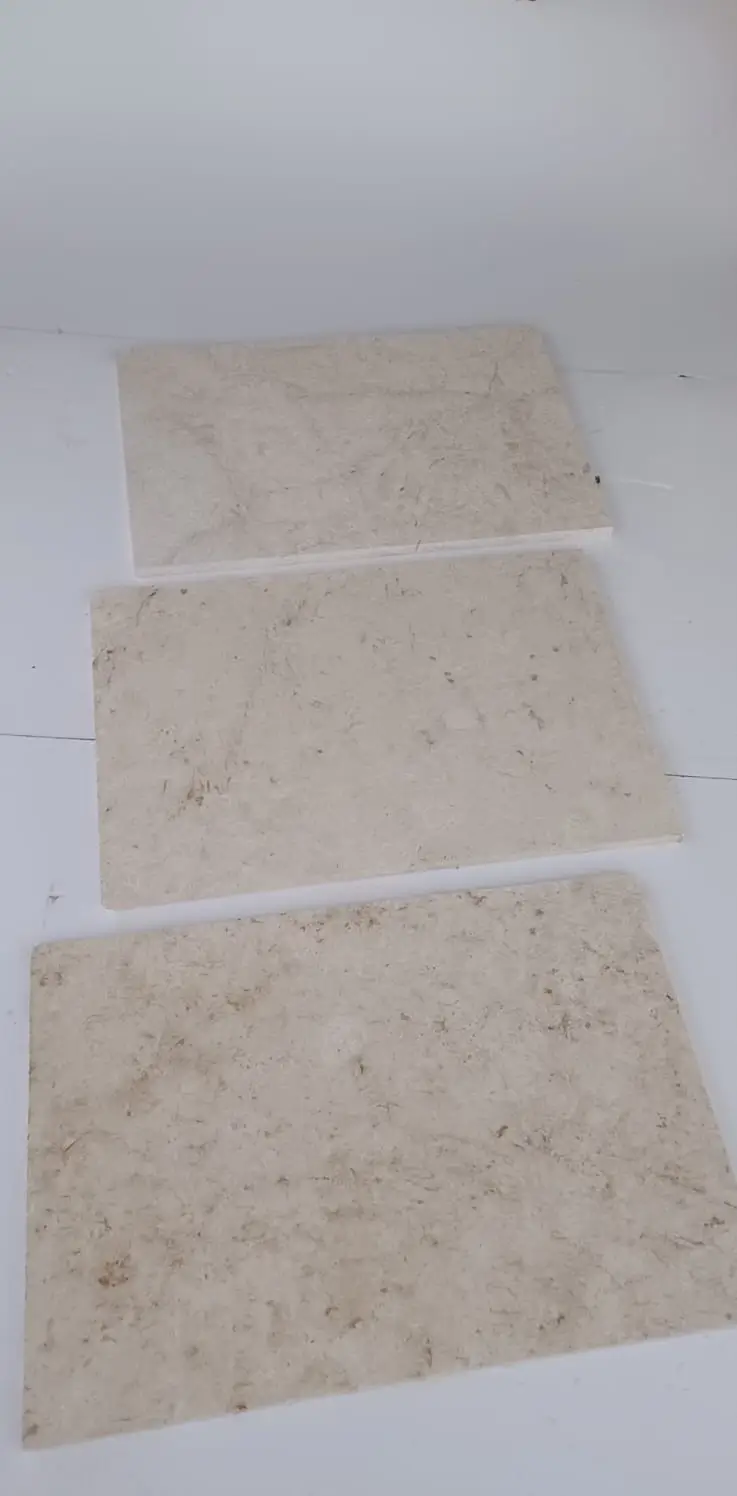
Stone Patio Ideas by Material Type
Matching the right stone to the right design intent is where most projects either gain clarity or lose it. Each material family brings a distinct performance profile alongside its aesthetic character, and understanding that profile lets you design with confidence rather than hope.
Travertine Patios
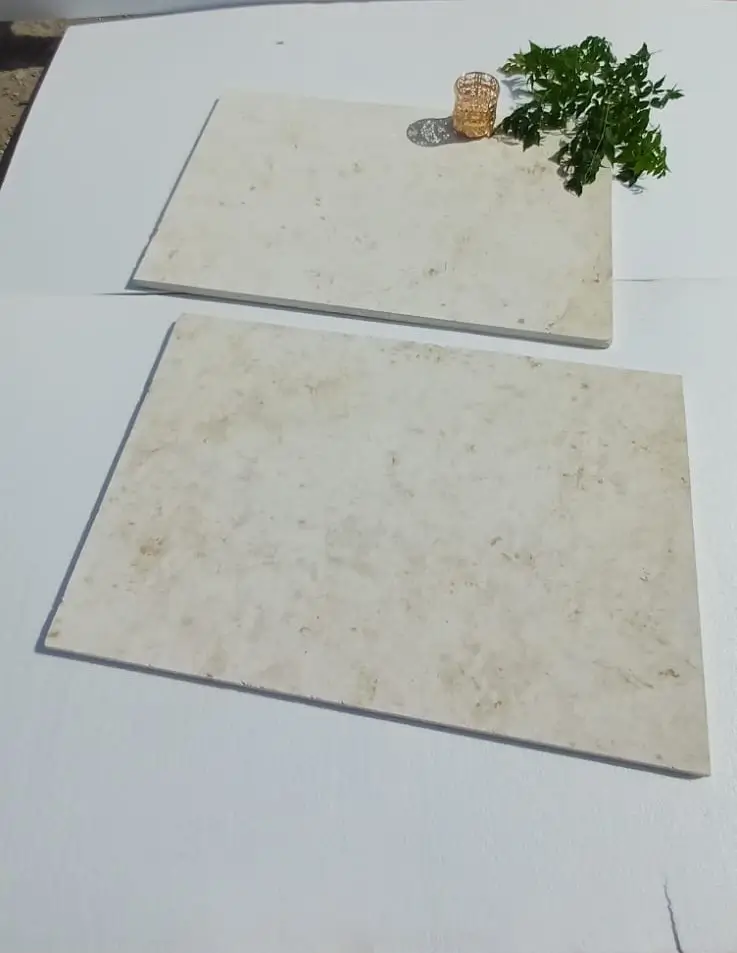
Travertine delivers a warm, Mediterranean character that works across formal and relaxed outdoor settings equally well. Its open-pore structure keeps surface temperatures noticeably lower than dense igneous alternatives, which matters when you’re designing barefoot-friendly outdoor spaces. Honed and filled travertine in 16×24-inch formats gives you clean lines with generous coverage per piece, reducing your overall joint count and the grout maintenance that comes with it.
- Surface temperature runs 15–20°F cooler than comparable granite under direct sun exposure
- Nominal 2-inch thickness handles residential foot traffic and moderate furniture loads reliably
- Unfilled travertine creates a more rustic, textured aesthetic but requires more vigilant sealing
- Honed finish outperforms polished outdoors — polished surfaces become slippery with moisture
Limestone Patios
Limestone offers one of the broadest aesthetic ranges in the natural stone patio category. Grey limestone reads contemporary and clean; buff and cream tones lean traditional; dark blue-black limestone creates dramatic contrast against light landscaping. The material’s sedimentary layering means it cleaves naturally into consistent thicknesses, which simplifies your base build and keeps installation tolerances tight.
- Absorption rates between 3–8% depending on formation density — denser quarry stock performs better in wet climates
- Compressive strength typically ranges 4,000–8,000 PSI, adequate for residential patio loads
- Honed finish provides a refined look while keeping a matte, open surface; request the wet DCOF test report and compare it with the 0.42 wet minimum in ANSI A326.3
- Avoid polished limestone outdoors; the surface becomes dangerously slick once wet
Granite Patios
Granite is the specification default when longevity under heavy use is non-negotiable. Its igneous formation produces compressive strength values above 19,000 PSI and absorption rates below 0.4%, making it exceptionally resistant to staining, freeze-thaw cycling, and surface abrasion. Flamed and brushed granite finishes produce a pronounced, naturally textured surface that ages gracefully without noticeable weathering.
- Thermal expansion coefficient of approximately 4.4–7.9 × 10⁻⁶ per °F — plan expansion joints every 12–15 feet
- Flamed finish is the preferred outdoor specification where a pronounced texture and UV stability matter — request the wet DCOF test report for the finish you specify
- Dense crystal structure resists moss and algae colonization better than porous alternatives
- Higher material cost offset by significantly lower long-term maintenance expenditure
Flagstone Patios
Flagstone’s irregular format creates an organic, hand-placed character that formal cut stone simply can’t replicate. Irregular flagstone laid in a dry-set or mortar-set pattern works particularly well in naturalistic garden settings, cottage-style landscapes, and transitional spaces between hardscape and planting areas. According to USGS natural stone paving production data, flagstone remains one of the most consistently demanded patio stone formats in residential construction.
- Joint widths typically range 1–3 inches with irregular flagstone — wider joints allow planting groundcovers between pieces
- Minimum 1.5-inch thickness for flagstone in foot-traffic applications; 2 inches for areas with furniture
- Dry-set flagstone requires a compacted aggregate base of at least 6 inches with 1-inch bedding sand
- Mortar-set flagstone delivers tighter tolerances but demands proper expansion joint planning
Types of Stone Patios by Design Style
Design style drives format selection more than any other variable. The types of stone patios that perform consistently over time share one quality: the material format matches the intended use pattern, not just the visual concept.
Formal Geometric Patios
Large-format cut stone — 24×24 or 24×36-inch pieces in limestone or travertine — creates the clean, architectural look associated with formal outdoor living spaces. Your joint pattern matters here: running bond reads contemporary, while ashlar patterns with varied piece sizes soften the formality. Consistent 3/16-inch joints filled with polymer sand give you the crisp line definition that makes these designs work.
Naturalistic Garden Patios
Irregular flagstone and random ashlar layouts suit naturalistic gardens, where the patio reads as an extension of the landscape rather than an interruption of it. Planting joints — 2–3 inch gaps filled with decomposed granite or low-growing groundcovers — reinforce the organic quality. Natural stone patio ideas built around this approach typically use bluestone, fieldstone-finish limestone, or tumbled travertine to maintain visual cohesion with planted borders.
Transitional Outdoor Living Spaces
Transitional design bridges indoor and outdoor environments through material continuity. Specifying the same stone family indoors and out — slightly different finish for each — creates a visual flow that expands perceived square footage dramatically. Honed limestone inside transitioning to a lightly brushed exterior version of the same material is a detail that works consistently well across residential projects at every scale.
Base Preparation and Thickness Requirements
Here’s what most natural stone patio ideas overlook entirely: the base determines performance, not the stone. The most expensive material in your specification fails prematurely on a poorly prepared base, while a mid-range stone on a correctly engineered base routinely delivers 25-year performance. Your base depth calculation starts with soil type — clay-heavy subgrades need a minimum 8-inch compacted aggregate base, while sandy or gravelly soils can tolerate 4–6 inches in most residential applications.
Projects that include in-grade lighting, drainage channels, or feature water elements need an additional 2-inch buffer in base depth to accommodate utility penetrations without compromising compaction integrity. For natural stone pavers in residential patio applications, 1.25-inch nominal thickness handles standard foot traffic; step up to 2-inch nominal wherever furniture loads or occasional vehicle overhang apply. At Citadel Stone, we recommend confirming exact thickness availability against your project timeline before finalizing specifications — warehouse stock levels for premium formats can shift with seasonal demand peaks.
You can browse the full outdoor patio range and confirm current availability through Citadel Stone outdoor patio materials before committing to a specification.
Outdoor Patio Stone Ideas: Finish and Texture
The finish you specify determines slip resistance, maintenance frequency, and how the stone ages visually — three variables that interact in ways that aren’t always intuitive.
- Honed finish: smooth but matte — good balance of aesthetics and traction; requires resealing every 2–3 years
- Brushed finish: lightly textured surface created by wire brushing — a consistently textured surface, ages gracefully
- Tumbled finish: rounded edges and a worn aesthetic — pronounced surface irregularity, lower maintenance
- Flamed finish: heat-treated surface with pronounced texture — the most pronounced texture of the group, commonly specified for poolside or entry patios — request the wet DCOF test report before you commit
- Sandblasted finish: deep texture with matte appearance — deeply textured but traps debris more readily
The ASLA’s guidance on outdoor patio stone material selection consistently reinforces finish selection as a safety specification, not just an aesthetic one. Specify slip resistance by wet DCOF: ANSI A326.3 sets a minimum of 0.42 for level surfaces expected to be walked on wet, and the test report for the finish you specify is what proves it.
Seasonal Installation Timing for Stone Patios
Timing your installation within the right seasonal window has a measurable impact on long-term performance — particularly for mortar-set and adhesive-set applications. Mortar and polymer-modified setting beds cure best between 50°F and 80°F ambient temperature. Outside that range, you’re managing a chemical reaction that either accelerates unpredictably in heat or stalls in cold, and both scenarios compromise bond strength at the stone-to-bed interface.
Spring and early fall represent the most reliable installation windows in most parts of the country. Morning installation sessions — starting once ambient temperature climbs above 50°F and pausing before afternoon heat peaks above 85°F — give your setting bed the most consistent curing environment. This timing discipline matters especially for large-format stone: pieces above 18×18 inches are more sensitive to differential curing across their surface area, which creates micro-stress at the bond line before the joint is even filled.
- Avoid mortar-set installation when a freeze is forecast within 72 hours of laying — freshly set stone that freezes before full cure typically fails within one season
- In freeze-thaw regions, plan installation so your final cure period completes at least 4 weeks before first frost
- Polymer-modified thinset adhesives in high-heat conditions can skin over in under 10 minutes — adjust your coverage area per batch accordingly
- Dry-set flagstone installations are more weather-tolerant but still benefit from dry conditions during the compaction and bedding phases
Scheduling around weather patterns also affects your truck delivery logistics. Confirm your delivery window at least two weeks out and verify that warehouse stock will be allocated to your order before the peak season rush — spring demand for natural stone patio materials accelerates sharply from mid-March onward, and lead times from the warehouse can extend from 1–2 weeks to 3–4 weeks during peak periods.
Sealing and Long-Term Maintenance
Sealing protocols for natural stone patio pavers differ from concrete maintenance because you’re working with a living material whose pore structure continues to respond to moisture long after installation. An impregnating penetrating sealer — not a topical film sealer — is the correct specification for outdoor stone. Film sealers trap moisture beneath the surface, which accelerates spalling and efflorescence in high-UV or freeze-thaw environments.
- Apply initial sealer after a 28-day cure period minimum — earlier application traps residual moisture
- Resealing schedule: every 2–3 years for honed limestone and travertine; every 4–5 years for dense granite and basalt
- Test sealer effectiveness annually with the water-bead test — if water absorbs within 3–4 minutes rather than beading, reseal
- Clean stone with pH-neutral stone cleaner only — acidic or alkaline cleaners etch calcium carbonate stones and degrade sealer
Your Action Plan for Natural Stone Patio Success
Stone patio ideas only translate into great outdoor spaces when material selection, base engineering, and finish specification work together as a coherent system. Start with your use case — heavy entertaining, quiet garden space, or primary circulation path — because that determines your minimum thickness and base depth before you make a single aesthetic decision. Then select your stone family based on the absorption rate and flexural strength data relevant to your site’s exposure, and choose your finish based on slip resistance requirements rather than visual preference alone.
Plan your installation season carefully. Scheduling mortar-set work in the spring or early fall window gives you the most predictable curing conditions and the lowest risk of bond failure from temperature extremes at either end. Confirm warehouse stock allocations and arrange your truck delivery at least two weeks ahead of your installation date — particularly for large-format pieces, where availability gaps mid-project create costly delays. As you finalize your natural stone patio design, complementary hardscape details can significantly elevate the finished result; stone landscape edging installation is worth reviewing to understand how clean perimeter detailing completes a natural stone patio at the borders. Brushed and tumbled finishes available through Citadel Stone add texture underfoot, a practical consideration for patios exposed to morning dew or poolside splash.
Related reading: Best Stone for Landscaping: Top Materials Compared · Landscape Stone Prices per Square Foot Explained.