


In this comprehensive guide, we’ll delve into everything you need to know about pavers, exploring their types, benefits, installation techniques, maintenance, and why they remain a top choice for homeowners and landscape designers. Additionally, we will highlight how Citadel Stone – Turning visions into reality offers superior-quality paver solutions for projects across the United States.
What Are Pavers?
Pavers are individual units, usually made of materials such as concrete, brick, natural stone, or porcelain, designed for outdoor flooring. Unlike poured concrete or asphalt, pavers are set in sand or mortar and are not permanently attached to the ground. This allows them to expand and contract with changes in weather, reducing the likelihood of cracking. Pavers come in various shapes, sizes, colors, and textures, enabling endless design possibilities to suit different styles and preferences.
Benefits of Using Pavers
Pavers offer numerous benefits that make them a popular choice for various outdoor projects. Here’s why they stand out:
Durability: Pavers are built to last. They can withstand heavy foot traffic and vehicular loads, making them ideal for driveways and walkways. Materials like concrete, brick, and natural stone are known for their strength and longevity.
Versatility: With a wide range of materials, colors, shapes, and sizes, pavers offer endless design possibilities. They can be used to create intricate patterns, borders, and accents that complement any architectural style.
Low Maintenance: Pavers are relatively low-maintenance. Unlike concrete slabs, which can crack over time, individual pavers can be easily replaced if damaged. They resist stains, and a simple sweep or pressure wash can keep them looking new.
Eco-Friendly Options: Permeable pavers allow water to pass through, reducing runoff and promoting groundwater recharge. This eco-friendly feature makes them ideal for sustainable landscaping.
Slip Resistance: Many paver materials, particularly natural stone, offer excellent slip resistance, making them a safe choice for pool decks and outdoor areas prone to moisture.
Cost-Effectiveness: While the initial installation of pavers may be higher than other materials, their long-term durability and low maintenance costs make them a cost-effective solution in the long run.
Popular Types of Pavers
Seamless installations with interlocking pavers come in various materials, each offering unique benefits and aesthetics. Here’s a breakdown of the most popular types:
1. Concrete Pavers
Concrete pavers are among the most versatile and budget-friendly options. They are manufactured in various shapes, sizes, and colors, allowing for a wide range of design possibilities. Concrete pavers are highly durable and can mimic the appearance of natural stone or brick.
- Advantages: Affordable, durable, easy to install, and available in numerous styles.
- Applications: Ideal for driveways, patios, walkways, and pool decks.
2. Brick Pavers
Brick pavers are made from natural clay and offer a classic, timeless look. They are known for their rich, earthy tones and are often used in traditional and rustic designs. Brick pavers are eco-friendly and can be recycled at the end of their life.
- Advantages: Durable, eco-friendly, slip-resistant, and retains color over time.
- Applications: Suitable for patios, garden paths, and driveways.
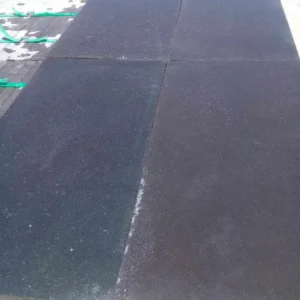
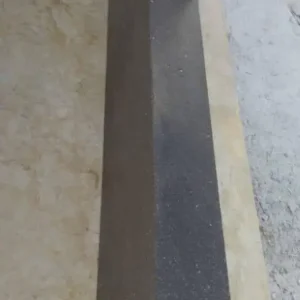
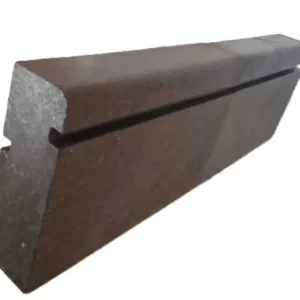
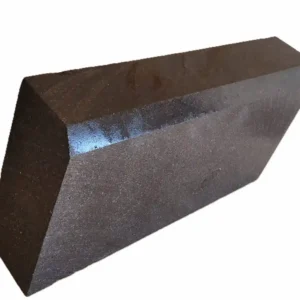
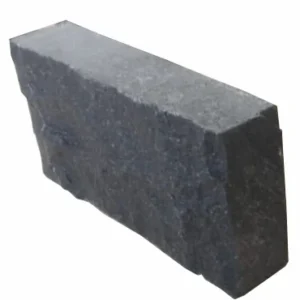
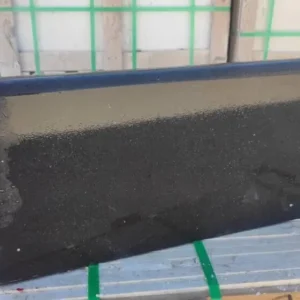
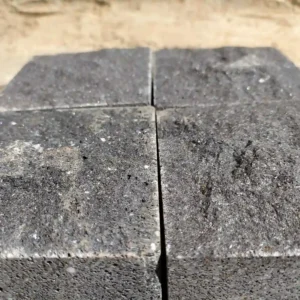
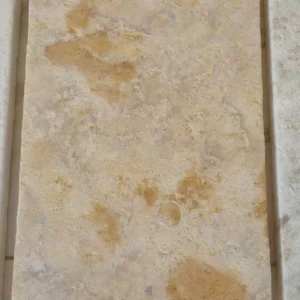
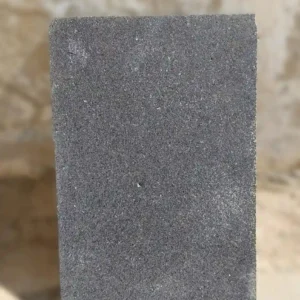
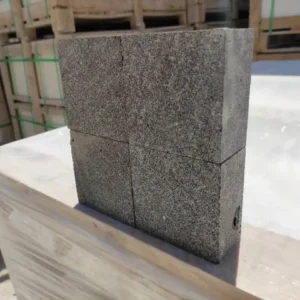
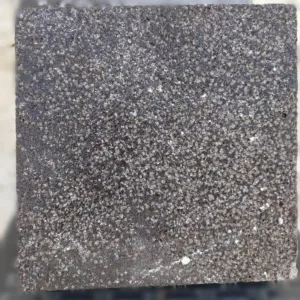
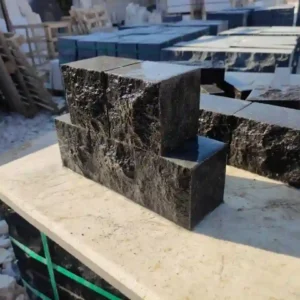
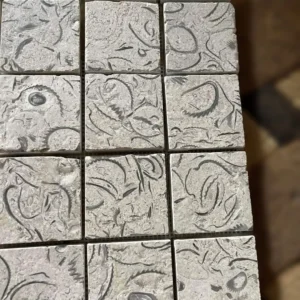
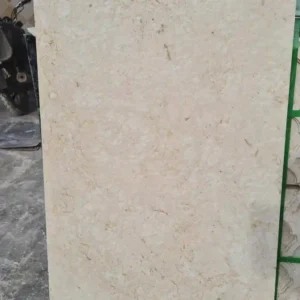
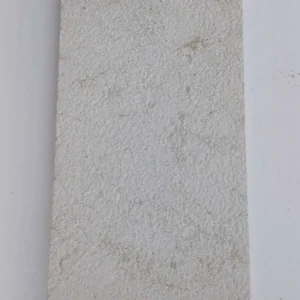
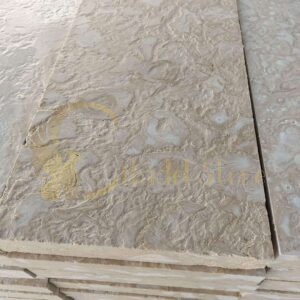
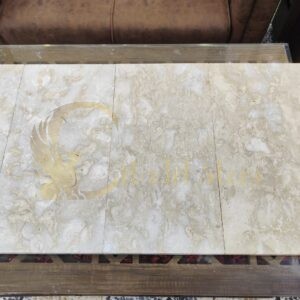
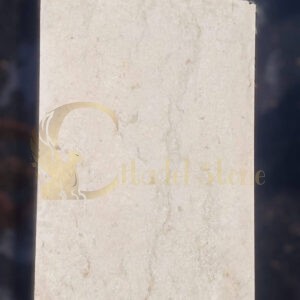
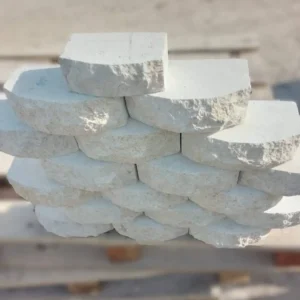
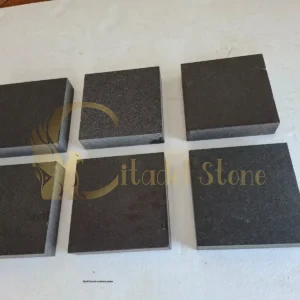
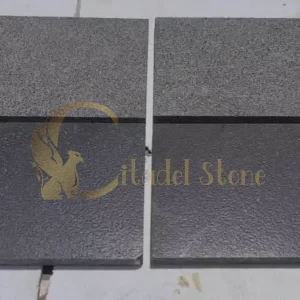
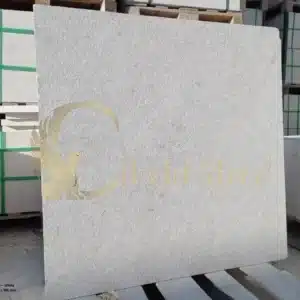
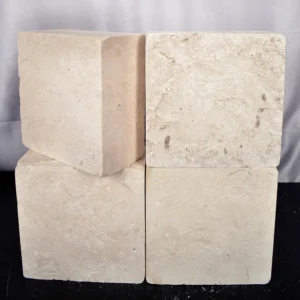
3. Natural Stone Pavers
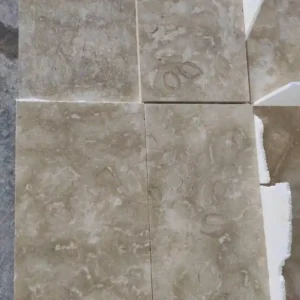
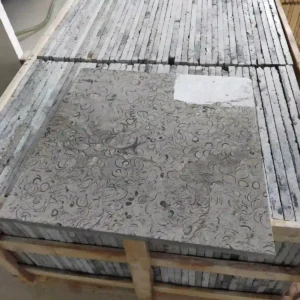
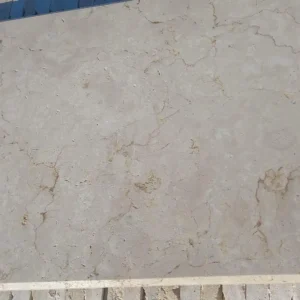
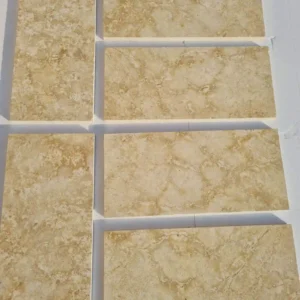
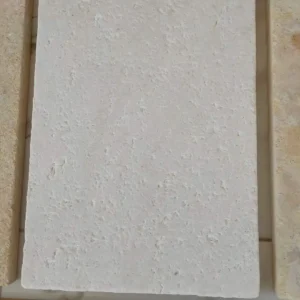
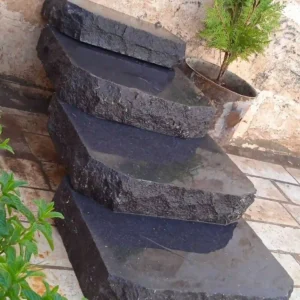
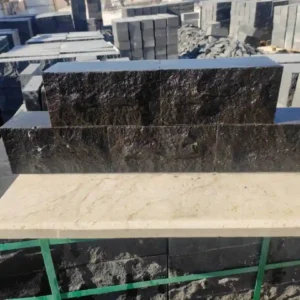
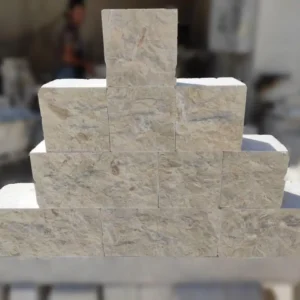
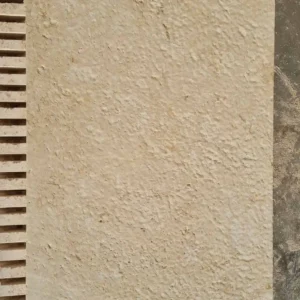
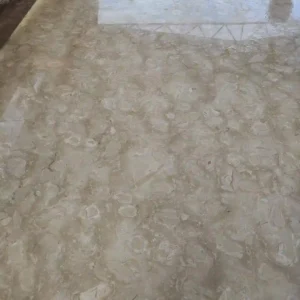
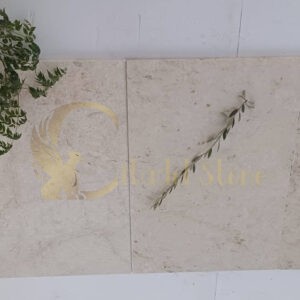
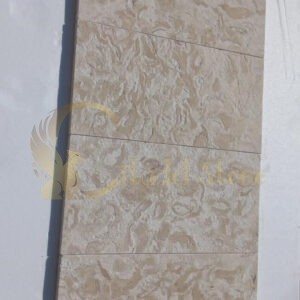
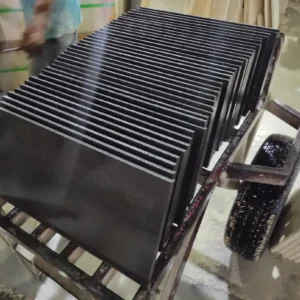
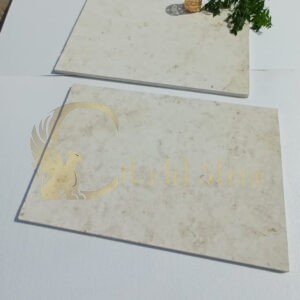
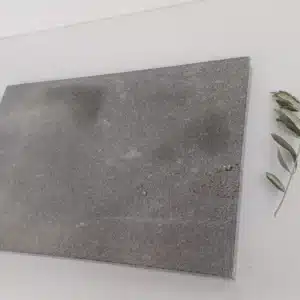
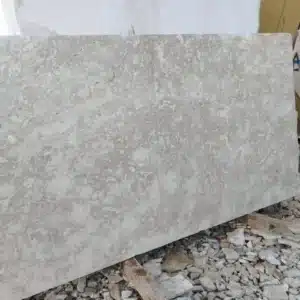
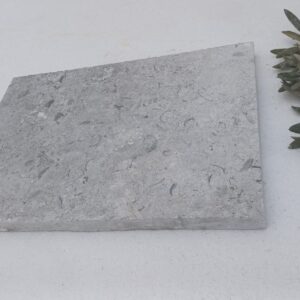
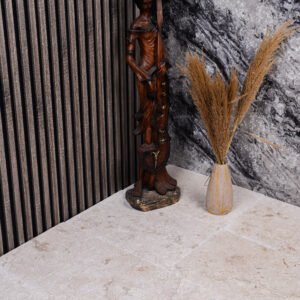
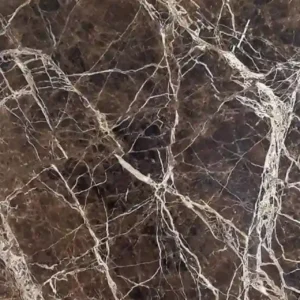
Natural stone pavers, such as limestone, granite, sandstone, and travertine, offer unparalleled beauty and elegance. Each stone is unique, adding a touch of luxury to outdoor spaces. Natural stone pavers are highly durable and resistant to weathering.
- Advantages: Timeless appeal, high durability, and natural variation in color and texture.
- Applications: Perfect for high-end patios, pool decks, and garden walkways.
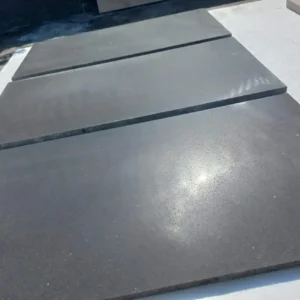
4. Porcelain Pavers
Porcelain pavers are known for their sleek finish and high resistance to moisture. They are less porous than other paver types, making them a great option for areas exposed to heavy rainfall or moisture. Porcelain pavers are available in a range of colors and patterns, often mimicking the look of natural stone.
- Advantages: Non-porous, stain-resistant, and low maintenance.
- Applications: Best suited for modern patios, outdoor kitchens, and pool surrounds.
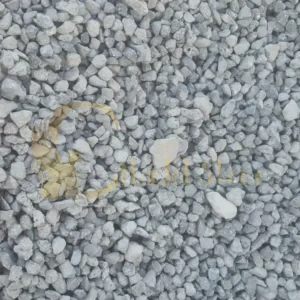
5. Permeable Pavers
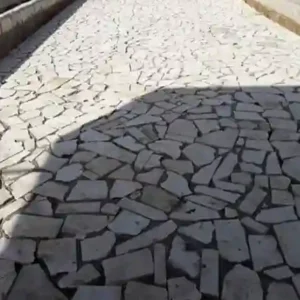
Permeable pavers are designed to allow water to seep through the gaps between them, reducing surface runoff and promoting natural drainage. This eco-friendly solution is increasingly popular in urban areas where managing stormwater is crucial.
- Advantages: Reduces water runoff, prevents erosion, and promotes groundwater recharge.
- Applications: Ideal for driveways, parking lots, and walkways in environmentally sensitive areas.
Installation Tips for Pavers
Installing pavers is a relatively straightforward process, but it requires careful planning and preparation to achieve a professional finish. Here’s a step-by-step guide:
Step 1: Planning and Design
Before you start, determine the area where you want to install the pavers. Sketch out a design and choose the type of pavers that best suit your project. Consider factors like the size, color, and pattern of the pavers.
Step 2: Preparing the Site
Clear the area of any vegetation, rocks, or debris. Excavate the ground to a depth of 6-8 inches to accommodate the base material, sand, and pavers.
Step 3: Creating a Solid Base
A solid base is crucial for the longevity of your paver project. Lay a 4-6 inch layer of crushed stone or gravel and compact it using a plate compactor. Add a layer of coarse sand on top and level it out.
Step 4: Laying the Pavers
Begin laying the pavers from one corner, working your way outwards. Use a rubber mallet to tap the pavers into place, ensuring they are level. Use spacers to maintain consistent gaps between the pavers.
Step 5: Adding Joint Sand
Once all the pavers are in place, spread polymeric sand over the surface and sweep it into the joints. This sand hardens when wet, helping to lock the pavers in place and prevent weed growth.
Step 6: Compacting and Sealing
Use the plate compactor one last time to set the pavers firmly into the sand bed. Consider applying a sealant to enhance the color and protect the surface from stains.
Maintaining Your Pavers
Pavers are relatively low-maintenance, but a few simple steps can help keep them looking their best:
Regular Sweeping: Sweep your pavers regularly to remove dirt, leaves, and debris that can cause staining over time.
Pressure Washing: For a deeper clean, use a pressure washer to remove tough stains, algae, and moss.
Reapplying Joint Sand: Over time, joint sand may wash away due to rain and cleaning. Reapply sand to the joints every few years to maintain stability.
Sealing: Applying a sealant every 2-3 years can protect your pavers from stains, enhance their color, and extend their lifespan.
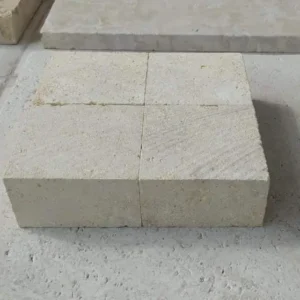
Citadel Stone: Your Trusted Partner for High-Quality Pavers
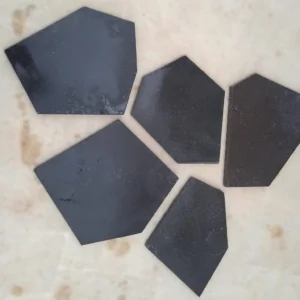
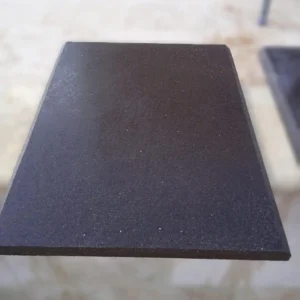
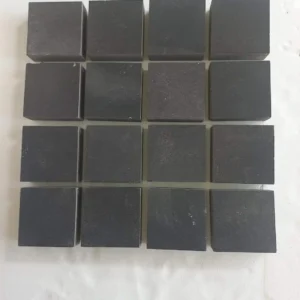
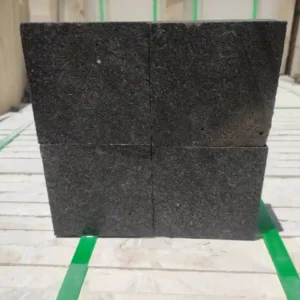
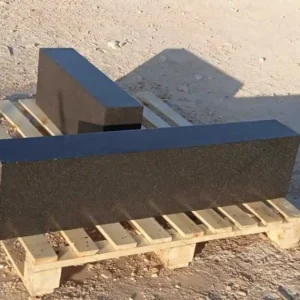
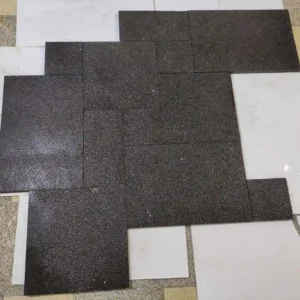
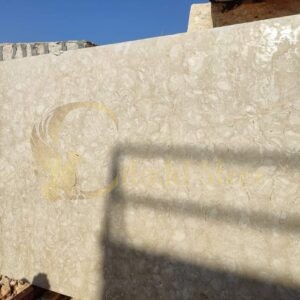
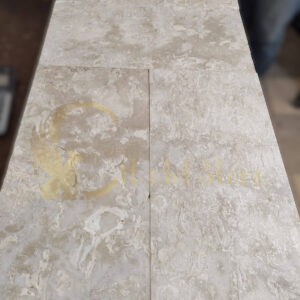
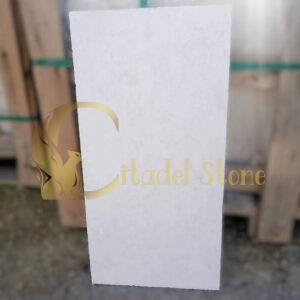
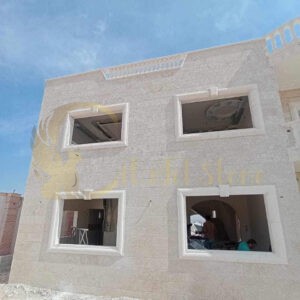
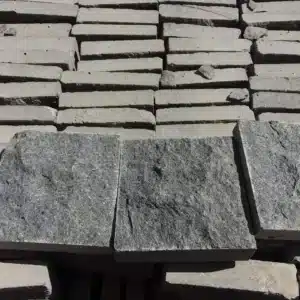
When it comes to premium paver solutions, Citadel Stone stands out as a trusted provider across the United States. We specialize in offering a wide range of natural stone pavers, including limestone, durable shellstone for outdoor kitchens and bar areas, and basalt, suitable for all types of outdoor applications. Our products are sourced from the finest quarries and are meticulously crafted to meet the highest standards of quality and durability.
Why Choose Citadel Stone?
Wide Range of Products: From classic limestone to luxurious travertine, we offer an extensive selection of natural stone pavers to suit any project.
Custom Solutions: Whether you need custom sizes, finishes, or patterns, we provide tailored solutions to meet your specific needs.
Sustainability: Citadel Stone is committed to sustainable sourcing practices, ensuring that our products are not only beautiful but also environmentally responsible.
Pavers Supplier Throughout the United States
Pavers are a fantastic option for enhancing outdoor spaces, offering a blend of durability, versatility, and timeless appeal. From concrete and brick to natural stone and porcelain, there’s a paver type to suit every project and budget. Whether you’re looking to upgrade your driveway, patio, or garden walkway, investing in pavers will add value and beauty to your property.
With Citadel Stone’s extensive range of high-quality natural stone pavers, you can create stunning outdoor spaces that will stand the test of time. Our commitment to quality, sustainability, and customer