

Granite pavers installation rewards precision at every stage — and the margin between a 15-year installation and a 30-year one almost always traces back to decisions made before the first paver touches the ground. The compressive strength of quality granite exceeds 19,000 PSI under ASTM C615 granite dimension stone quality standards, which means the stone itself rarely fails — the base system and joint detailing underneath it do. Understanding where those failure points live is what this walkthrough is built around.
Why Granite Outperforms Other Paving Materials
Granite’s crystalline structure gives it a density and hardness that most sedimentary alternatives simply can’t match in high-traffic or load-bearing applications. You’re looking at a material that shrugs off abrasion, resists freeze-thaw spalling, and maintains its surface integrity decade after decade when installed correctly. The trade-off is that granite’s rigidity demands a more carefully engineered base — it won’t flex to accommodate movement the way a softer stone might.
- Compressive strength typically ranges from 19,000 to 30,000 PSI depending on granite variety and quarry source
- Water absorption rates below 0.4% make granite one of the least porous natural paving options available
- Coefficient of thermal expansion runs approximately 4.4 to 8.0 × 10⁻⁶ per °F — predictable enough to plan joint spacing accurately
- Flexural strength of 1,500 to 2,500 PSI supports vehicular loads without structural compromise in properly prepared beds
- Surface hardness of 6 to 7 on the Mohs scale resists scratching and surface wear under heavy foot traffic
According to Natural Stone Institute granite durability and application specifications, granite’s interlocking mineral composition — primarily quartz, feldspar, and mica — creates a matrix that distributes point loads more effectively than stratified sedimentary stones. That internal structure is also why edge profiles hold their geometry through years of thermal cycling and mechanical stress.
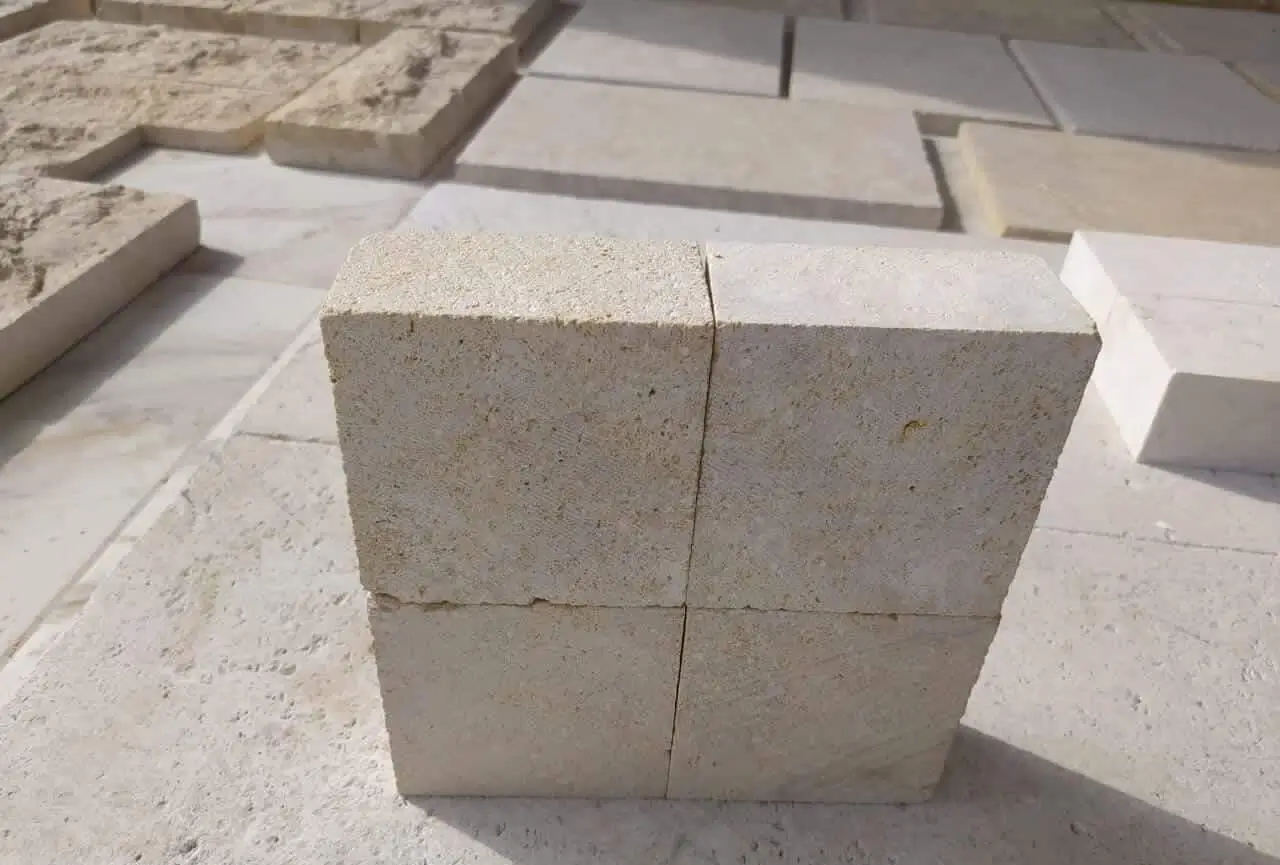
Base Preparation: The Step That Decides Everything
Your base preparation is where granite pavers installation either succeeds or fails over the long term. The stone performs exactly as advertised — it’s the engineered substrate beneath it that determines whether you’re relooking at the project in year eight or year twenty-eight. A compacted aggregate base that meets 95% Proctor density is non-negotiable; anything below that threshold and you’ll see differential settlement appear within the first two freeze-thaw seasons.
For residential foot-traffic applications, your crushed aggregate base should be a minimum of 4 inches compacted depth. Vehicular applications — driveways, entrance courts, commercial paths — require 6 to 8 inches of compacted base, with a 1-inch bedding layer of coarse sand or granite screenings directly beneath the paver. Don’t substitute limestone screenings for granite screenings in a granite paver installation; the pH differential can accelerate staining at the contact face over time.
- Excavate to a depth that accommodates base aggregate, bedding layer, and paver thickness plus 1 inch for final grade tolerance
- Compact native subgrade before placing any aggregate — a plate compactor at 3,000 lbs centrifugal force achieves adequate density in most soil types
- Install geotextile fabric between native soil and aggregate base in clay-heavy or expansive soil conditions
- Grade the aggregate base to your finished drainage slope — 1/8 to 1/4 inch per foot is the standard range for pedestrian surfaces
- Check cross-slope uniformity with a 10-foot straightedge before laying any bedding material — variance above 3/8 inch requires regrading
Truck access to the site during base preparation matters more than most project managers account for. Delivery vehicles carrying aggregate and granite pavers can weigh 40,000 to 80,000 lbs loaded; if your access route crosses an area you’ve already compacted, you’ll need to recheck density before proceeding. Plan your truck routing before excavation begins, not after.
Choosing the Right Thickness and Finish
The thickness specification for your granite pavers should be driven by application load, not aesthetics. A 1-1/4-inch (30mm) paver works well for residential pedestrian applications on a stable base. Move to 1-1/2 inch (40mm) for mixed-use areas with occasional vehicle overrun. For dedicated driveway or commercial applications, 2-inch (50mm) or 2-3/8-inch (60mm) nominal thickness eliminates the risk of flexural cracking under point loads from vehicle tires.
Finish selection directly affects both slip resistance and UV performance over time. Granite surfaces exposed to direct sun behave differently depending on how the surface was processed:
- Flamed finish creates a roughened surface with a static coefficient of friction above 0.6 — the practical minimum for outdoor use — and UV exposure has minimal visible effect on the matte texture
- Honed finish provides a smooth matte surface that shows UV-related color shift more noticeably over years of sun exposure; periodic sealing every 2 to 3 years maintains color stability
- Bush-hammered finish offers excellent slip resistance and weathers UV exposure well, though the textured profile can accumulate organic debris in shaded corners
- Sawn finish works for low-slope covered applications but requires an applied surface treatment for exposed outdoor use where wet surfaces are a concern
- Polished finish is generally unsuitable for exterior paving — it becomes dangerously slippery when wet and UV exposure accelerates surface dullness within 2 to 5 years outdoors
Darker granite varieties — absolute black, dark grey, charcoal — absorb significantly more solar radiation than lighter grey or white granite. In sun-exposed installations, surface temperatures on dark flamed granite can exceed ambient air temperature by 30°F or more at peak afternoon sun. That thermal loading cycles the paver through wider daily temperature swings, which is worth factoring into your expansion joint spacing calculation.
Laying Pattern and Joint Spacing
Your layout pattern affects both the structural performance of the finished surface and its visual coherence over time. Running bond (brick) patterns distribute loads across more joints than stack bond, making them the safer specification for any surface that will see vehicle loads or heavy foot traffic. Herringbone at 45 degrees provides even better interlock under dynamic loading — it’s the pattern most civil engineers default to for commercial pedestrian plazas.
Proper granite pavers installation requires you to account for the material’s thermal expansion coefficient and the temperature differential your installation will experience seasonally. Using a thermal expansion coefficient of 6.0 × 10⁻⁶ per °F as a working midpoint, a 20-foot run of granite will expand approximately 0.14 inches across a 60°F seasonal temperature swing. Your joint spacing needs to accommodate that movement without building up compressive stress that causes edge spalling.
- Standard pedestrian joints: 1/8 to 3/16 inch for tightly laid formal work; 3/16 to 1/4 inch for more relaxed or irregular installations
- Expansion joints every 10 to 12 feet in both directions for large paved areas — use flexible backer rod and polyurethane sealant, not sand
- Perimeter joints against fixed structures (walls, curbs, foundations) must be a minimum of 3/8 inch to allow differential movement
- Maintain consistent joint width throughout using spacers — variation above 1/16 inch becomes visually apparent and creates uneven load transfer points
For granite pavers installation in sun-drenched orientations where the surface sees 8 or more hours of direct light daily, consider widening your standard joints by 1/32 inch beyond the minimum spec. It’s a small adjustment that prevents compressive joint failure in the peak summer months without affecting the visual rhythm of the layout.
Setting Methods: Mortar, Sand-Set, or Pedestal
Three primary setting methods apply to exterior granite pavers, and each has specific performance characteristics you need to match to your project conditions. Sand-set on a compacted granular base is the most forgiving system for residential applications — it allows minor adjustments after installation and handles freeze-thaw movement better than rigid mortar beds because each paver can move slightly independently.
Full mortar bed installation on a concrete substrate is the right choice for sloped entry courts, pool surrounds, and any application where precise grade control is critical. Your mortar bed should be a 3/4-inch to 1-inch dry-pack mix (Portland cement and sand at 1:5 ratio, just damp enough to hold a handprint). Avoid wet mortar slurries under granite — the hydration rate differential between wet mortar and a low-absorption granite surface creates bond failures over 3 to 5 years.
- Sand-set: Best for residential patios, garden paths, and light-use areas on stable, well-drained soils
- Dry-pack mortar bed: Required for pool decks, sloped surfaces, and anywhere drainage precision is critical
- Pedestal system: Ideal for rooftop terraces and elevated decks where drainage beneath the pavers must remain unobstructed
- Epoxy bonded on concrete substrate: Suitable for interior-exterior transition zones with controlled thermal environments
For detailed guidance on setting system options and complementary material combinations, Citadel Stone installation resources covers the system choices in depth for a range of natural stone applications. Matching your setting method to your substrate conditions is one of the decisions worth getting technical support on before the project begins.
UV Exposure, Sealing, and Long-Term Appearance Retention
Granite holds up to UV exposure better than most natural stones, but that doesn’t mean you can ignore the effects of long-term sun exposure on surface appearance. The minerals in granite — particularly iron-bearing minerals in darker varieties — can undergo slow surface oxidation when exposed to years of intense UV and moisture cycling. The result is a subtle color shift or surface haze that develops over 8 to 15 years without a maintenance sealing schedule.
Your sealing schedule should begin before the first season of exposure, not after you notice color change. An impregnating penetrating sealer applied to clean, dry granite within 30 days of installation creates a subsurface barrier that prevents moisture and UV-accelerated oxidation from penetrating the crystal structure. Use a fluorocarbon-based impregnator rated for exterior granite — silicone-based sealers break down faster under direct UV and need reapplication every 12 to 18 months rather than every 3 to 5 years.
- Apply first sealer coat after 28 days of cure time if installing into mortar — earlier application traps residual moisture
- Two coats at initial sealing, with a 2-hour wait between applications, saturates the stone’s minimal pore structure adequately
- Reapply every 3 to 5 years for flamed or honed finishes in full-sun exposures; every 5 to 7 years for deeply shaded areas
- Test sealer efficacy annually by applying a few drops of water to the surface — if absorption starts within 10 minutes rather than beading, it’s time to reseal
- Darker granite colors show efflorescence and surface oxidation more visibly than lighter varieties — prioritize sealing schedules for charcoal and black granite in high-UV installations
The finish you selected at specification time also dictates how much UV-related color variation you’ll see. Flamed finishes open the surface micro-texture slightly, which increases UV contact area but distributes weathering more evenly across the surface — the color shift is gradual and relatively uniform. Honed finishes with their tighter surface closure can develop uneven oxidation patches if sealing lapses, particularly on south-facing installations that receive concentrated afternoon sun.
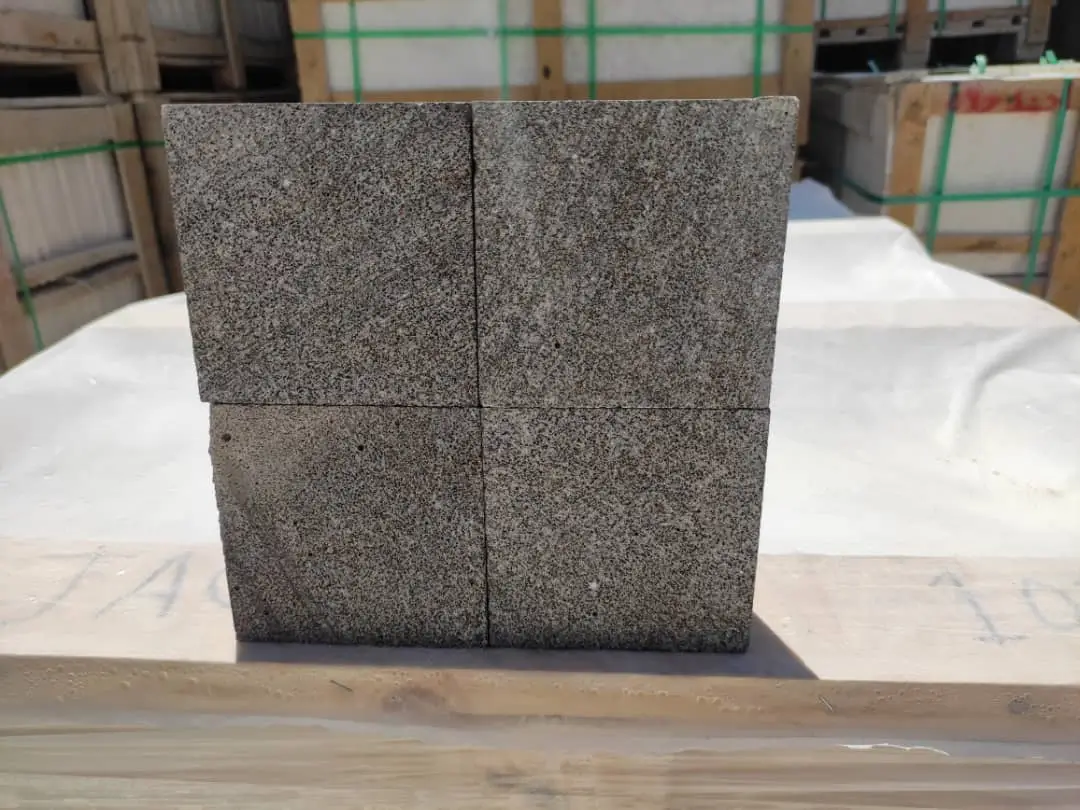
Grouting, Jointing, and Sand Filling
Joint filling is the step that most DIY installations underestimate and most professionals get wrong at least once in their career. For sand-set granite pavers, polymeric sand is the correct choice — standard mason’s sand migrates out under rain and foot traffic within two seasons, requiring constant refilling and creating weed establishment points. Polymeric sand activates with water to form a semi-rigid joint that resists erosion, weed growth, and insect nesting.
Your compaction process during sand installation determines joint fill depth. Sweep polymeric sand into dry joints, run a plate compactor across the surface (with a protective rubber pad between the compactor and the stone face), sweep again, and repeat until joints are consistently filled to 1/8 inch below the paver top face. That 1/8-inch recess prevents sand from being displaced by foot traffic while keeping the joint filled enough to resist lateral paver movement.
- Never install polymeric sand when rain is forecast within 24 hours — premature activation prevents proper joint consolidation
- For mortar-set granite pavers, use a non-sanded epoxy grout in 1/8-inch joints; sanded grout in joints up to 1/2 inch where wider spacing is required
- Grout color selection affects long-term UV appearance — lighter grout colors show less UV-related yellowing than cream or buff tones in outdoor applications
- Avoid Portland cement-based grouts without an additive in freeze-thaw regions — plain cement grout becomes brittle and cracks within 3 to 5 freeze-thaw seasons
Ordering, Logistics, and Project Planning
Your granite pavers installation timeline depends heavily on how accurately you calculate material quantities and how far in advance you confirm warehouse availability. Order a minimum of 10% overage beyond your calculated square footage — this accounts for cuts at borders, any pieces rejected during quality inspection on delivery, and future repairs. For complex patterns or high-waste layouts like diagonal herringbone, increase that overage to 15%.
Citadel Stone sources granite pavers directly from selected quarries, which means warehouse stock levels reflect actual production availability rather than import speculation. Confirming your material lot and quantity 4 to 6 weeks before your installation date is the practical lead time for most projects. That window allows your truck delivery to be scheduled on a confirmed date rather than an estimated one — and it gives you time to inspect a sample from your specific lot before the full order ships.
- Verify that all pavers in your order come from the same quarry lot — color and texture variation between lots is visible even within the same granite variety name
- Confirm truck access dimensions at your site before scheduling delivery — standard flatbed trucks require a minimum 14-foot clearance height and a firm, level approach surface
- Stage pallets as close to the installation area as possible to minimize manual handling distance and reduce the risk of edge chipping during movement
- Inspect each pallet on delivery for chipping, cracking, or staining before signing the delivery receipt — claims are straightforward when documented at point of delivery
According to USGS granite production and construction use statistics, granite remains one of the most consistently available dimension stone materials in the US supply chain — but specific colors and finishes have variable lead times depending on quarry output cycles. The practical advice: don’t finalize your installation schedule until you have a confirmed warehouse ship date in hand.
Getting Granite Paver Specifications Right
Getting your granite pavers installation right comes down to a sequence of decisions that build on each other — and skipping or rushing any one of them compresses the installation’s service life. Your base preparation sets the structural foundation; your thickness and finish selection matches material capability to application demand; your joint spacing and setting method manage the thermal and mechanical forces the paved surface will face over decades of service.
The UV and sealing considerations are easy to defer in the short term but expensive to correct after the fact. A consistent sealing schedule, starting before the first full season of sun exposure, is the lowest-cost maintenance investment you can make in an otherwise durable material. Granite pavers installed on a proper base, with correct joint detailing and a maintained sealing program, routinely deliver 25 to 35 years of service without structural intervention. That’s a performance outcome worth the upfront specification discipline.
For projects that also include natural stone edging, borders, or complementary hardscape elements, it’s worth reviewing how granite compares to other igneous and metamorphic options — how granite and marble compare as supply options covers key material distinctions for specifiers working across multiple stone types. Matching your stone selections across a project creates visual coherence and simplifies your long-term maintenance program. Sourced direct from selected quarries, Citadel Stone granite pavers hold their edge profile well through freeze and thaw cycles.
Related reading: granite cobblestone suppliers · granite cut to size suppliers · granite suppliers ma.