When it comes to creating a stunning, long-lasting outdoor space, basalt pavers are a top choice for homeowners and contractors alike. Known for their sleek, modern aesthetic and exceptional durability, these natural stone pavers—forged from volcanic rock—bring both beauty and resilience to driveways, patios, walkways, and more. However, to unlock their full potential, one critical step stands out: proper substrate preparation. A common question arises: Do basalt pavers need a gravel base? The answer is a resounding yes. Without a solid foundation, even the toughest pavers can shift, crack, or fail over time.
At Citadel Stone—pioneering stone craftsmanship, we’re committed to helping you build outdoor spaces that endure. In this detailed guide, we’ll explore why a gravel base is essential for basalt pavers, walk you through the step-by-step process of preparing the substrate, and share expert tips to avoid common mistakes. Whether you’re a DIY enthusiast or a seasoned professional, this article will equip you with the knowledge to ensure your basalt paver project is a success.
Basalt Pavers Explained
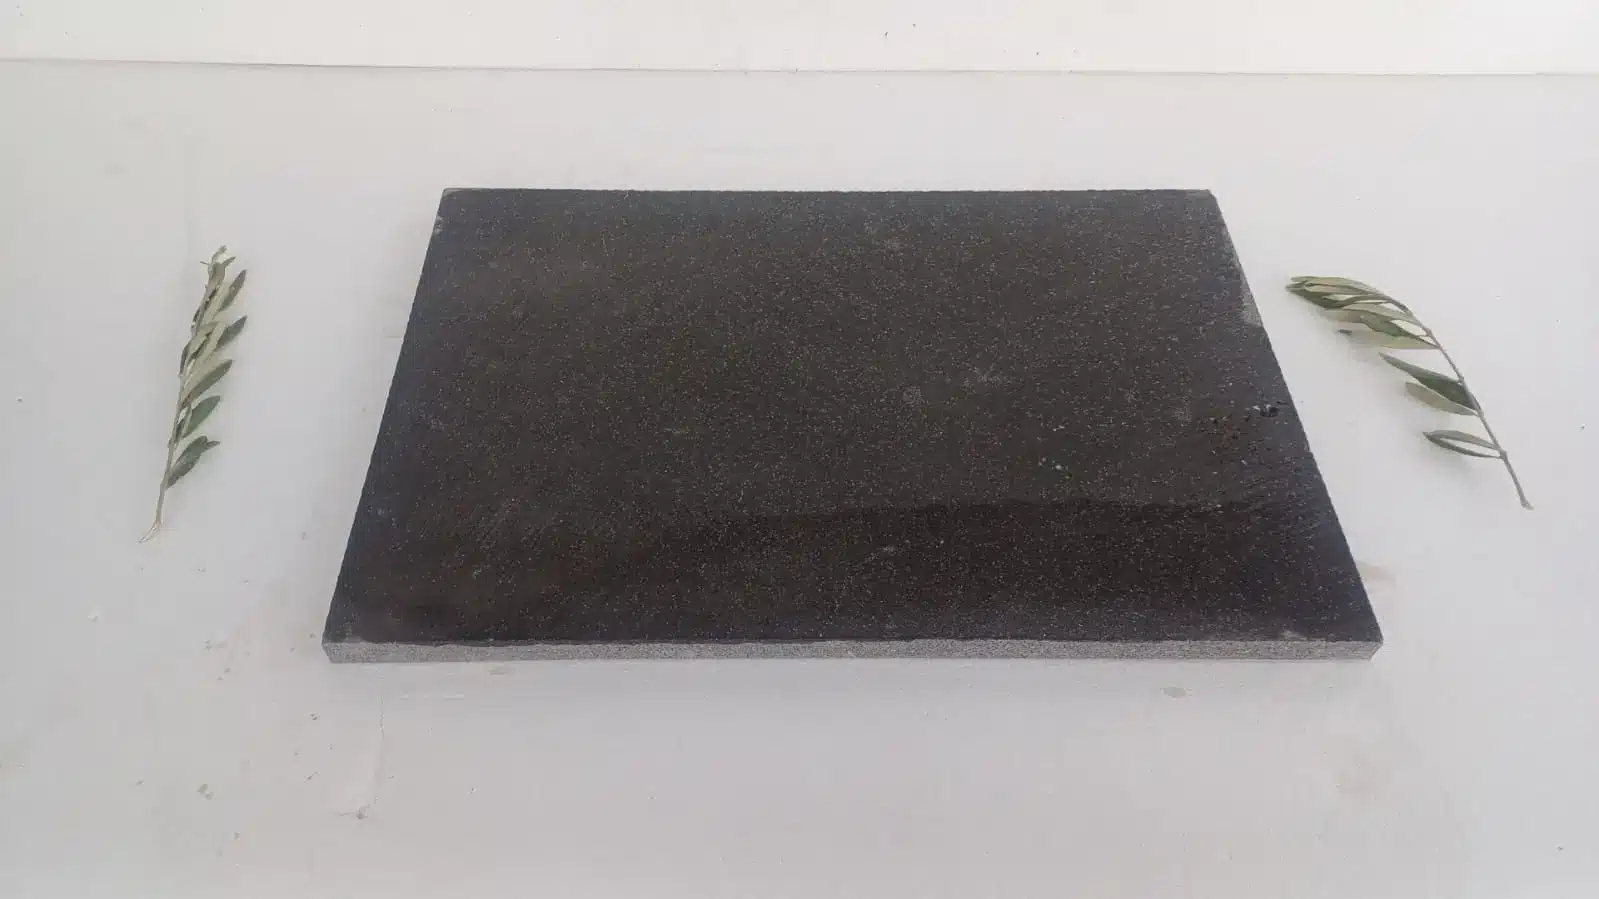
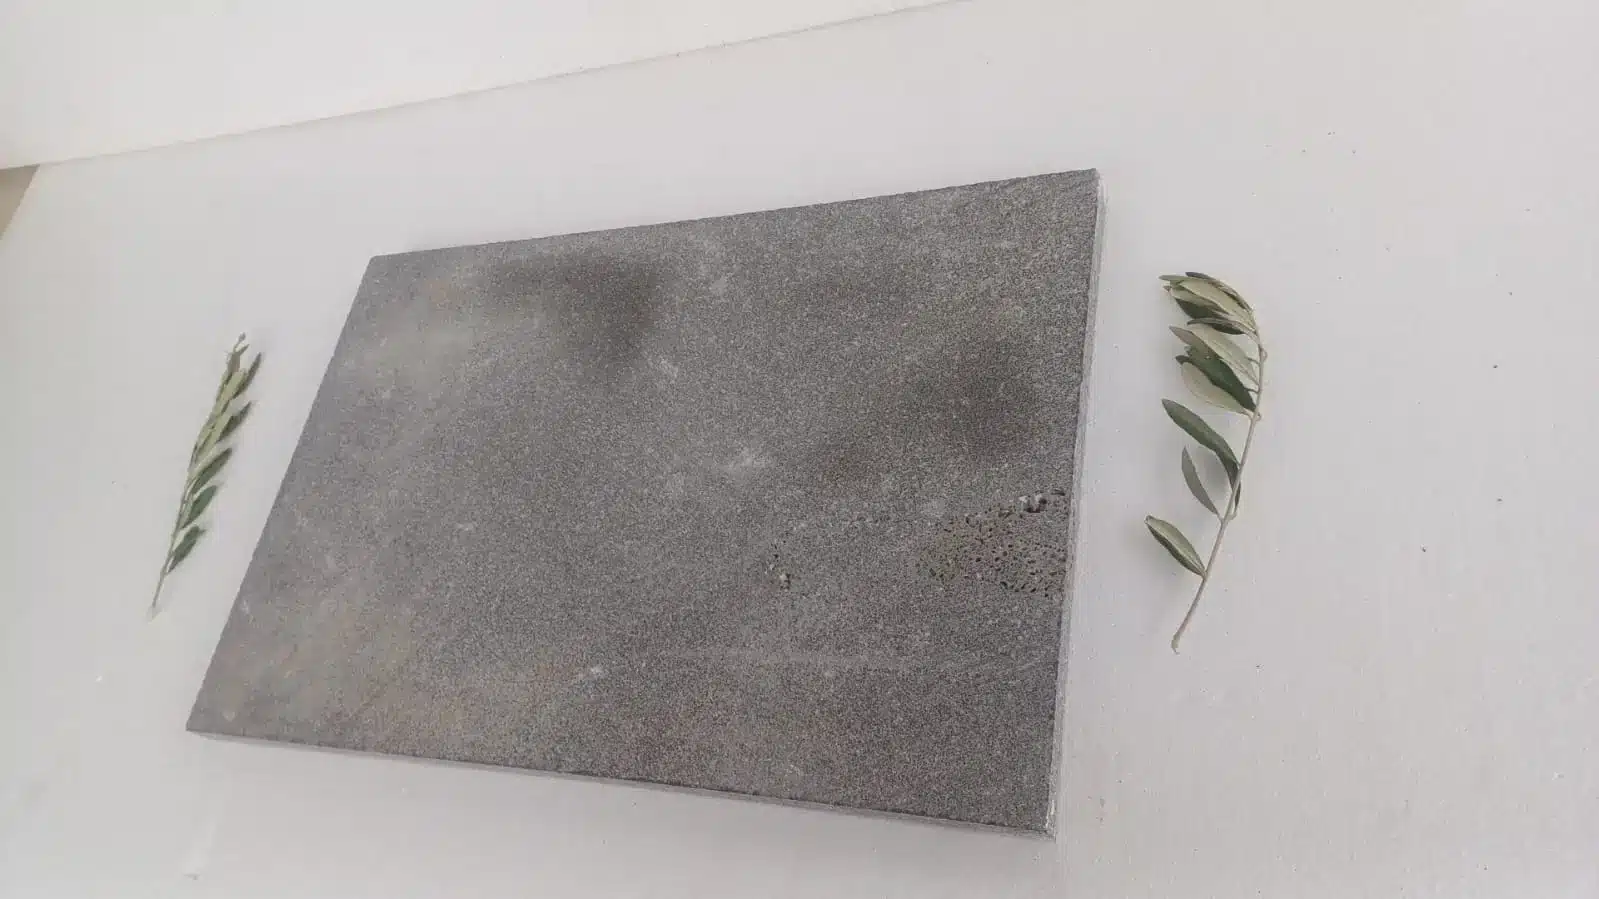
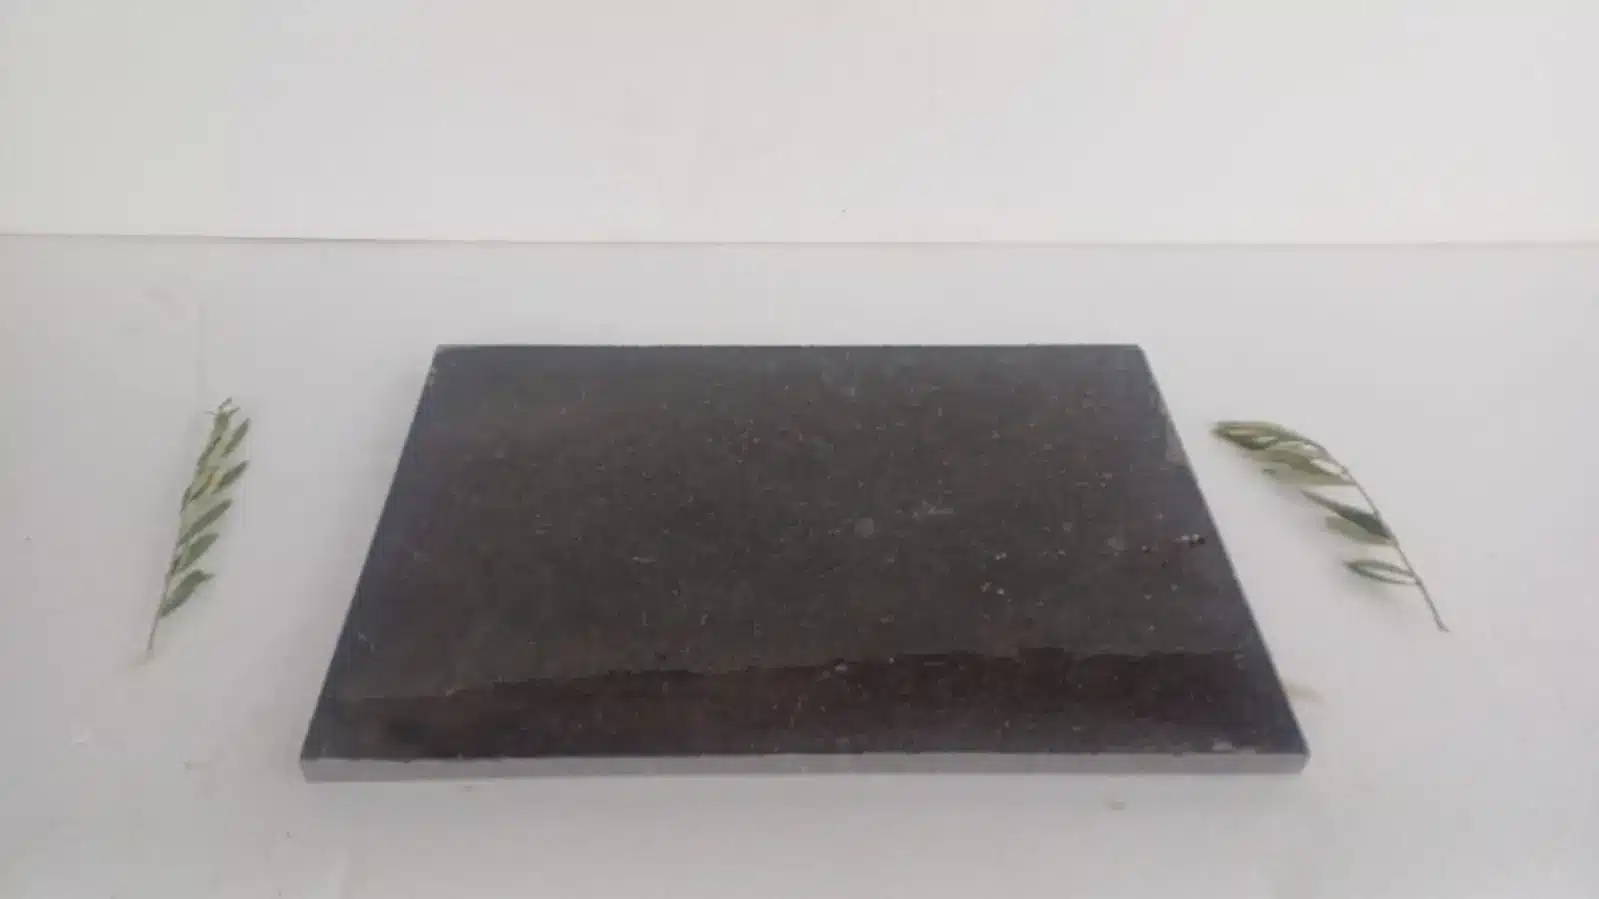
Basalt pavers are more than just a paving material—they’re a testament to nature’s artistry and strength. Formed from cooled lava, basalt is a dense, fine-grained igneous rock with a rich, dark color palette, typically ranging from deep gray to near-black. Its natural properties make it an ideal choice for outdoor applications, offering a unique blend of elegance and toughness.
Why Select Basalt Pavers?
- Unrivaled Durability: Basalt’s volcanic origins give it exceptional resistance to cracking, chipping, and wear.
- Low Maintenance: These pavers are naturally stain-resistant and require minimal upkeep, saving you time and effort.
- Eco-Friendly: Quarried sustainably, basalt is a green choice that aligns with environmentally conscious design.
- Versatile Aesthetic: Available in various sizes and finishes, basalt complements any style, from contemporary to rustic.
While basalt pavers are inherently strong, their performance hinges on one key factor: the quality of the substrate beneath them. A well-prepared foundation ensures stability, drainage, and longevity—making the difference between a paver project that thrives and one that falters.
Why a Gravel Base is Essential for Basalt Pavers
A gravel base isn’t just a recommendation—it’s a necessity for any paver installation, especially when using dense, heavy materials like basalt. Here’s why:
1. Stability and Load Distribution
Basalt pavers are heavier than many alternatives, which means they need a robust base to prevent shifting or sinking under their own weight. A gravel base distributes the load evenly, reducing pressure points that could lead to cracks or uneven surfaces.
2. Drainage and Water Management
Without proper drainage, water can pool beneath the pavers, causing erosion, shifting, or even frost heave in colder climates. A gravel base allows water to drain efficiently, protecting both the pavers and the underlying soil.
3. Weed and Pest Prevention
A gravel base, when paired with landscape fabric, creates a barrier against weeds, roots, and burrowing pests that could disrupt the paver surface over time.
4. Long-Term Cost Savings
Investing in a proper gravel base reduces the risk of costly repairs down the line. By preventing shifting, cracking, and water damage, you’ll extend the life of your pavers and minimize maintenance.
For basalt pavers, which are prized for their durability, skimping on the base would undermine their greatest strengths. A solid foundation ensures your investment pays off for decades.

Step-by-Step Guide to Preparing the Substrate for Basalt Pavers
Proper substrate preparation is the backbone of any successful paver project. Follow these detailed steps to create a stable, long-lasting foundation for your basalt pavers.
Step 1: Excavation
- Determine Depth: The depth of excavation depends on your project type:
- Walkways and Patios: Excavate 6-8 inches.
- Driveways: Excavate 8-12 inches to support heavier loads.
- Slope for Drainage: Ensure a 1-2% slope away from structures to direct water runoff.
- Remove Debris: Clear the area of roots, rocks, and organic matter to prevent future settling.
Pro Tip: Use a laser level or string line to maintain a consistent slope throughout the excavation area.
Step 2: Soil Compaction
- Compact the Soil: Use a plate compactor to firm up the exposed soil, creating a stable starting point.
- Check for Soft Spots: If you encounter soft or unstable areas, dig deeper and fill with compacted gravel.
Compacting the soil prevents future settling, which could cause pavers to shift or crack.
Step 3: Install Geotextile Fabric (Optional but Recommended)
- Purpose: Geotextile fabric prevents weeds and stabilizes the base by separating the soil from the gravel.
- Installation: Lay the fabric over the compacted soil, overlapping seams by 6-12 inches.
While optional, this step is a small investment that pays off by reducing maintenance and extending the life of your pavers.
Step 4: Add the Gravel Base
- Gravel Type: Use crushed stone or gravel (e.g., 3/4-inch minus) for optimal drainage and stability.
- Layer Thickness:
- Walkways and Patios: 4-6 inches of gravel.
- Driveways: 6-8 inches of gravel.
- Compaction: Add gravel in 2-inch lifts, compacting each layer thoroughly with a plate compactor.
Pro Tip: Moisten the gravel slightly before compacting to help it settle and lock together.
Step 5: Add the Sand Bedding Layer
- Sand Type: Use coarse, angular sand (e.g., concrete sand) for better interlocking.
- Thickness: Spread 1-2 inches of sand over the compacted gravel.
- Leveling: Screed the sand with a straight board to create a smooth, even surface.
Avoid walking on the sand once it’s leveled to maintain a consistent base for the pavers.
Step 6: Lay the Basalt Pavers
- Starting Point: Begin at a straight edge or corner to ensure alignment.
- Pattern: Lay pavers in your chosen design, keeping joints tight.
- Check Levels: Use a level and straightedge every few rows to maintain a flat surface.
For detailed guidance on laying basalt pavers, visit our installation guide.
Common Mistakes to Avoid in Substrate Preparation
Even experienced installers can make errors in substrate preparation. Here are the most common pitfalls—and how to sidestep them:
1. Insufficient Excavation Depth
- Consequence: A shallow base leads to shifting or sinking pavers.
- Solution: Always excavate to the recommended depth for your project type.
2. Skipping Soil Compaction
- Consequence: Uncompacted soil settles over time, causing uneven surfaces.
- Solution: Use a plate compactor to firm up the soil before adding gravel.
3. Using the Wrong Gravel Type
- Consequence: Rounded gravel doesn’t lock together, leading to instability.
- Solution: Opt for angular, crushed stone for better compaction.
4. Neglecting Drainage
- Consequence: Poor slope or drainage causes water pooling and erosion.
- Solution: Plan a 1-2% slope and test water flow before laying pavers.
5. Overlooking Edge Restraints
- Consequence: Without support, pavers can shift outward.
- Solution: Install metal or plastic edging around the perimeter.
Avoiding these mistakes ensures your basalt pavers perform beautifully for years to come.
Maintenance and Longevity: How Proper Substrate Preparation Pays Off
A well-prepared substrate doesn’t just make installation easier—it extends the life of your basalt pavers and reduces maintenance needs.
Benefits of a Solid Substrate
- Prevents Shifting: A compacted base keeps pavers in place, even under heavy use.
- Reduces Cracking: Proper load distribution minimizes stress on individual pavers.
- Enhances Drainage: Efficient water management protects against erosion and frost damage.
Basic Care Tips for Basalt Pavers
- Sweep Regularly: Remove debris to prevent staining or scratching.
- Rinse Occasionally: Use a hose to clear dirt and dust.
- Reseal Every 2-3 Years: Apply a sealant to maintain water resistance and color.
With a strong foundation and minimal upkeep, your basalt pavers will remain a stunning feature of your outdoor space.
Case Study 1: California – Enhancing a Modern Driveway & Walkway System
Project Overview
A renowned residential project in Southern California required a durable yet visually appealing driveway and walkway system. The contractor turned to the Basalt Paver Thickness Guide to determine the perfect paver sizes that met both functional and aesthetic demands.
Challenges
- High Traffic Demand: The driveway needed to withstand heavy vehicles.
- Weather Conditions: Extreme heat required a robust paver solution.
- Design Harmony: Achieving a balance between driveways and adjacent walkways.
Strategy & Implementation
- Thickness Differentiation: Using the guide, engineers selected thicker basalt pavers for the driveway while opting for lighter, thinner options for the walkways.
- Material Optimization: The basalt paver’s high compressive strength and durability were ideal for the region’s conditions.
- Precision Installation: Advanced installation techniques ensured stability and longevity.
Results & Benefits
- Longevity: The driveway has shown excellent wear resistance over 3 years.
- Aesthetic Appeal: The complementary paver sizes have enhanced the overall curb appeal.
Case Study 2: Texas – Residential Driveway and Walkway Transformation
Project Overview
In a fast-growing Texas suburb, a family home underwent a makeover where the exterior paver layout was updated using guidelines from the Basalt Paver Thickness Guide.
Challenges
- Soil Variability: Different soil conditions required careful paver selection.
- Load-Bearing Requirements: Ensuring the driveway could support heavy vehicles without cracking.
- Cost Efficiency: Balancing premium material use with budget constraints.
Strategy & Implementation
- Customized Approach: Thicker basalt pavers were used for the driveway to handle high traffic, while a thinner profile was chosen for the pedestrian walkway.
- Expert Consultation: Collaboration with local experts ensured the design adhered to state-specific building standards.
- Installation Excellence: Precision leveling and edge restraints minimized future maintenance issues.
Results & Benefits
- Enhanced Durability: Both driveway and walkway have proven resilient against Texas’s temperature fluctuations.
- Cost Savings: Optimized material use reduced long-term repair costs.
Case Study 3: Florida – Coastal Home with Innovative Paver Design
Project Overview
A coastal Florida property needed a smart redesign of its outdoor surfaces. The design team applied the Basalt Paver Thickness Guide to create a layout that offered strength for the driveway and an inviting surface for the walkway.
Challenges
- Salt & Humidity Exposure: Coastal weather posed a risk of material degradation.
- Aesthetic Requirements: The client sought a contemporary design that complemented ocean views.
- Durability: Ensuring long-term performance in a harsh, humid environment.
Strategy & Implementation
- Tailored Paver Selection: The guide was used to select thicker pavers for the driveway that resist weathering and thinner pavers for the walkway that allow comfortable foot traffic.
- Innovative Installation Techniques: Special sealing treatments were applied to mitigate salt and moisture damage.
- Integrated Design: The project seamlessly combined functionality with modern coastal design trends.
Results & Benefits
- Weather Resistance: The selected pavers have maintained their integrity despite coastal challenges.
- Visual Impact: The contrasting paver thickness created a dynamic yet cohesive look.
Case Study 4: New York – Urban Renewal with Basalt Paver Solutions
Project Overview
An urban renewal project in upstate New York revitalized an aging residential complex. The application of the Basalt Paver Thickness Guide allowed for a customized solution that met the heavy-duty requirements of a busy driveway and the softer touch needed for walkways.
Challenges
- Heavy Urban Traffic: The driveway experienced continuous vehicular pressure.
- Seasonal Temperature Shifts: The region’s winter freeze-thaw cycles demanded a robust solution.
- Urban Design Integration: Balancing historic elements with modern materials.
Strategy & Implementation
- Differentiated Paver Use: Thicker basalt pavers were strategically placed in high-traffic driveway areas, while thinner, decorative pavers were used along the walkways.
- Seasonal Adaptation: The chosen materials were selected for their resistance to cracking under freeze-thaw conditions.
- Cohesive Aesthetic: The design maintained historical integrity while enhancing durability.
Results & Benefits
- Increased Safety: Improved surface integrity reduced risks of cracks and potholes.
- Long-Term Performance: The paver solution has significantly lowered maintenance needs.
Case Study 5: Illinois – Commercial Property with Dual Paver Applications
Project Overview
A commercial complex in Illinois integrated a dual paver system guided by the Basalt Paver Thickness Guide to separate high-load parking areas from elegant pedestrian walkways.
Challenges
- Mixed-Use Functionality: Combining a high-traffic parking lot with pedestrian-friendly areas.
- Environmental Considerations: Adapting to Illinois’ seasonal weather extremes.
- Regulatory Compliance: Meeting local commercial construction codes.
Strategy & Implementation
- Functional Zoning: Thicker basalt pavers were designated for the parking areas, while lighter, thinner pavers were allocated to walkways.
- Eco-Friendly Materials: Emphasis was placed on sustainability and material longevity.
- Precision Engineering: Detailed planning ensured the layout met both safety and aesthetic standards.
Results & Benefits
- Efficient Traffic Flow: The clear separation between functional zones improved site safety.
- Enhanced Durability: The commercial property now enjoys reduced wear and tear.
Case Study 6: Colorado – Mountain Retreat with Optimized Paver Layout
Project Overview
A luxury mountain retreat in Colorado underwent a renovation that featured a high-end paver system. The Basalt Paver Thickness Guide was crucial in designing surfaces that matched the retreat’s rugged terrain and refined style.
Challenges
- Rugged Terrain: Uneven ground conditions required adaptable paver solutions.
- Aesthetic Balance: Merging rustic charm with modern durability.
- Weather Extremes: High-altitude weather called for pavers that could resist both heavy snow and UV exposure.
Strategy & Implementation
- Adaptive Design: Thicker pavers were used in the driveway for extra support, while thinner, decorative pavers created inviting walkways.
- Terrain-Conscious Installation: Customized leveling techniques ensured the pavers were securely placed on uneven surfaces.
- Modern Rustic Integration: The design emphasized natural textures and colors, aligning with the retreat’s character.
Results & Benefits
- Robust Functionality: The driveway pavers now reliably support heavy vehicles, even in challenging weather.
- Elegant Walkways: The thinner pavers provided a comfortable and visually appealing pedestrian path.
Conclusion: Build Your Perfect Outdoor Space with Citadel Stone
While basalt pavers are renowned for their durability and beauty, their success hinges on one critical factor: a properly prepared substrate. A gravel base isn’t just a suggestion—it’s the foundation that ensures stability, drainage, and longevity for your paver project. By following the steps and tips outlined in this guide, you’ll set the stage for a flawless installation that stands the test of time.
At Citadel Stone, we’re here to support your vision with premium basalt pavers and expert advice. Explore our collection at www.citadelstone.us and let us help you create an outdoor space that’s as resilient as it is beautiful. Ready to get started? Contact us today!