

Stone selection is only half the equation when planning a natural stepping stone pathway — the decisions that actually determine longevity happen before the first stone ever touches the ground. Spacing geometry, base depth, and surface texture interact in ways that aren’t obvious from a product page, and getting those details right separates a pathway that looks exactly the same in fifteen years from one that starts rocking and tilting within three seasons. This guide walks you through every material and specification choice worth understanding for natural stepping stones for pathways, from stone type to jointing strategy, so you can move forward with genuine confidence.
Why Stone Type Drives Every Other Decision
Your choice of natural stepping stones for pathways sets the upper limit on durability, slip resistance, and maintenance frequency — and it shapes what your base preparation needs to look like. Different stone families behave differently under load, under water, and under temperature stress, and those behavioral differences cascade into every downstream specification. Understanding the material first makes all the installation decisions easier.
The four stone families most specifiers rely on for pathway stepping stones are limestone, bluestone, flagstone, and granite. Each brings a distinct trade-off profile:
- Limestone offers a warm, natural aesthetic with compressive strengths typically ranging from 4,000 to 15,000 PSI depending on density — denser varieties handle heavy foot traffic without issue, while more porous cuts need a sealing protocol to manage absorption
- Bluestone is most often specified in a natural cleft finish, and its dense, fine-grained structure makes it exceptionally resistant to surface wear
- Flagstone — often sandstone or quartzite — splits naturally into irregular shapes that create informal, organic-looking pathways, though you need to pay close attention to thickness consistency across pieces
- Granite is the highest-density option available, with compressive strength often exceeding 20,000 PSI, making it the right call for high-traffic areas or pathways that double as access routes
At Citadel Stone, we inspect stone at the warehouse level for thickness tolerance and surface integrity before anything ships — because field returns on irregular stone are expensive and avoidable. Consistent thickness across a batch is genuinely critical for setting stability, and it’s the variable most suppliers don’t communicate clearly.
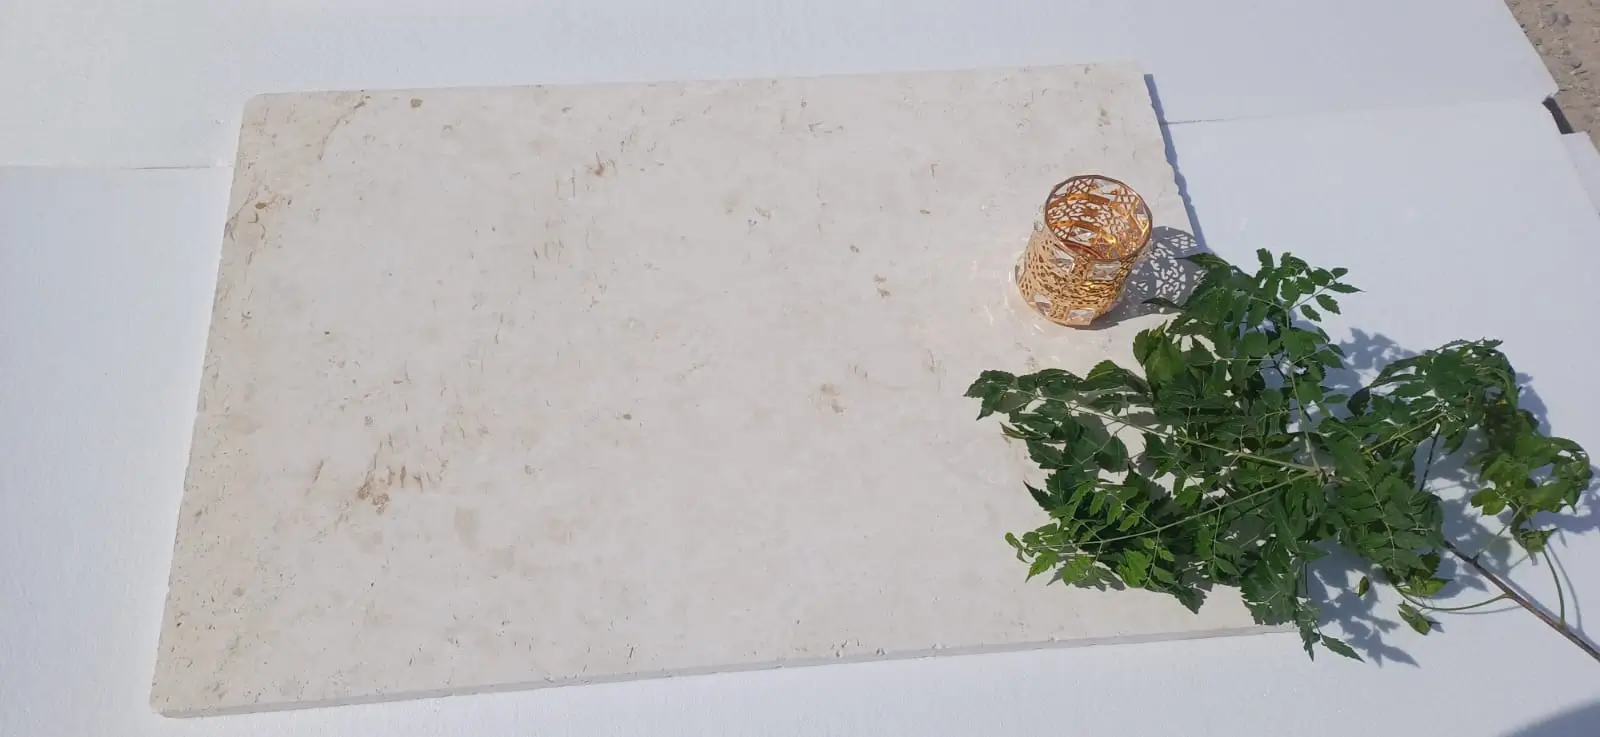
Format Picks: Choosing Size, Shape, and Thickness
The format decisions you make here determine how the pathway looks, how it performs underfoot, and how long it holds its original layout without intervention. Getting these specifications right from the start is what prevents the incremental settling and edge damage that force early rehabilitation on under-specified installations.
Stone Size and Spacing That Works for Real Foot Traffic
Your stepping stones need to be large enough for a comfortable stride. The practical minimum for a single-user pathway is 18 × 18 inches per stone, but 24 × 24 inches gives you far more comfortable footing — especially for users carrying anything, or for any path that sees regular use rather than just occasional foot traffic. For irregular flagstone shapes, target a minimum dimension of 16 inches across the narrowest axis.
Spacing between stones matters more than most buyers anticipate. The natural stride of an adult is roughly 24 to 30 inches measured center to center. Set your stepping stones at 24-inch centers for a casual, browsing pace — ideal for garden paths — or at 28-inch centers for a more purposeful walking rhythm on direct-access paths. Going tighter than 22 inches center-to-center makes the path feel cramped; going wider than 32 inches forces awkward step-stretching that frustrates users quickly.
Thickness Requirements for Stability and Load Distribution
Thickness is the specification most buyers undersize, and it’s where installations fail fastest. For stepping stones set in soil or over a compacted aggregate base, a minimum of 2 inches of thickness is the professional standard. The soil type under your pathway matters: in sandy, free-draining soils, 1.5-inch stones can work for light-use garden paths, but in clay-heavy or expansive soils, you need a minimum of 2.5 inches to handle the differential movement that clay expansion creates season to season.
Heavy-use pathways — anything connecting a driveway to a main entry, or paths that double as garden access for wheelbarrows — should be spec’d at 3 inches minimum. That thickness isn’t overengineering; it’s what prevents the edge cracking that comes from inadequate support when loads concentrate at stone edges during wet ground conditions.
Surface Finish Selection: Balancing Aesthetics and Traction
The finish you choose affects both daily safety and long-term maintenance load significantly. According to CDC guidance on outdoor walking surface safety, textured or roughened surfaces reduce slip risk substantially compared to polished alternatives — particularly in wet conditions. For exterior stepping stones, your finish options rank roughly as follows from best to moderate traction:
- Natural cleft or split face — the highest natural traction; the irregular surface texture grips footwear reliably even when wet
- Sandblasted or bush-hammered — manufactured texture that delivers consistent grip across the full stone face; a good choice when you want uniform appearance with maintained safety
- Honed — a smooth matte surface that’s acceptable for low-traffic decorative paths but demands caution in wet conditions; avoid for primary-use paths in areas with significant rainfall
- Polished — unsuitable for exterior pathway use; high slip risk when wet regardless of stone type
The ADA walkway accessibility standards provide firmness and stability requirements that inform stepping stone surface selection — particularly useful if your pathway connects to an entry that serves visitors of varied mobility.
Base Preparation: The Step That Determines Everything Downstream
Premium natural stepping stones for pathways can still result in a failing installation if base preparation is rushed. The base determines whether stones stay level, drain properly, and resist frost heave — and it’s the part of the project that’s invisible once the stones are down, which is why it gets cut on budget-conscious projects.
Base Depth by Application Type
For a standard garden pathway with light foot traffic, a 4-inch compacted aggregate base is the minimum. For high-traffic pathways or any path that sits in clay soil, extend that to 6 inches. The aggregate itself matters: use crushed stone with angular faces rather than rounded river gravel — angular particles interlock under compaction and resist lateral movement far better than rounded material.
Setting bed depth over your compacted aggregate base should be 1 inch of coarse bedding sand or stone dust. Avoid fine beach-type sands that compress unevenly. Tamp the bedding material lightly, set your stone, and check for wobble before moving on. A stone that rocks in the setting bed will never stop rocking once it’s in service — no amount of traffic will stabilize it.
Drainage Geometry for Long-Term Stability
Standing water under stepping stones is the primary mechanism of long-term failure. Design your pathway with a minimum 2% cross-slope so surface water runs laterally away from the stone surface rather than pooling. In areas where the path runs parallel to a slope, install a simple perforated drain upslope of the pathway to intercept subsurface flow before it undermines your aggregate base.
Explore the full range of Citadel Stone pathway stone options when you’re ready to match material format to your specific base conditions — the selection includes thickness grades that suit both shallow-base casual paths and deep-base high-traffic applications.
Freeze-Thaw Performance and Thermal Cycling in Stone Pathways
Temperature cycling — whether from dramatic day-to-night swings in arid regions or from genuine freeze-thaw events in cold-season climates — is the engineering factor that separates a well-specified natural stone pathway from one that requires constant maintenance. The mechanism isn’t just about whether water freezes in joints; it’s about the repeated dimensional change that occurs every time temperature moves through a meaningful range.
Stone and its substrate expand and contract at different rates. A 40°F day-to-night temperature swing — common in many continental regions — cycles the stone and the ground beneath it through measurable dimensional change multiple times over a 24-hour period. Over thousands of cycles across years, this differential movement works joints open, destabilizes setting beds, and creates the rocking and tilting that characterize poorly specified pathways in temperature-variable environments.
- Dense stone types with low absorption rates — granite, dense bluestone — perform best under repeated freeze-thaw cycling because minimal water enters the stone’s pore structure
- Limestone porosity varies significantly by formation; specify absorption rates below 3% (per ASTM C97) for stepping stones in freeze-thaw regions
- Maintain joint widths of at least 1 inch between stepping stones to accommodate thermal expansion movement without generating stress at stone edges
- Polymeric sand or flexible joint compound performs better than rigid mortar in temperature-variable environments, because it absorbs the dimensional movement rather than transmitting it as cracking stress
- In environments where temperatures regularly swing through freezing, seat your stepping stones on a deeper aggregate base — 6 to 8 inches — to stay below the frost depth and minimize frost heave
The Natural Stone Institute’s guidance on natural stone paving specifications reinforces that absorption rate and density classification are the two most critical material-side variables for outdoor stone performance in temperature-cycling environments. Selecting stone with the right absorption profile before installation is far more effective than reactive sealing after the fact.
Integrating Landscaping Rocks with Stepping Stones for Cohesive Pathways
The pathway itself is rarely the only stone element in a landscape project. Landscaping rocks with stepping stones work best when there’s a deliberate material and visual language connecting them — and that language starts with choosing materials from the same geological family where possible.
Consider how the stepping stones interact with any border or edging stone, any surrounding gravel or decomposed granite, and any feature boulders or planting bed edging in the surrounding garden. Some practical integration strategies that hold up well in varied landscape contexts:
- Use the same stone family for stepping stones and any adjacent low walls or raised bed edging — this creates visual continuity even when sizes differ dramatically
- Coordinate finish levels between stepping stone surfaces and any adjacent gravel or ground cover — the top of your stepping stones should sit approximately 1 to 1.5 inches above surrounding grade for comfortable footing
- For stepping stones set in decomposed granite or gravel, compact the surrounding material to within 0.5 inches of the stone face to prevent gravel migration onto the stepping surface
- Feature boulders placed adjacent to a stepping stone pathway read as intentional design elements when they share a material origin with the stepping stones — mismatched stone families in close proximity tend to look collected rather than composed
Landscaping rocks with stepping stones also benefit from consistent scale relationships: a pathway flanked by boulders that are dramatically larger or smaller than the stepping stones themselves creates visual tension rather than cohesion. Aim for feature elements that are two to three times the mass of the individual stepping stones for a balanced composition.
Paver Stone Walkway Ideas That Use Natural Stone Effectively
Beyond the classic evenly-spaced stepping stone layout, paver stone walkway ideas that use natural stone effectively tend to fall into a few tested design formats — each with different spacing logic, material requirements, and installation complexity.
Staggered and Offset Layouts
A staggered layout places each successive stone offset by half a stone width from the previous one — similar to a running bond brick pattern. This creates a strong directional pathway feel that guides movement more emphatically than a centered layout. It works particularly well with rectangular stones in consistent sizes, such as 16 × 24 or 18 × 24 inch cuts. The visual rhythm of a staggered natural stone pathway is more dynamic than a centered pattern, and it reads as intentionally designed rather than casually placed.
Mixed-Size Informal Settings
Irregular flagstone pieces in a naturalistic arrangement are the most labor-intensive format to install well, but they reward the effort with a pathway that feels genuinely integrated into the landscape rather than imposed on it. The critical discipline here is maintaining consistent top surface elevation across pieces of different sizes and thicknesses — this requires individual setting bed adjustment for each stone rather than a uniform bed depth. Plan extra time in the layout phase for this format.
Grid Settings with Turf or Ground Cover
Placing square or rectangular natural stepping stones in a regular grid with turf, moss, or low ground cover in the joints creates one of the most visually appealing paver stone walkway ideas for residential landscape settings. The maintenance trade-off is real — the ground cover between stones needs periodic attention to prevent it from overtaking the stone surface — but the aesthetic return is substantial. For this format, target stone sizes of 24 × 24 inches or larger; smaller stones in a grid with turf infill tend to disappear visually as the ground cover grows.
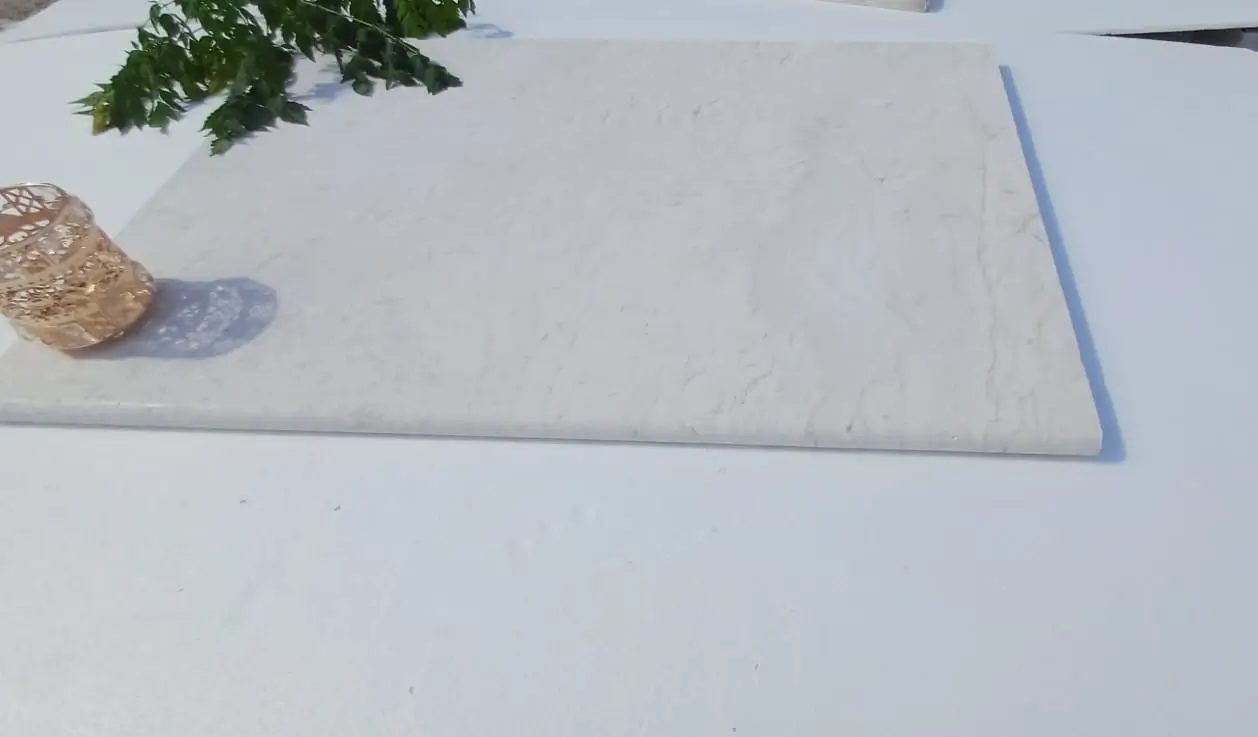
Ordering, Quantity Calculation, and Logistics
Getting your quantity calculation right before you place a stone order prevents the two most common project delays: running short partway through installation and waiting weeks for a second truck delivery to complete the job. Start with an accurate pathway area in square feet, then factor in your chosen spacing pattern.
For a simple calculation on evenly-spaced stepping stones: count the number of stones your layout requires, add 8 to 10% for breakage and layout adjustments, then confirm that number against your supplier’s available batch size. Natural stone is a natural material — color and texture vary between production runs, so ordering all your material from a single warehouse batch eliminates the visual inconsistency that comes from mixing lots. Citadel Stone maintains national warehouse inventory that makes it practical to fulfill large pathway orders from a single lot, which typically reduces lead times to one to two weeks rather than the six to eight weeks common with imported-to-order stone.
Your truck access conditions affect delivery format — full-pallet deliveries require a clear, level access route to the unloading point. Communicate any access constraints to your supplier before the order ships, so the delivery can be configured for your site rather than re-routed at your driveway.
Sealing and Maintenance Protocols That Extend Pathway Life
The maintenance requirements for natural stepping stones vary substantially by stone type and the environment they’re installed in. Sealing is not universally necessary — dense stone types like granite and dense bluestone perform well unsealed in most applications — but porous stones installed in areas with organic material overhead (leaf cover, tree canopy) benefit significantly from a penetrating sealer that prevents staining and biological growth.
For limestone stepping stones, a penetrating impregnating sealer applied every two to three years is the professional standard for exterior applications. The sealer should penetrate rather than film-form — film-forming sealers trap moisture under the surface in outdoor applications and eventually delaminate, which creates an uglier surface problem than the one you were trying to prevent.
- Apply sealer only to clean, dry stone — moisture trapped under sealer causes haze and adhesion failure
- In freeze-thaw regions, time your sealing applications to avoid late-season treatment immediately before ground freeze — the sealer needs time to cure fully before thermal cycling begins
- Brush or blow organic debris off the pathway surface regularly; organic matter is the primary food source for biological growth that stains and eventually etches natural stone surfaces
- Check joint material annually — any joint sand loss should be replenished promptly to maintain edge support for the stone
- Pressure washing is effective for periodic deep cleaning, but keep nozzle pressure below 1,200 PSI and maintain a minimum 12-inch standoff distance from the stone face to avoid joint sand erosion and surface etching
The ASLA’s guidance on natural stone walkway materials and design provides additional context on selecting materials that balance performance and environmental compatibility — relevant if your pathway design incorporates permeable jointing strategies.
Parting Guidance on Natural Stepping Stones for Pathways
The most durable natural stepping stone pathways aren’t the ones built with the most expensive stone — they’re the ones where the base preparation, stone thickness, and format spacing were specified to match the actual conditions of the site. Get those three variables right and the pathway will perform for decades with minimal intervention. Shortcut any one of them and you’ll be re-leveling stones within five years, regardless of what material you chose.
Start with stone type matched to your use intensity and soil conditions, build the base depth to suit the drainage and freeze-thaw exposure of your site, and select a format layout that works with the stride pattern and visual character of the surrounding landscape. From there, the maintenance protocols are genuinely simple. As you finalize your project plan, you might also explore low-maintenance rock landscaping ideas for complementary ways to use natural stone across the broader yard — the material thinking around stone selection, base preparation, and finish choices overlaps considerably with what goes into a well-built stepping stone pathway. Spacing, thickness, and surface finish each affect how a stepping stone pathway performs over time, and Citadel Stone offers guidance on sizing for different soil and ground cover types.
Related reading: landscaping with stone pavers · landscape stone prices · stone landscape edging.