

Why Base Preparation Defines Everything
Stone landscape edging installation failures almost always trace back to the same root cause — inadequate base preparation, not the stone itself. You can source the most consistent limestone edging on the market and still end up with shifting, heaving borders within two seasons if the sub-base isn’t addressed properly. The compacted aggregate layer beneath your edging stones is what holds vertical alignment, resists frost uplift in freeze-thaw regions, and prevents lateral migration when soil expands and contracts seasonally.
For most residential and light commercial installations, a 4-inch compacted gravel base — crushed stone, ideally 3/4-inch minus — gives you the drainage and stability combination that natural stone edging demands. Clay-heavy soils need an extra 2 inches minimum. You’ll also want to extend the base 2–3 inches beyond the edging footprint on both sides to prevent edge rollover under lateral soil pressure.
Choosing the Right Stone for Edging
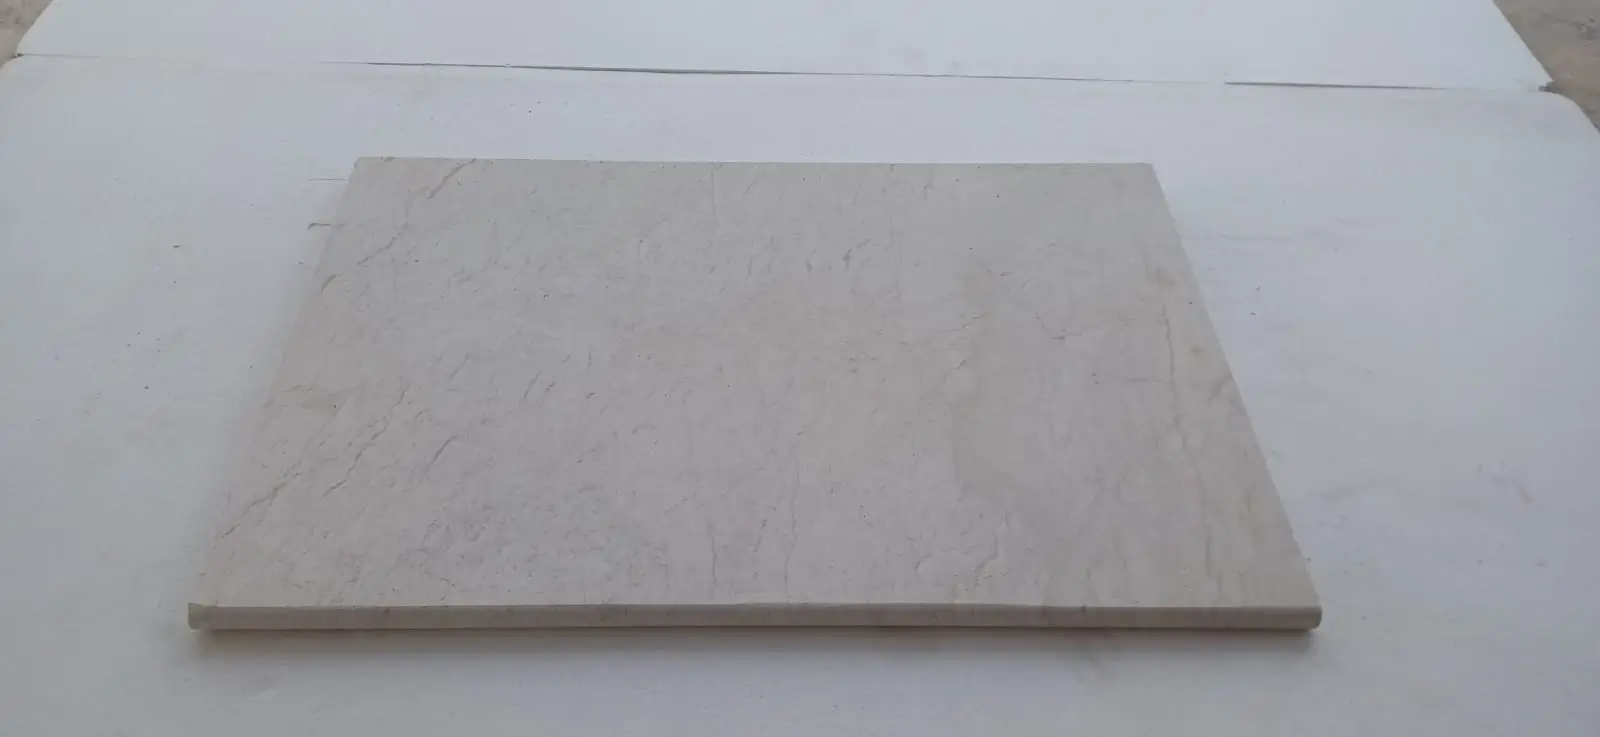
Not every natural stone performs equally in a landscape edging role. The material needs to handle compressive loading from adjacent soil, resist freeze-thaw cycling without delaminating, and maintain dimensional stability in a partially buried condition. Limestone edging stones are particularly well-suited here — their calcium carbonate matrix holds up against ground moisture without the surface spalling you sometimes see with softer sandstone formats.
Thickness matters more than most installers initially expect. Edging stones under 2.5 inches thick are vulnerable to fracture along their buried edge when soil shifts laterally — and that’s a failure mode you typically won’t notice until the border has already moved out of alignment. For formal bed borders with clean geometric lines, 3-inch thick natural stone edging in consistent cut dimensions performs reliably. For more organic, informal layouts using irregular flagstone edging, aim for a minimum 2.5-inch average thickness and sort your pieces before installation to avoid placing thin sections at curve apexes where stress concentrates.
According to Natural Stone Institute stone variety specifications, absorption rate and freeze-thaw durability vary significantly across stone types — a detail that directly affects longevity in partially buried landscape edging applications where moisture contact is continuous rather than intermittent.
- Limestone and granite edging stones offer the best freeze-thaw resistance for buried installations
- Avoid polished or honed face finishes at grade level — a natural split or tumbled surface provides better friction against soil migration
- Consistent bed depth (the dimension that sits vertical) simplifies string-line alignment during installation
- Darker stone varieties absorb more heat in direct sun, which can accelerate mortar curing faster than label specifications suggest — adjust your working time accordingly
Layout and String-Line Technique
Your layout phase is where precision investments pay off most. Before a single stone touches the ground, run a string line at finished-grade height for straight runs and use a garden hose or spray paint to mark curves. The hose method for curves isn’t just an amateur shortcut — it lets you step back and evaluate the arc before committing, which is far easier than realigning stones after they’re set.
For curved sections, calculate your radius and pre-determine your stone spacing. A 2-inch gap between edging stones on a tight radius allows the border to follow the arc without forcing cut angles on every piece. On larger radius curves, you can run stones with no gap and achieve a cleaner, more formal appearance. Either approach is valid — what matters is that you decide the method before you start setting stone, not halfway through.
Mark your finished elevation on stakes every 6–8 feet and snap chalk lines between them for straight runs. Check your grade slope at the same time — landscape edging stone borders should follow a consistent 1–2% grade away from structures to prevent water pooling at the bed margin. Correcting a grade issue after stones are set adds significant labour time to what should be a straightforward installation.
Setting Methods: Dry-Set vs. Mortared
The choice between dry-set and mortared stone landscape edging installation depends on your project’s permanence requirements, the stone format you’re using, and — practically speaking — the time of year you’re working. Both are legitimate techniques with different performance profiles.
Dry-set installation involves bedding stones directly into compacted sand or fine aggregate, typically 1–1.5 inches of coarse bedding sand over your gravel base. This method tolerates minor frost heave because individual stones can be relevelled without disturbing adjacent sections. It’s the preferred method for informal layouts, irregular stone shapes, and projects in pronounced freeze-thaw regions where rigid mortar joints can crack under seasonal movement. The ASLA offers landscape edging and permeable surface design guidance that supports flexible installation systems in regions with significant freeze-thaw cycles.
Mortared installation delivers superior lateral stability and a sharper visual finish — critical for formal garden designs where 1mm of drift in a straight run is visible from 20 feet away. Use a Type S mortar mix for landscape applications (not Type N, which lacks the compressive strength needed at grade). Apply mortar to the base and the stone’s bearing face, not just the base, to prevent hollow spots that fracture under load.
- Dry-set: easier to repair, more tolerant of seasonal movement, better for informal or irregular stone layouts
- Mortared: cleaner finished appearance, higher lateral stability, requires curing time before adjacent soil backfill
- Combination approach: mortar-bed the stone to a sand-set base — gives you the alignment precision of mortared work with some flexibility at the substrate level
- In regions with hard freeze winters, fully mortared edging may require expansion joints every 10–12 linear feet to prevent cracking along the run
Seasonal Timing for Stone Edging Work
Timing your stone landscape edging installation around seasonal conditions isn’t just about comfort — it directly affects mortar performance, adhesive cure rates, and long-term joint integrity. Mortar placed below 40°F gains strength so slowly that it’s effectively non-functional until temperatures recover, and any frost event during the initial 24-hour cure window can permanently compromise the set. The practical window for mortared edging work runs from when overnight temperatures are reliably above 45°F through to when they begin dropping below that threshold consistently in autumn.
Morning installation windows are preferable for mortared work in warm periods. Ground temperatures are cooler in the morning, which slows the initial set just enough to give you working time to adjust stone positions before the mix stiffens. Afternoon work in warm, dry conditions can compress your working time by 30–40% as the mortar dehydrates faster against a sun-warmed stone surface. Keeping stones out of direct sun for 30 minutes before placement — even just stacking them in a shaded area — makes a measurable difference to your workability window.
For dry-set installations, seasonal timing is less critical from a materials standpoint, but working into saturated ground in early spring or after extended rain events creates a compaction problem that undermines your base. Wait until the sub-base soil has drained to a workable consistency — if it smears rather than crumbles when compressed, it’s too wet to compact properly.
Excavation Depth and Stone Positioning
Your excavation depth needs to account for three layers: the compacted gravel base, the bedding sand or mortar bed, and the stone itself, with the finished top of the edging sitting at your target grade. Work backwards from your finished height to determine excavation depth — a common field mistake is excavating to an assumed depth without accounting for the actual stone thickness variation across a batch.
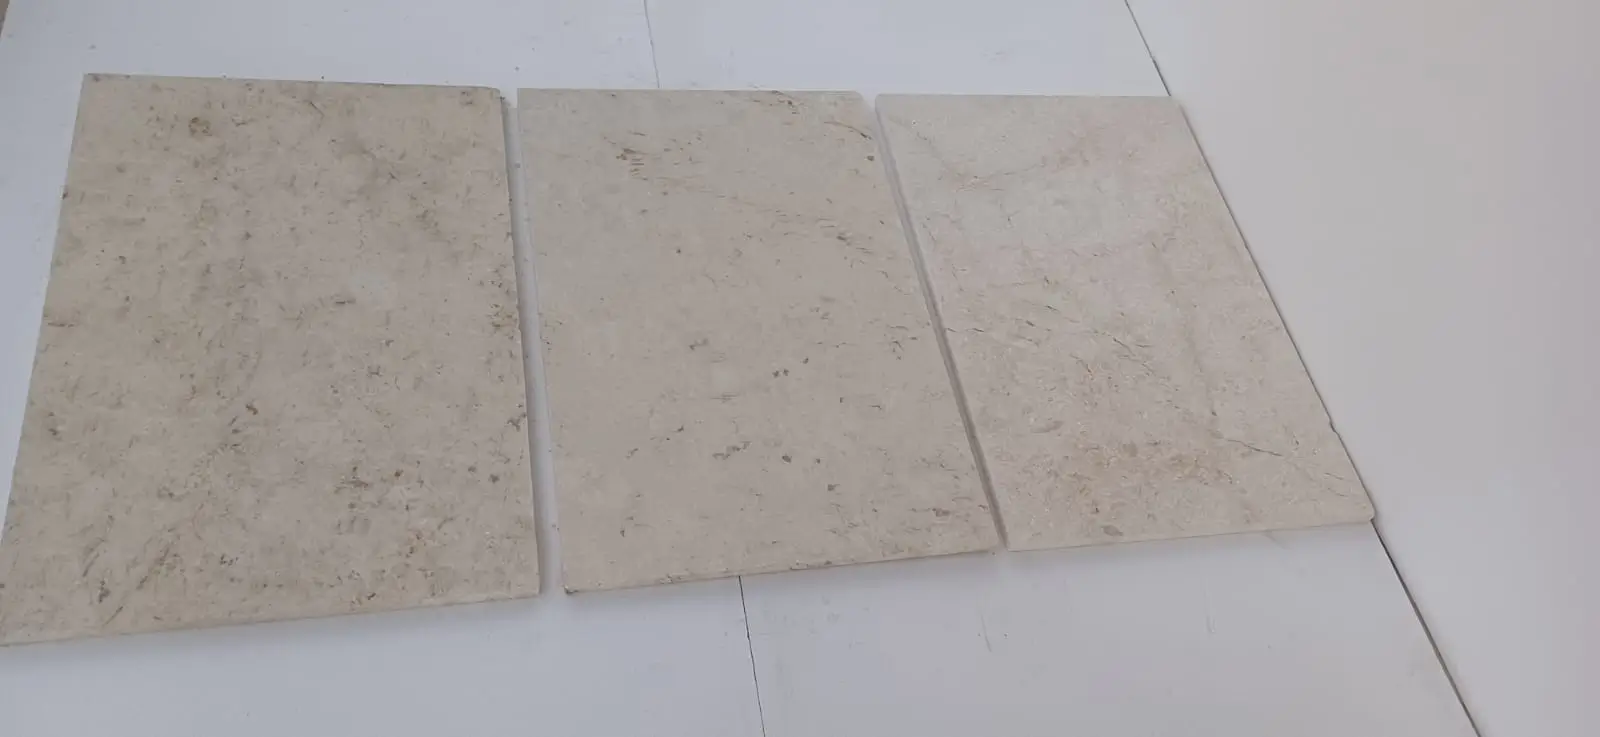
Measure your edging stones before you dig. Natural stone thickness varies within a single order, and planning for uniform thickness leads to inconsistent finished heights that you’ll be shimming or re-excavating to correct. A 2.5-inch stone in one section and a 3-inch stone 4 feet away creates a 0.5-inch height differential that’s clearly visible — and impossible to fix without pulling and resetting. At Citadel Stone, we advise sorting your stone delivery into thickness groups before any excavation begins, so your grading work matches the material you’ll actually be placing.
Positioning the stone so that roughly one-third of its height is buried provides the lateral stability most residential installations need without over-burying material and wasting stone depth. For taller edging applications — 6 inches or more exposed — increase the buried proportion to 40–45% of total height, and consider backfilling with compacted crushed stone rather than native soil on the garden side to reduce hydrostatic pressure against the edging face.
When you’re ready to source material, reviewing the Citadel Stone border stone selection gives you a clear picture of the edging formats available in consistent cut dimensions, which simplifies both your thickness sorting and your finished-grade planning.
Backfilling and Compaction After Setting
The backfill phase is where otherwise well-executed stone landscape edging installations get compromised. Backfilling too soon after a mortared installation — before the mortar has reached initial set — transmits lateral pressure directly to fresh joints. Wait a minimum of 24 hours for Type S mortar in ambient temperatures above 60°F before backfilling against mortared edging. In cooler conditions (50–60°F overnight), extend that window to 36–48 hours.
Compact backfill in 3-inch lifts rather than all at once. Dumping and compacting a full 8 inches of soil in one pass creates uneven pressure distribution and can roll the edging stones outward at the base before the mortar is fully cured. Use a hand tamper or plate compactor set well back from the edging face for the initial lifts, finishing with hand compaction directly adjacent to the stone.
USGS dimension stone data confirms that granite and limestone lead production volumes for landscape applications — a reflection of their established performance in outdoor, soil-contact conditions where long-term compressive strength matters. Your backfill compaction protocol is the last opportunity to protect that material investment before the installation is sealed in.
Maintaining Alignment and Making Adjustments
Even with careful layout work, you’ll encounter alignment corrections during installation — it’s a normal part of working with natural stone edging rather than a sign of poor planning. The key is catching drift early, before multiple stones are set against an off-line piece. Check your string line every 4–5 stones rather than waiting until an entire run is complete. A 3mm drift at one stone becomes a 20mm offset 10 stones later if you don’t catch it early.
Border stones for landscaping that need minor lateral adjustment after initial placement respond well to a rubber mallet, which delivers controlled repositioning force without cracking the stone face. Never use a steel hammer directly on the stone surface — even a supposedly light tap creates micro-fractures that propagate under freeze-thaw cycling. Use a wooden buffer block if a rubber mallet isn’t available.
Curved sections require more frequent alignment checks than straight runs because each stone placement influences the arc geometry of the next. Set every third stone, step back to assess the arc from 10–15 feet, then fill in between. This approach prevents the incremental drift that produces a curve with a flat spot in the middle — a layout problem that’s obvious at any distance once the bed is planted.
- Check string line every 4–5 stones on straight runs — don’t wait until a full run is set
- Use a rubber mallet for adjustments — never steel on stone
- On curves, set every third stone and assess the arc before filling in between
- Keep a level at hand — checking horizontal as well as vertical alignment prevents stones from canting inward toward the bed or outward toward the lawn
Joint Filling and Long-Term Finishing
Your joint treatment affects both the finished appearance and the long-term performance of stone landscape edging. For dry-set installations, polymeric sand packed into joints between edging stones resists ant tunnelling and weed intrusion far better than standard joint sand — the polymer binders create a semi-rigid joint that stays in place after rain. Sweep it in dry, compact lightly, then mist to activate the binders. Don’t saturate — flooding polymeric sand washes the binders to the surface and leaves a residue that’s difficult to remove from natural stone faces.
For mortared edging, tool your joints to a consistent concave profile while the mortar is still workable — typically 20–30 minutes after placement depending on ambient conditions. Tooled joints shed water more effectively than flush-finished joints, which is relevant wherever rain or irrigation water runs along the edging face regularly. Clean mortar smears from the stone face immediately with a damp sponge — once mortar cures on limestone or granite, mechanical removal is the only option and it risks surface scratching.
Sealing natural stone landscape edging is optional but worth considering for lighter-coloured limestone or any stone adjacent to heavily mulched beds. Mulch dye and organic tannins stain porous stone over time, and a penetrating impregnator sealer applied after installation creates a barrier that significantly reduces that absorption. Reapply every 3–5 years depending on sun exposure and irrigation patterns.
Parting Guidance
Stone landscape edging installation rewards methodical work more than speed. The installers who get 25-year results from their edging projects are the ones who spend the extra hour on base preparation and layout geometry before a single stone is placed — not the ones who rush through those phases and spend twice as long correcting problems mid-installation. Your material choice, base depth, setting method, and seasonal timing all interact — no single variable overrides the others.
For projects where stone edging connects to broader paving or retaining applications, it’s worth understanding how common installation errors compound across an entire hardscape scheme. The natural stone installation pitfalls worth avoiding covers how small specification decisions early in a project create significant performance consequences downstream — a useful reference before your stone order goes in. Choosing a stone with consistent thickness makes alignment easier along curved garden beds, and Citadel Stone stocks edging formats suited to both formal and informal layouts.
Related reading: best stone for landscaping · landscape stone prices per square foot.