

This comprehensive guide reveals the top five rooms where limestone flooring excels, plus practical advice on finishes, safety considerations, maintenance schedules, and cost planning to help you make informed decisions for your project.
Unless cited to our S.N.S laboratory certificates, figures in this guide are indicative planning values — confirm project-specific numbers with your quote.
Quick Snapshot — 5 Best Rooms at a Glance
| Room | Why It Works | Recommended Finish | Quick Caution |
|---|---|---|---|
| Kitchens | Light reflection, thermal mass, pairs with all cabinet styles | Honed or brushed | Seal regularly against oil/wine stains |
| Bathrooms | Creates spa-like ambiance, continuous surfaces | Micro-textured or non-slip inserts | Test slip resistance when wet |
| Entryways | Durable first impression, handles foot traffic | Bush-hammered borders, honed centers | Use protective mats during wet seasons |
| Living/Dining | Seamless indoor-outdoor flow, design flexibility | Honed large format | Consider underfloor heating for comfort |
| Covered Terraces | Extends interior aesthetic outdoors | Thermal or flamed finish | Ensure proper drainage and frost protection |
Room 1 — Kitchens
Why it works
White limestone floors transform kitchens into bright, welcoming spaces that feel both sophisticated and approachable. The stone’s natural light reflection amplifies both artificial and natural lighting, making even compact kitchens appear more spacious. Limestone’s excellent thermal mass properties make it ideal for underfloor heating systems, ensuring comfortable bare-foot walking during food preparation.
The neutral palette of white limestone flooring complements any cabinet finish—from dark walnut to painted white shaker styles—while providing visual continuity that doesn’t compete with colorful backsplashes or statement appliances.
Recommended finishes & edges
Honed finishes offer the perfect balance for kitchen limestone flooring, providing subtle texture that hides minor scratches while maintaining elegance. Brushed finishes add slightly more texture for enhanced slip resistance near sink areas. Avoid highly polished finishes that show every footprint and water spot.
For edges, choose eased or micro-beveled profiles that prevent chipping during daily use. Straight-cut edges work well for contemporary designs, while slightly rounded profiles suit traditional kitchens.
Installation & practical tips
Coordinate limestone installation with backsplash materials early in the design process. Natural stone transitions beautifully with subway tiles, marble slabs, or metallic finishes. Plan seam locations away from high-traffic zones like the sink and range areas.
Install limestone before cabinetry to ensure proper expansion allowances. Use flexible sealants at perimeter joints and consider slightly wider grout lines (illustrative: 3-5mm) to accommodate natural stone movement.
Maintenance & stain prevention
Daily maintenance involves sweeping and damp mopping with pH-neutral cleaners. Address spills immediately, particularly oils, wine, and acidic substances that can stain or etch the surface.
Apply penetrating sealers illustratively every 12-18 months in kitchens due to higher exposure to staining agents. Avoid vinegar-based or acidic cleaning products that can damage limestone over time.
Room 2 — Bathrooms & Wet Zones
Why it works
Bathroom white limestone floors create serene, spa-like environments that promote relaxation. The stone’s ability to maintain consistent temperatures prevents the shocking cold sensation common with ceramic tiles. Continuous limestone surfaces from floor to shower walls eliminate grout lines and create sophisticated, uninterrupted planes.
Light-colored limestone maximizes the impact of both natural daylight and artificial lighting, making smaller bathrooms feel more open and luxurious.
Slip safety & finish selection
Wet-barefoot safety requires careful finish selection. Specify micro-textured finishes or incorporate non-slip inserts in shower areas and around bathtubs. Request slip resistance testing using pendulum or DCOF methods (verify current regional standard identifiers before specifying).
Illustrative acceptance thresholds for wet barefoot areas typically range above 0.42 DCOF, though specific requirements vary by location. Consider adding narrow bands of more textured stone or discrete grip strips in critical areas.
Grout, joint width and waterproofing notes
Use wider grout lines in wet areas (illustrative: 4-6mm) filled with high-quality, stain-resistant grout. Ensure proper waterproofing membranes extend beneath limestone installations, particularly at threshold transitions to wet rooms.
Detail thresholds carefully with appropriate slopes to prevent water migration while maintaining smooth transitions for accessibility.
Room 3 — Entryways & Hallways
Why it works
First impressions matter, and limestone bathroom floors extending into entryways create immediate impact. The stone’s durability handles concentrated foot traffic while its light-reflective qualities brighten transitional spaces that often lack natural light.
Limestone’s natural variations provide sophisticated texture that doesn’t show dirt as readily as solid colors, making it practical for high-traffic entry zones.
Finish & durability choices
Consider combining finishes for optimal performance: bush-hammered or textured borders for traction and durability, with honed centers for elegance. This zoning approach provides grip where needed while maintaining refined aesthetics in lower-traffic areas.
Thicker limestone tiles (illustrative: 15-20mm) better withstand heavy foot traffic and potential impact from dropped items or furniture movement.
Protecting high-traffic zones
Strategic placement of walk-off mats during wet seasons prevents excessive soil and salt exposure. Choose mats large enough for multiple steps—illustratively 1.2m minimum length—to effectively capture debris.
Increase maintenance frequency during harsh weather periods and consider sacrificial area rugs during particularly wet or snowy seasons to preserve the limestone underneath.
Room 4 — Living & Dining Rooms (Interior Continuity)
Why it works
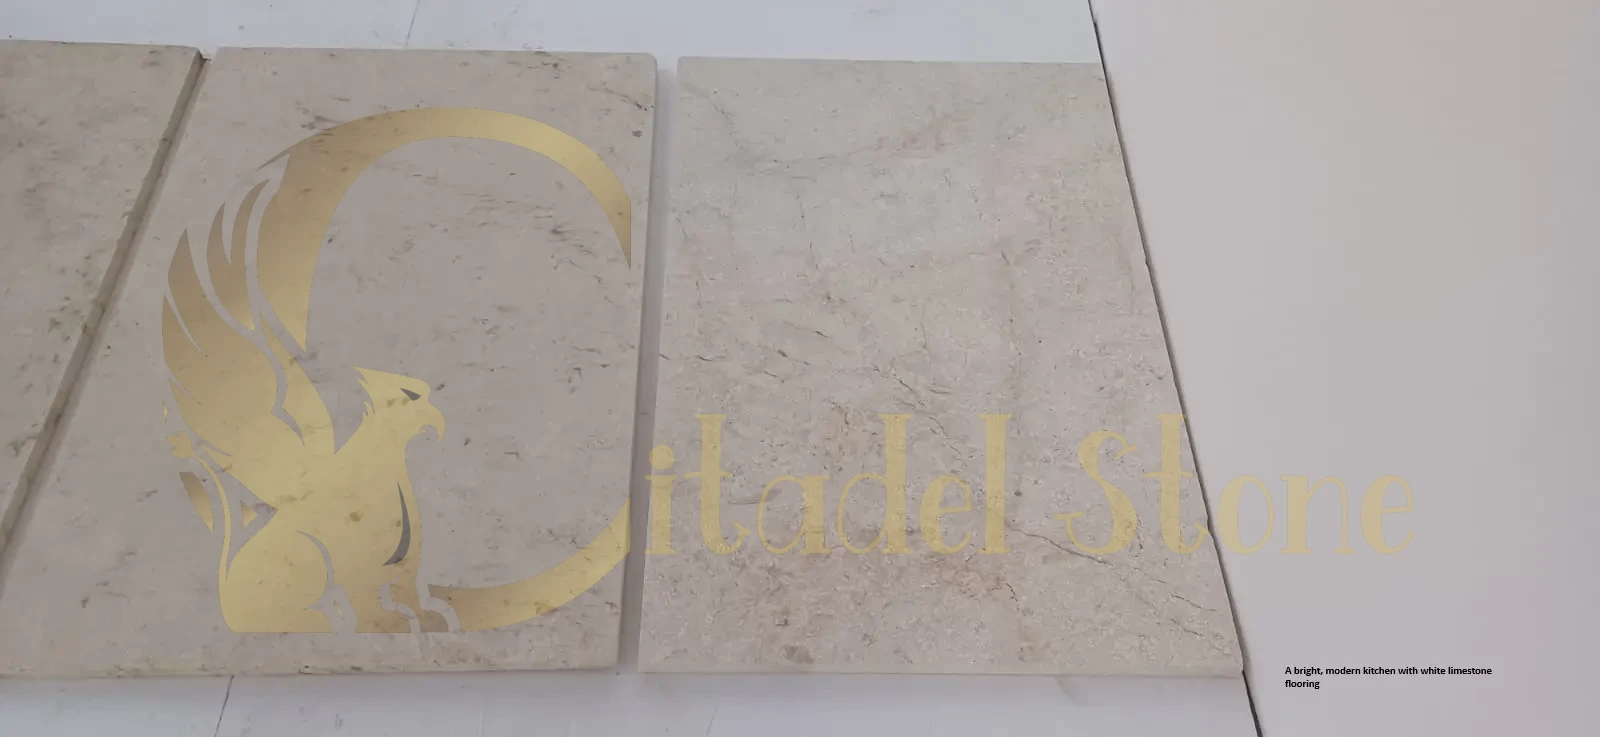
Best rooms for limestone floors include living and dining areas where seamless indoor-outdoor transitions create sophisticated flow. Large-format limestone installations minimize grout lines for clean, contemporary aesthetics while providing neutral backdrops that showcase furniture and artwork.
The stone’s ability to pair beautifully with area rugs and timber elements allows design flexibility while maintaining visual continuity throughout open-plan spaces.
Acoustic & comfort considerations
Limestone’s density provides natural sound dampening compared to harder stones like granite. However, consider underfloor heating systems for enhanced comfort, particularly in climates with cold seasons.
Strategic area rug placement adds warmth, defines seating areas, and provides acoustic softening in larger spaces. Choose rug pads specifically designed for natural stone to prevent slipping and surface abrasion.
Pattern, jointing and large-format decisions
Large-format limestone tiles (illustrative: 600x900mm or larger) minimize joints for contemporary aesthetics. Plan joint locations to align with architectural features like doorways and built-in furniture.
Consider running bond or offset patterns for visual interest, while maintaining consistent joint widths throughout connected spaces for professional appearance.
Room 5 — Covered Outdoor Rooms & Terraces (Sheltered)
Where it works outdoors
Covered terraces, pergola areas, and enclosed patios provide ideal outdoor settings for white limestone flooring. Avoid fully exposed pool edges unless specifying limestone specifically rated for freeze-thaw cycles and chlorine exposure.
The protection from direct weather allows limestone to extend interior aesthetics outdoors while maintaining durability and appearance over time.
Finish and frost/salt considerations
Choose low-absorption limestone varieties and thermal or flamed finishes for enhanced frost resistance in climates with freeze-thaw cycles. Illustrative absorption rates below 3% typically provide better freeze-thaw performance, though verify specific ratings with stone suppliers.
Avoid deicing salts on limestone surfaces, opting instead for sand or alternative ice management strategies that won’t damage the stone surface.
Detailing to manage drainage and movement
Ensure proper slope (illustrative: minimum 1:100) away from buildings to prevent water pooling. Install expansion joints at regular intervals and where limestone meets other materials to accommodate thermal movement.
Consider discrete drainage channels or linear drains in covered areas where water may accumulate during driving rain events.
Choosing the Right Finish & Thickness — Quick Guide
Honed finishes suit most interior applications, providing elegant matte surfaces that hide minor wear while maintaining sophistication. Brushed finishes add subtle texture for enhanced slip resistance in kitchens and bathrooms.
Thermal finishes work well for covered outdoor areas, providing texture and enhanced durability. Flamed finishes offer maximum slip resistance for high-exposure outdoor applications.
Illustrative thickness ranges: 12-15mm for interior tile applications, 20-30mm for outdoor pavers, with thicker materials providing enhanced durability and thermal mass.
Safety, Slip Resistance & Testing to Request
Practical slip considerations vary by application and user expectations. Request slip resistance testing using current regional methods—verify pendulum or DCOF standard identifiers before specifying.
ANSI A326.3 sets a minimum wet DCOF of 0.42 for level wet surfaces; it does not set a dry-condition figure, and wet barefoot areas may warrant more texture still. On-site mitigations include micro-textured strips, strategically placed mats, and proper lighting to highlight surface changes.
Consider the end users’ typical footwear and mobility requirements when establishing safety thresholds and finish selections.
Maintenance & Sealing — A Practical Schedule
Daily
- Sweep or vacuum to remove abrasive particles
- Clean spills immediately with pH-neutral cleaners
- Damp mop with clean water and appropriate stone cleaners
Weekly
- Deep clean with pH-neutral stone cleaners
- Check and replace walk-off mats if needed
- Inspect grout lines for staining or damage
Monthly
- Deep clean grout lines with appropriate cleaners
- Apply stain removal treatments if needed
- Check sealer effectiveness with water droplet tests
Annual
- Professional deep cleaning and sealer renewal (illustrative intervals vary 12-24 months)
- Inspect for chips, cracks, or movement issues
- Update protective measures based on wear patterns
Avoid harsh acids, bleach-based cleaners, and abrasive cleaning tools that can damage limestone surfaces over time.
Design Tips & Pairings — Colors, Grouts & Furnishings
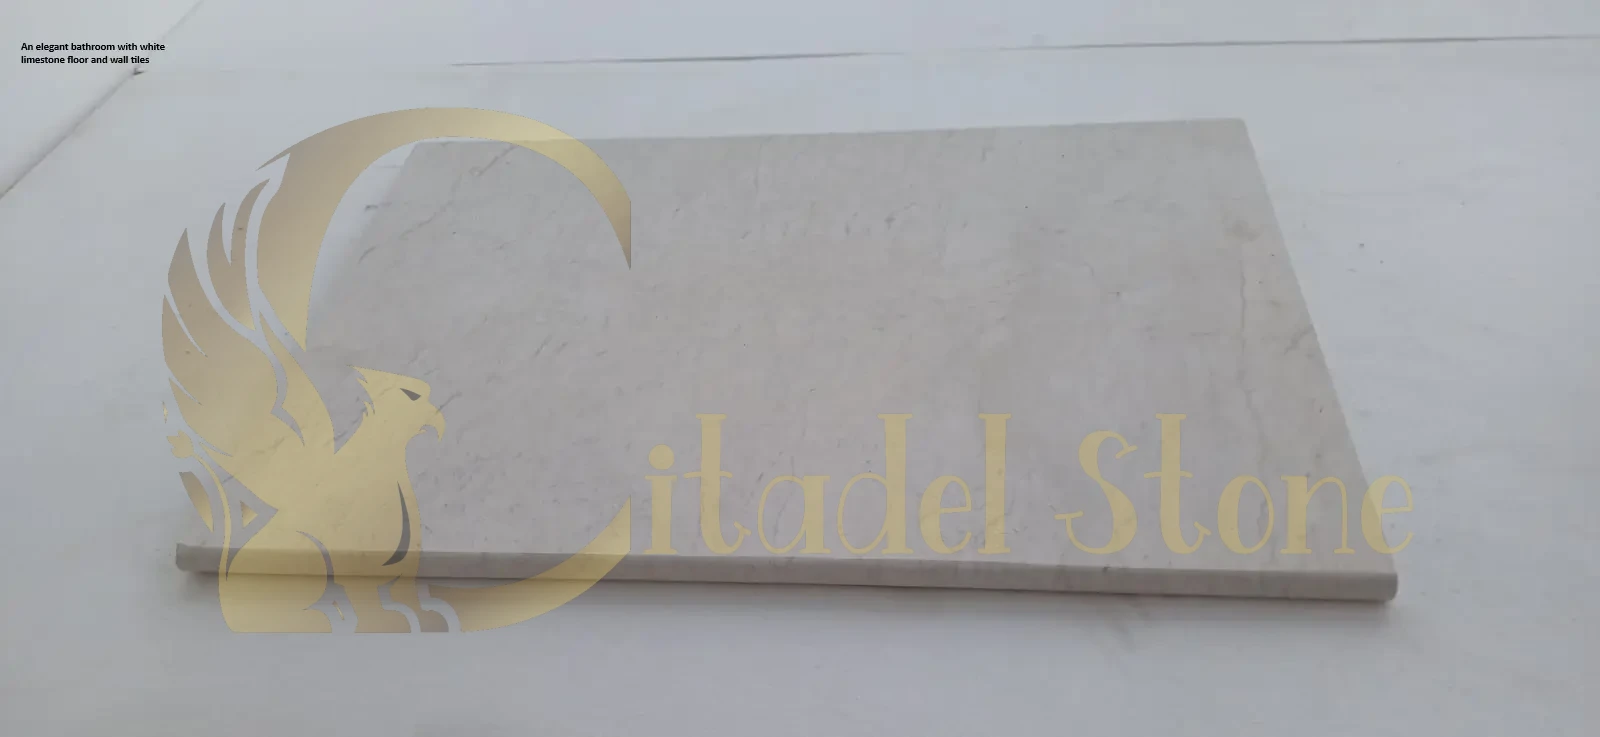
White polished limestone pair beautifully with warm wood tones, creating sophisticated contrast and natural material harmony. Consider warm grays or light beige grout colors that complement limestone’s natural variations while hiding minor staining.
Metal accents in brushed brass or aged bronze complement limestone’s warm undertones, while stainless steel and chrome suit cooler limestone varieties. Glass elements add contemporary contrast without competing with the stone’s natural beauty.
For lighting, combine ambient and accent lighting to highlight limestone’s subtle variations while avoiding harsh directional lights that create glare on polished surfaces.
Costs & Budget Considerations
Limestone flooring costs vary significantly based on finish complexity, installation conditions, and regional availability.
| Application | Cost per m² | Cost per ft² | Key Drivers |
|---|---|---|---|
| Basic honed tile | $45-75 | $4.20-7.00 | Material grade, thickness |
| Premium finishes | $75-120 | $7.00-11.00 | Complex finishes, large format |
| Outdoor pavers | $85-150 | $7.90-14.00 | Thickness, frost rating, installation complexity |
All costs are illustrative and include material plus standard installation. Actual costs vary by location, waste allowance (typically 10-15%), and project complexity.
Premium White Limestone Tiles by Citadel Stone
FAQs — Practical Answers
Q: Will white limestone stain in a kitchen? A: Properly sealed limestone resists most kitchen stains. Address spills immediately and maintain sealer applications illustratively every 12-18 months for optimal protection.
Q: Is limestone suitable for heated floors? A: Yes, limestone’s excellent thermal mass makes it ideal for underfloor heating. Ensure gradual temperature increases during initial startup to prevent thermal shock.
Q: How slip-resistant is honed limestone? A: Honed limestone provides moderate slip resistance. Illustrative DCOF values typically range 0.35-0.45 when dry, lower when wet. Consider textured finishes for wet areas.
Q: Can limestone handle outdoor freeze-thaw cycles? A: Low-absorption limestone varieties (illustrative <3% absorption) with appropriate finishes handle freeze-thaw cycles well. Avoid deicing salts and ensure proper drainage.
Q: What grout color works best with white limestone? A: Light gray or warm beige grout complements limestone’s natural variations while hiding minor staining better than pure white options.
Q: How long does limestone installation take? A: Installation timelines vary by project size and complexity. Illustrative timeframes: 2-3 days for typical residential rooms, longer for complex patterns or outdoor applications requiring additional weatherproofing.
Conclusion & Next Steps
White limestone floors offer timeless elegance and practical performance when properly specified and maintained. Success depends on matching finish selection to intended use, implementing appropriate safety measures, and maintaining proper sealing schedules.
Key takeaways for your limestone flooring project:
- Choose finishes based on slip resistance requirements and aesthetic preferences
- Plan maintenance schedules proactively, with illustrative sealer renewal every 12-24 months
- Consider thermal comfort solutions like underfloor heating for enhanced user experience
- Test samples in your actual lighting conditions before final selection
Ready to explore limestone options for your project? Browse Limestone Collections to see available varieties and finishes, or Request Samples & Consultation to discuss specific requirements with our stone specialists.