Limestone tiles bring a unique blend of natural elegance and rugged durability to any home. Whether you’re dreaming of a sleek indoor floor or a stunning outdoor patio, these tiles offer timeless beauty that adapts to any style. At Citadel Stone, we’re dedicated to helping you transform your spaces with premium limestone products. That’s why we’ve crafted this comprehensive guide to walk you through the process of installing limestone tiles, both indoors and outdoors.
This step-by-step article is designed for homeowners, DIY enthusiasts, and anyone looking to master the art of tile installation. It is packed with practical advice, insider tips, and clear instructions to ensure your project succeeds. Let’s dive in and explore how to install white limestone tiles with confidence and precision.
Why White Limestone Tiles Are a Smart Choice
Distinct white limestone tiles stand out for their organic charm and versatility. Formed over millennia from mineral deposits and fossil fragments, each tile carries a story in its subtle patterns and earthy tones. Here’s why they’re a top pick:
- Aesthetic Appeal: From creamy beiges to cool grays, limestone complements modern and rustic designs alike.
- Durability: Tough enough for high-traffic areas yet refined for elegant interiors.
- Natural Comfort: Stays cool in summer, making it ideal for sunlit patios or barefoot-friendly floors.
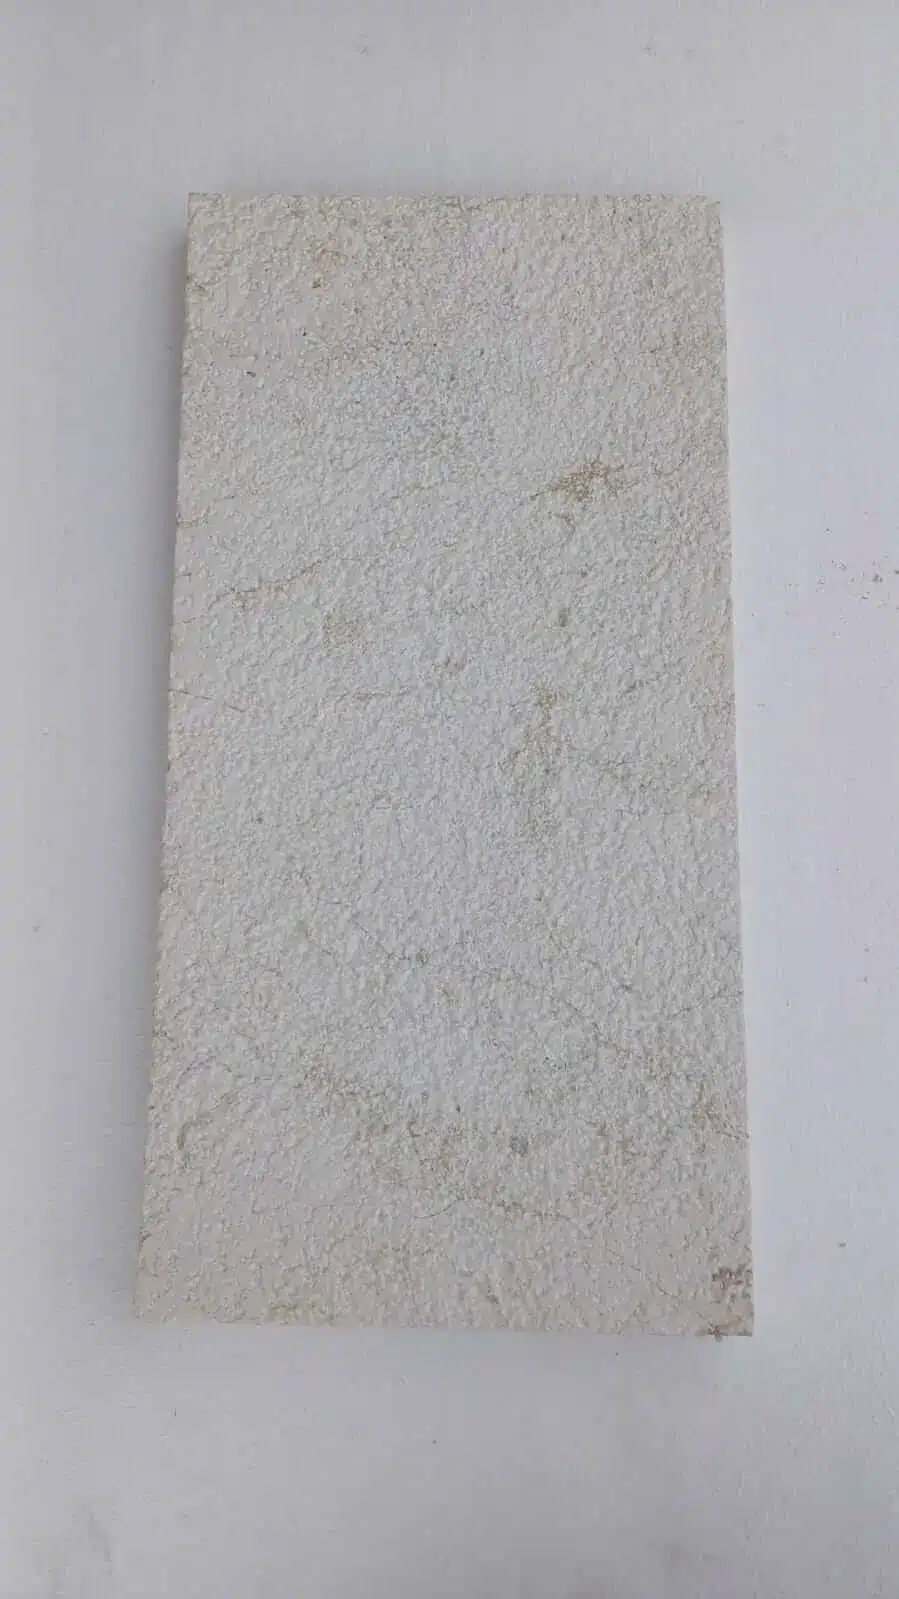
- Finish Options: Choose honed for a smooth matte look, polished for shine, or tumbled for a weathered vibe.
However, limestone’s porous nature means it needs proper installation and care to thrive. This guide will show you how to do it right, ensuring your tiles shine for years to come.
Preparation: Laying the Groundwork
A flawless tile installation starts with thorough preparation. Rushing this phase can lead to uneven tiles, weak adhesion, or costly do-overs. Here’s how to get ready:
Measuring Your Space
- Determine Square Footage: Measure the length and width of your area, then multiply. For irregular spaces, break it into smaller sections and add them up.
- Add Extra: Order 10-15% more tiles to account for cuts, breakage, or spares. It’s better to have too much than too little mid-project.
Selecting Your Limestone Tiles
- Finish Matters:
- Honed: Sleek and understated, perfect for kitchens or bathrooms.
- Polished: Reflective and luxurious, great for formal spaces.
- Tumbled: Textured and slip-resistant, ideal for outdoor areas.
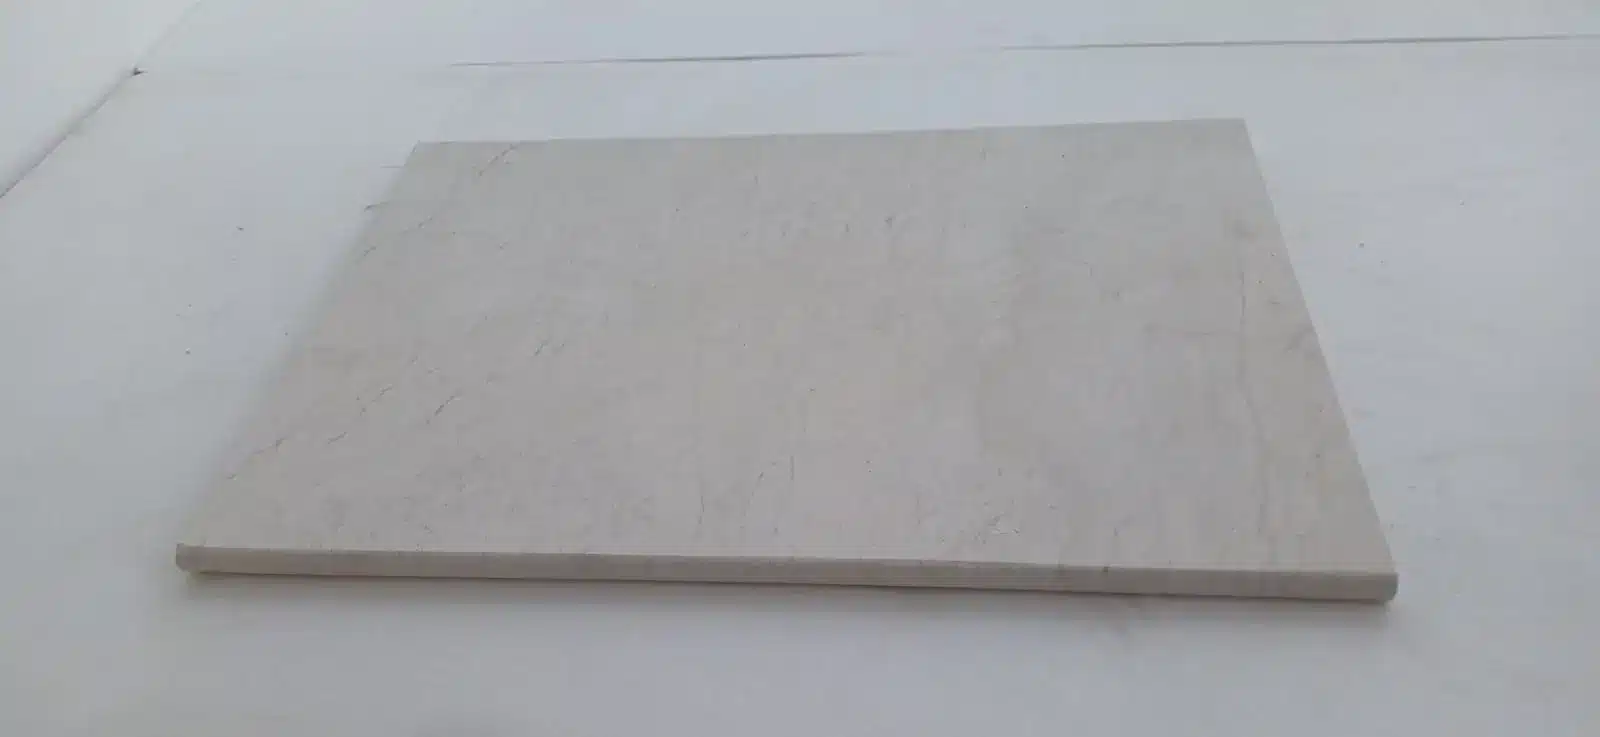
- Thickness:
- Indoors: 3/8 to 1/2 inch works well for most floors.
- Outdoors: Go for 3/4 to 1 inch to handle weather and weight.
Tools and Materials Checklist
Stock up on these essentials:
- Tile adhesive (thin-set mortar) – Exterior-grade for outdoors.
- Grout – Unsanded for narrow joints, sanded for wider ones.
- Tile spacers – 1/8 to 1/4 inch, depending on your design.
- Notched trowel – For even adhesive application.
- Tile cutter or wet saw – For precise cuts.
- Level – To keep everything flat.
- Measuring tape and chalk line – For layout planning.
- Rubber mallet – To tap tiles into place.
- Grout float – For smooth grout lines.
- Sponge and bucket – For cleanup.
- Safety gear – Gloves, goggles, and knee pads.
- Penetrating sealer – To protect your limestone.
With your space measured, tiles chosen, and tools ready, you’re set to begin.
Installing Limestone Tiles Indoors
Indoor installations focus on precision and aesthetics. Follow these steps for a professional-quality finish:
Step 1: Prepare the Subfloor
- Clean Thoroughly: Sweep or vacuum to remove dust and debris. Wipe greasy spots with a mild detergent.
- Check Levelness: Run a level across the floor. Fill low spots with self-leveling compound and sand down high areas.
- Prime if Needed: Apply a primer to porous surfaces like concrete or plywood to boost adhesive grip.
Step 2: Plan Your Tile Layout
- Mark the Center: Find the room’s midpoint by measuring wall-to-wall and snapping chalk lines that intersect.
- Dry Run: Lay tiles along the lines without adhesive to test your pattern. Adjust to avoid tiny cuts at the edges.
- Visualize: Step back and ensure the design looks balanced from different angles.
Step 3: Apply the Adhesive
- Mix the Mortar: Stir thin-set to a creamy consistency, following package directions. Let it sit for 10 minutes to activate.
- Spread Evenly: Use a notched trowel to apply adhesive in a 3×3-foot section. Hold the trowel at a 45-degree angle for uniform ridges.
Step 4: Place the Tiles
- Start at the Center: Press the first tile into the adhesive with a slight twist. Use spacers to keep joints even.
- Work Outward: Add tiles along your chalk lines, checking alignment with a level. Tap gently with a rubber mallet if needed.
- Stay Consistent: Keep gaps uniform and surfaces flat as you go.
Step 5: Cut Tiles to Fit
- Measure Carefully: Mark tiles for edges, corners, or obstacles like doorways.
- Cut Safely: Use a wet saw for straight lines or a tile nipper for curves. Wear protective gear to avoid injury.
Step 6: Let It Set
- Curing Time: Wait 24-48 hours for the adhesive to harden. Check the product label for specifics.
- No Disturbances: Keep pets, kids, and heavy objects off the floor during this time.
Step 7: Apply Grout
- Pick the Right Grout: Use unsanded for joints under 1/8 inch, sanded for wider gaps.
- Spread It: Push grout into joints with a rubber float, working diagonally to fill every space.
- Clean Up: Wipe excess grout off the tiles with a damp sponge after 15-20 minutes. Rinse often to avoid haze.
Step 8: Seal the Surface
- Wait for Grout to Cure: Give it 48-72 hours to dry completely.
- Apply Sealer: Brush or roll on a penetrating sealer, covering all tiles evenly. Wipe off excess after 10 minutes.
- Maintain Protection: Plan to reseal annually to shield against spills and wear.
Installing Limestone Tiles Outdoors
Outdoor installations require extra steps to combat weather and wear. Here’s how to adapt your approach:
Step 1: Build a Solid Base
- Clear the Area: Dig out 6-8 inches of soil for patios or paths.
- Add Drainage: Spread a 4-inch layer of gravel and compact it. Top with a 2-inch sand layer or a concrete slab for stability.
- Slope It: Angle the base 1/4 inch per foot away from buildings to shed water.
Step 2: Use Weatherproof Materials
- Adhesive: Choose a flexible, outdoor-rated thin-set that handles freeze-thaw cycles.
- Grout: Go for sanded grout with additives for durability and water resistance.
Step 3: Lay the Tiles
- Start at the Edge: Begin along a straight boundary (like a wall or curb) for a clean look.
- Wider Joints: Use 1/4-inch spacers to allow for expansion in changing temperatures.
- Check Drainage: Confirm water flows away as you work.
Step 4: Cut and Fit
- Measure Twice: Account for slopes or curves in your cuts.
- Secure Edges: Ensure perimeter tiles are firmly set to handle foot traffic.
Step 5: Seal for Protection
- Double Up: Apply two coats of sealer, letting the first dry before adding the second.
- Monitor Wear: Reseal every 6-12 months, especially in harsh climates.
Maintenance Tips for Limestone Longevity
Keep your limestone tiles looking pristine with these care habits:
- Act Fast on Spills: Dab liquids with a soft cloth to prevent stains.
- Gentle Cleaning: Use a pH-neutral cleaner and a soft mop or cloth. Avoid vinegar or bleach.
- Regular Dusting: Sweep or vacuum to remove grit that can scratch the surface.
- Reseal Smartly: Refresh the sealer every 1-2 years indoors, or biannually outdoors.
- Protect the Finish: Add rugs in high-traffic zones and felt pads under furniture.

Troubleshooting Common Issues
Even with careful planning, challenges can arise. Here’s how to handle them:
- Uneven Tiles: Re-level the subfloor or base before starting.
- Loose Tiles: Use more adhesive or ensure the surface is clean and primed.
- Grout Haze: Buff with a dry cloth or use a haze remover if it persists.
- Staining: Seal promptly and clean spills quickly to minimize marks.
- Cracks Outdoors: Improve drainage or use thicker tiles for heavy loads.
DIY or Pro? Know Your Limits
While this guide empowers DIY success, some projects benefit from professional expertise:
- Tricky Layouts: Complex patterns or large areas may need a skilled hand.
- Structural Fixes: Major subfloor or base repairs are best left to pros.
- Time Constraints: Tight deadlines might call for a faster, expert touch.
Need help? Citadel Stone can connect you with trusted installers. for support.
Exquisite White Limestone Tiles by Citadel Stone
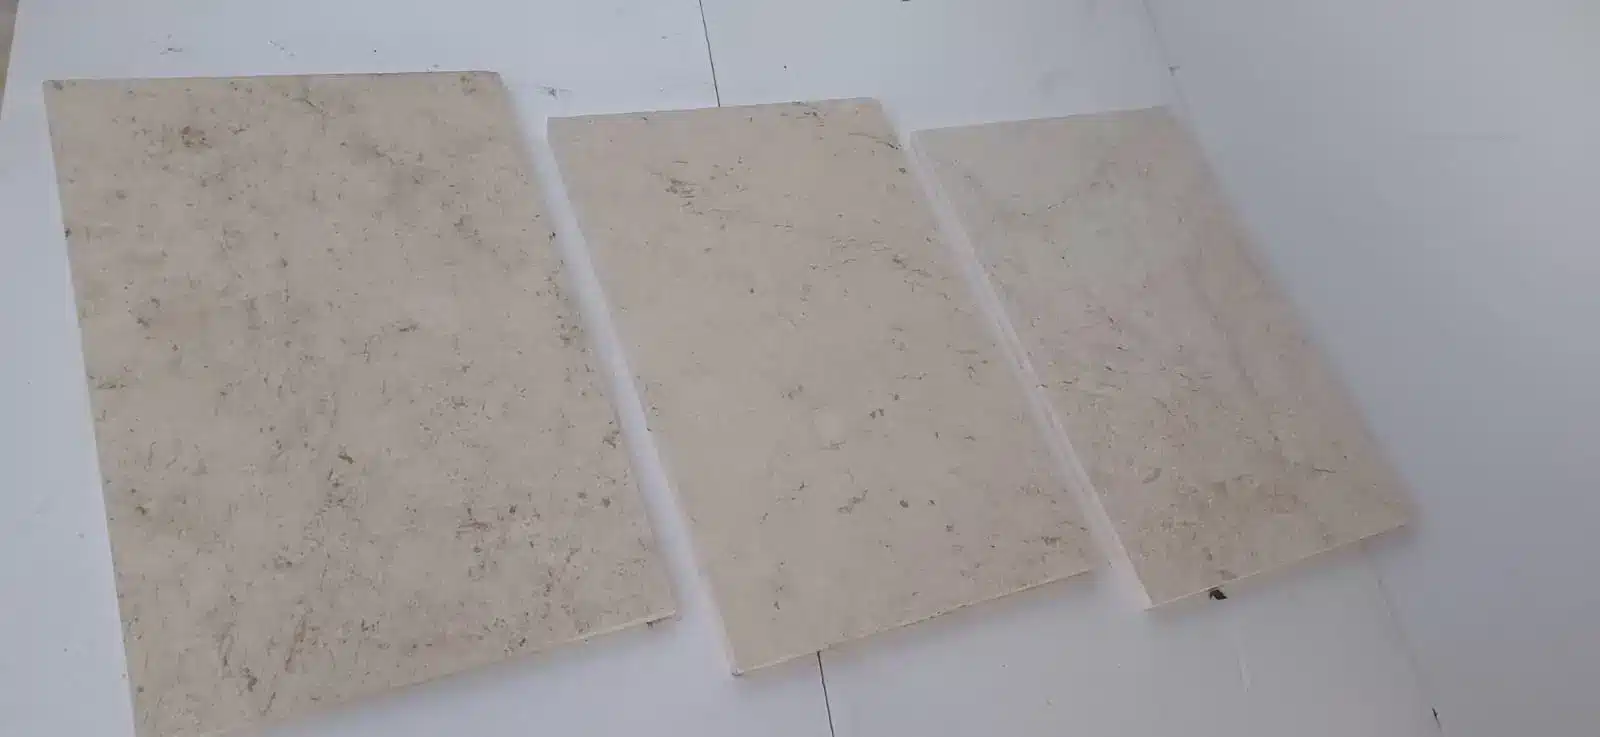
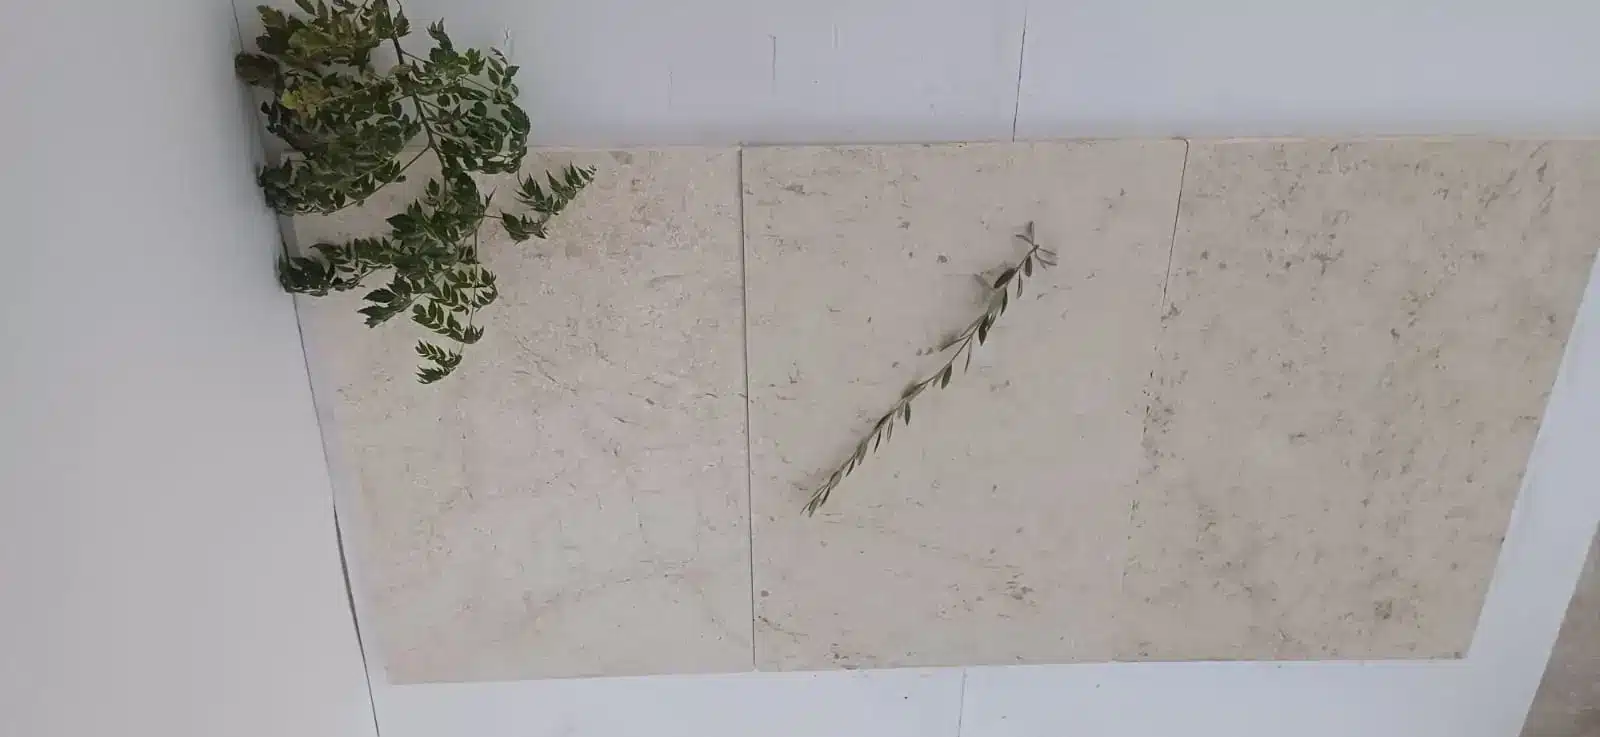
Citadel Stone offers an exceptional range of white limestone tiles that embody the perfect union of natural elegance and lasting durability. These tiles are designed to make a bold yet refined statement in any space, seamlessly enhancing both interior and exterior design projects. With their unique white and cream color variations, each tile exudes a timeless appeal that adapts gracefully to diverse architectural styles and design themes.
Unique Natural Beauty and Intricate Veining
What truly sets these refined white limestone pavers apart is their distinct aesthetic appeal. Every paver features a naturally occurring pattern that combines a subtle interplay of white and cream hues with soft veins sporadically appearing throughout. Adding to their allure, a distinct silver vein weaves delicately through each stone, infusing the material with a touch of understated luxury. This intricate veining not only highlights the natural texture of the limestone but also creates a harmonious and minimal color palette that is both inviting and sophisticated. Such natural detailing makes these tiles a perfect choice for projects aiming to achieve a serene yet elegant ambiance.
Versatility in Design and Application
The inherent versatility of Citadel Stone’s white limestone tiles is one of their greatest strengths. These tiles are available in all sizes and thicknesses, ranging from versatile standard options to stylish paver formats that can accommodate various design specifications. Their adaptable nature ensures that whether the project involves sleek indoor flooring, eye-catching kitchen backsplashes, or striking outdoor patios and pool surrounds, the tiles blend effortlessly with any setting. Furthermore, their resilience makes them suitable for both high-traffic indoor areas and dynamic outdoor environments, ensuring that your design remains both functional and visually appealing over time.
Superior Quality and Enduring Durability
Renowned for its high standards, Citadel Stone is committed to delivering products that not only enhance the aesthetic appeal of a space but also provide long-term durability. The white limestone tiles are meticulously sourced and processed to preserve their natural strength while highlighting their refined appearance. This dedication to quality means that each tile maintains its exquisite color and texture even when subjected to daily wear and environmental factors. By choosing these tiles, designers and homeowners are investing in a material that promises both beauty and structural integrity, making it an excellent long-term solution for a variety of applications.
Customization to Suit Every Project
Citadel Stone understands that every design project is unique, which is why they offer their white limestone tiles in a comprehensive range of sizes, thicknesses, and finishes. This commitment to customization ensures that architects, interior designers, and homeowners can find the perfect match for their specific requirements. The tailored options not only allow for creative freedom in layout and design but also ensure that every installation is perfectly aligned with the envisioned aesthetic. Whether used to create a bold focal point or provide a subtle, complementary backdrop, these tiles are engineered to meet diverse design needs.
Elevating Interiors and Exteriors with Natural Sophistication
The pristine beauty of these white limestone tiles has the power to transform any space into a work of art. Their subtle color variations, combined with delicate silver accents, lend a refined character that enriches both contemporary and traditional settings. The seamless integration of these tiles into various design schemes—from modern minimalist interiors to luxurious outdoor retreats—underscores their flexibility and universal appeal. With Citadel Stone supplying a full range of options in all thicknesses, sizes, and finishes, clients are assured of a product that not only elevates aesthetic value but also stands the test of time.
Experience the unmatched elegance and durability of Citadel Stone’s white limestone tiles, and let the natural beauty of limestone redefine your design projects with sophistication and enduring style.
Demonstrating Versatility: White Limestone Tile Projects Across America
Case Study 1: Burlington, Vermont – Elegant Lakeside Retreat
In Burlington, Vermont, a modern lakeside residence underwent a transformation featuring pristine high‑quality white polished limestone tiles. The design team chose the natural stone for its durability and light-reflective properties—ideal for maximizing brightness in the open-plan interior. The white limestone flooring was installed in both indoor living spaces and the adjacent sunroom, seamlessly uniting the indoors with the picturesque lake views. Sustainable design practices and energy-efficient lighting further enhanced the home’s eco-friendly appeal. This project demonstrates how white limestone tiles can harmonize modern luxury with the serene beauty of Vermont’s natural landscape.
Case Study 2: Wichita, Kansas – Contemporary Urban Loft Conversion
A historic warehouse in Wichita, Kansas was reimagined as a contemporary urban loft, with eco‑friendly limestone white tiles taking center stage in the design. The renovation featured expansive open spaces where white limestone was laid throughout the living, dining, and communal areas. Its clean, modern aesthetic, coupled with high durability, made it the ideal choice for a high-traffic residential conversion. The tile’s neutral hue elevated the minimalist décor, allowing bold accent colors and industrial features to shine. This case study showcases the versatility of white limestone tiles in blending contemporary style with adaptive reuse projects.
Case Study 3: Newark, New Jersey – Sophisticated Corporate Renovation
In Newark, New Jersey, a corporate headquarters underwent a sophisticated renovation using custom-cut white limestone floor tiles to create an inviting and professional workspace. The selection of white limestone was driven by its natural elegance and capacity to enhance ambient lighting in large open areas such as lobbies, conference rooms, and executive offices. The material’s refined appearance added a layer of prestige while also providing excellent durability for heavy-duty use. This project underscores how white limestone tiles can help reinforce a corporate image that values both style and sustainability in the heart of New Jersey’s urban environment.
Case Study 4: Stamford, Connecticut – Luxury Boutique Hotel Renewal
A boutique hotel in Stamford, Connecticut recently embarked on a renewal project that spotlighted the timeless charm of timeless white polished limestone tiles. The hotel’s renovation emphasized creating a luxurious and welcoming ambiance in its common areas, including the reception, hallways, and private dining rooms. White limestone’s reflective quality boosted natural light penetration while its natural variation added character to each space. Carefully paired with contemporary furnishings, the flooring instills a balance between modern elegance and classic comfort. This case study illustrates how white limestone tiles can be used to elevate hospitality spaces with sophistication and lasting beauty.
Case Study 5: Wilmington, Delaware – Historic Mansion Modernization
In Wilmington, Delaware, a stately historic mansion was modernized with the integration of contemporary white limestone slabs in key areas such as the foyer, kitchens, and bathrooms. The project focused on preserving the home’s architectural character while infusing it with contemporary design elements. The use of white limestone added a crisp, clean look that enhanced the mansion’s original details and provided a durable surface for everyday use. Energy-efficient installation and low maintenance further contributed to the home’s overall sustainability. This case study demonstrates how white limestone tiles can bridge the gap between historic preservation and modern innovation.
Case Study 6: Oklahoma City, Oklahoma – Eco-Friendly Mixed-Use Complex
In Oklahoma City, a mixed-use development project showcased the versatility of elegant white outdoor pavers by incorporating them in both commercial and residential components. The modern complex features high-traffic areas such as lobbies, hallways, and outdoor communal spaces adorned with white limestone flooring. The tile’s natural, reflective qualities not only contribute to reduced energy costs by enhancing daylight distribution but also provide a sleek, contemporary aesthetic that appeals to urban dwellers. This project is a prime example of how sustainable materials like white limestone can play a central role in developing multifunctional spaces that meet the demands of modern city living.
Each of these unique case studies emphasizes the dynamic versatility, eco-friendly benefits, and enduring aesthetic appeal of white limestone tiles across diverse project types in the USA.
White Limestone Tiles: Shaping Modern U.S. Construction
White limestone tiles have carved out a distinct niche in the U.S. construction landscape, celebrated for their ability to merge natural beauty with performance-driven design. As contemporary architecture leans towards clean, minimalist aesthetics, these tiles are increasingly preferred for their light color spectrum and sophisticated texture, which help create spaces that appear both modern and inviting.
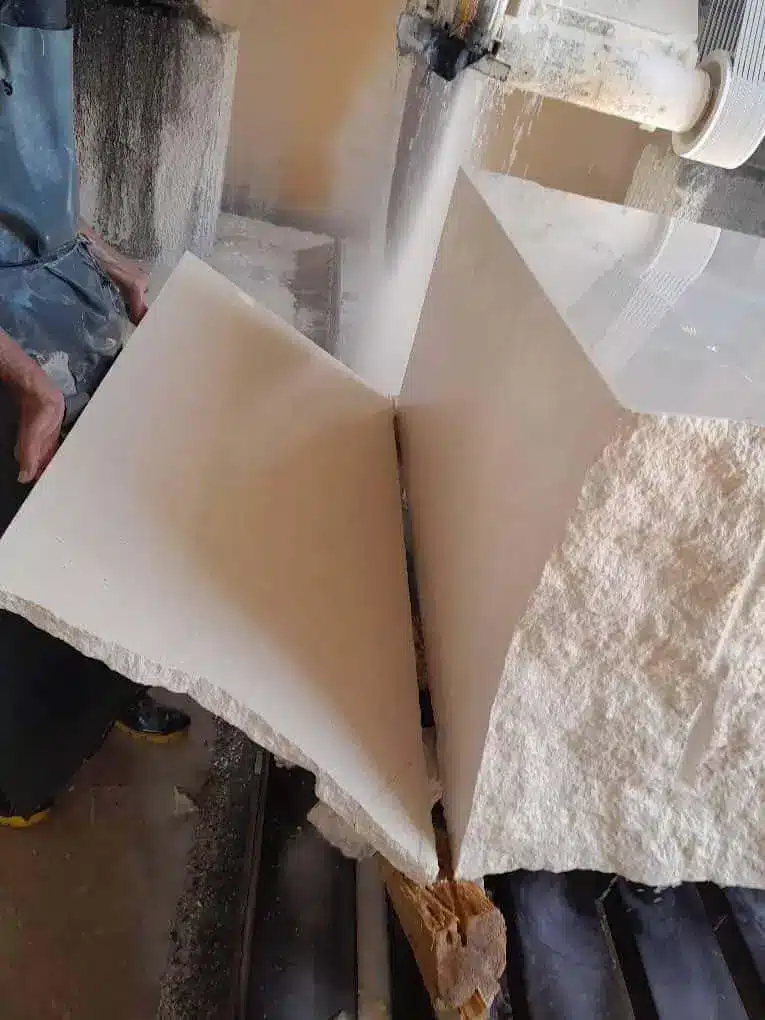
Technological innovations in quarrying and tile fabrication have enabled manufacturers to produce white limestone tiles with superior precision and consistency. This progress allows for enhanced durability, ensuring that the tiles effectively withstand heavy foot traffic, weather variations, and daily wear in both residential and commercial settings. Industry leaders are embracing digital design tools and CNC machining, which facilitate intricate cuts and tailored finishes that cater to project-specific requirements.
Additionally, sustainable extraction methods are gaining traction within the industry. Companies are prioritizing eco-friendly practices during the quarrying and processing stages, appealing to environmentally conscious consumers. This convergence of technology, design flexibility, and sustainability has positioned white limestone tiles as an attractive option in modern construction. Their enduring elegance and practical benefits continue to drive growth, making them a cornerstone material in the evolving U.S. architectural and interior design markets.
Elevate Your Home with White Limestone
Installing white limestone tiles is more than a project—it’s an investment in beauty and durability. With this step-by-step guide, you’ve got the tools to create stunning indoor floors and resilient outdoor spaces. From preparation to sealing, each step builds toward a result you’ll love for years.
Curate Your Dream Design: Free White Tile Resources Available
Embrace your creative journey with premium white tiles that promise distinguished finishes. Ask for free samples, catalogs, and design inspiration from Citadel Stone, where our professionals are eager to help realize your ideas.
Visit our website for installation shots, pricing info, and sample details.
Use our Contact Page to request Samples, Written Materials, PowerPoint Decks, Catalogs, Tear Sheets, Concept Boards, and Display Units.
Ready to bring your vision to life? Browse Citadel Stone’s limestone tile collection for inspiration and quality you can trust. Your perfect space awaits—start tiling today!