Basalt tiles have long been celebrated for their natural strength, low porosity, and modern aesthetic. However, over time, even these robust tiles can show signs of wear—dulling of finish, surface cracks, or chipped edges due to environmental exposure and heavy use. Restoring aged basalt tiles not only revitalizes their appearance but also extends their lifespan, ensuring they continue to perform in high-traffic areas like driveways, pool decks, and interior floors.
This comprehensive guide explores effective DIY techniques for restoring our basalt tiles through polishing, crack filling, and selective replacement. We’ll provide in-depth, step-by-step instructions, list the essential tools and materials, and present six inspiring case studies from diverse cities—Portland (ME), Raleigh (NC), Des Moines (IA), San Diego (CA), Charleston (SC), and Spokane (WA). Whether you’re a DIY enthusiast or a professional looking for cost-effective restoration methods, this guide is designed to help you bring aged basalt tiles back to life.
1. Understanding the Challenges of Aged Basalt Tiles
1.1. Common Signs of Wear
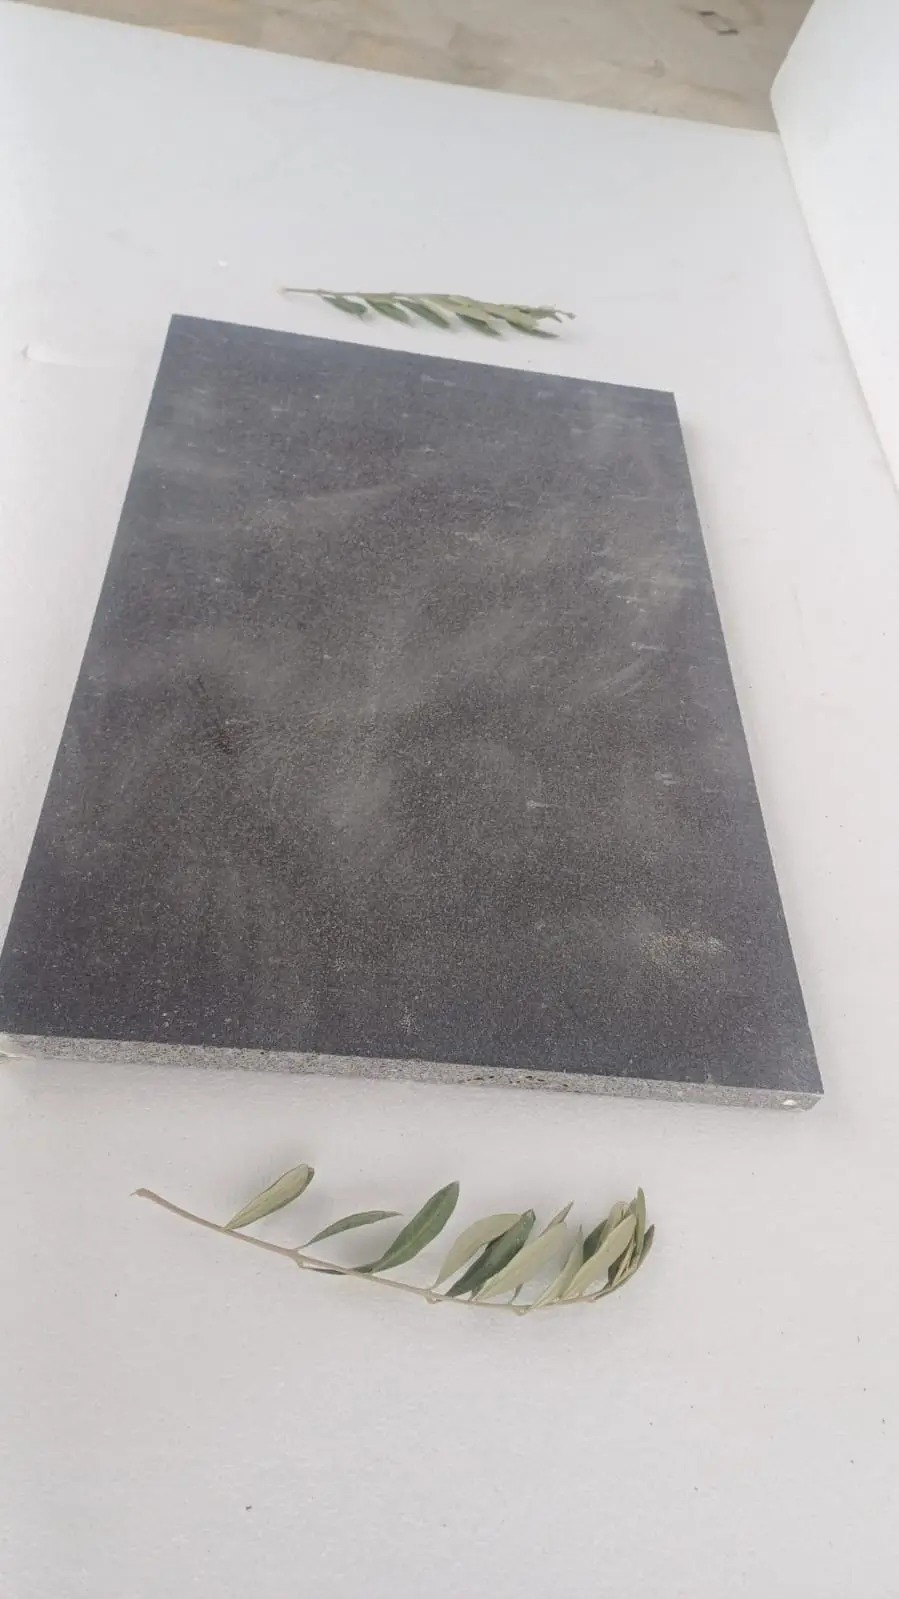
Over time, some of our polished basalt tiles for a sleek, shiny finish can develop:
- Surface Dullness: Loss of the original polished or textured finish due to natural wear.
- Cracks and Chips: Minor fractures from thermal expansion, impact, or general stress.
- Discoloration: Fading or staining from prolonged exposure to weather elements or spills.
- Loose or Damaged Tiles: In some cases, individual tiles may become dislodged or severely damaged.
1.2. Why Restoration Matters
Restoring artistic basalt tiles for feature walls and accents is not just about aesthetics:
- Preserves Structural Integrity: Addressing cracks and chips early prevents further damage.
- Enhances Safety: A well-maintained surface reduces slip hazards and unevenness.
- Extends Lifespan: Proper restoration can delay the need for complete replacement, saving money over time.
- Sustainability: Restoring rather than replacing tiles reduces waste and minimizes resource consumption.
2. DIY Restoration Techniques for Basalt Tiles
Restoration projects can generally be divided into three areas: polishing, filling cracks, and replacing severely damaged tiles.
2.1. Polishing Basalt Tiles
Objective: Restore the original shine or textured finish.
Tools & Materials:
- Diamond abrasive pads (various grits, starting from coarse to fine)
- Floor buffer or orbital sander (for larger areas)
- Wet/dry vacuum
- Clean microfiber cloths
- pH-neutral cleaning solution
- Optional: Commercial stone polish specifically for basalt
Steps:
Clean Thoroughly:
Begin by sweeping and mopping the tile surface to remove dirt and debris. Use a pH-neutral cleaner to avoid damaging the stone.Assess the Finish:
Determine if your slip-resistant basalt tiles for secure walkways – Citadel Stone are honed, polished, or flamed. This will guide the polishing process.- For polished surfaces, start with a medium-grit diamond pad (around 100-200 grit) to remove surface imperfections, then progress to a finer grit (400-800) for a high shine.
- For honed or flamed finishes, opt for a gentler approach with fine-grit pads to avoid altering the texture.
Polishing Process:
- Small Areas: Use a handheld orbital sander with water to reduce dust and heat.
- Larger Areas: A floor buffer with a diamond polishing pad is ideal. Work in small sections, keeping the pad moving to ensure even polishing.
- Rinse frequently and use a wet/dry vacuum to remove slurry.
Final Touch:
Wipe down with a microfiber cloth and, if desired, apply a commercial stone polish for added luster and protection.
2.2. Filling Cracks and Chips
Objective: Restore structural integrity and visual continuity.
Tools & Materials:
- Epoxy resin or stone filler (matched to the tile color)
- Putty knife or spatula
- Fine sandpaper (for smoothing)
- Clean cloths
- Protective gloves and eyewear
Steps:
Clean the Area:
Remove loose debris and dust from cracks using a brush or vacuum.Prepare the Filler:
Mix the epoxy resin or stone filler as per the manufacturer’s instructions.Application:
- Use a putty knife to apply the filler into cracks and chips, ensuring the material fully penetrates the damaged area.
- Smooth out the filler so that it is flush with the tile surface.
Curing:
Allow the filler to cure fully (this may vary from a few hours to overnight).Finishing:
Lightly sand the filled area with fine sandpaper to achieve a smooth finish and blend it with the surrounding tile surface.
2.3. Replacing Damaged Tiles
Objective: Replace tiles that are beyond repair to maintain the overall integrity of the surface.
Tools & Materials:
- Safety goggles and gloves
- Chisel and hammer (or tile cutter)
- Replacement basalt tiles (matched in size, finish, and color)
- High-strength adhesive (thinset or epoxy-based)
- Grout (matching existing color)
- Notched trowel and grout float
Steps:
Remove Damaged Tiles:
- Carefully break up the damaged tile using a chisel and hammer.
- Remove all fragments and clean the substrate thoroughly.
Prepare Replacement Tile:
Ensure that the new tile matches the existing tiles in size, color, and finish. Pre-cut if necessary.- Spread a thin, even layer of adhesive on the substrate using a notched trowel.
- Set the new tile in place, pressing firmly to achieve full contact.
- Use spacers to maintain consistent gaps with adjacent tiles.
Grouting:
Once the adhesive cures (per manufacturer’s instructions), fill the gaps with grout, following the standard grouting process.Cleaning and Finishing:
Clean off any excess grout and allow the installation to cure completely before use.
3. Essential Tools and Materials
For a successful DIY restoration project, ensure you have the following:
- Diamond abrasive pads and orbital sander/floor buffer
- Epoxy resin or stone filler for cracks and chips
- Chisel, hammer, and tile cutter for removal and replacement
- High-quality adhesive and matching grout
- Safety gear: gloves, goggles, dust mask
- Cleaning supplies: pH-neutral cleaner, microfiber cloths, wet/dry vacuum
4. Case Studies & Recent Projects
Below are six inspiring case studies from cities. These projects highlight innovative approaches to restoring aged basalt tiles in a variety of settings.
4.1. Portland, Maine – Historic Building Restoration
Project Overview:
A historic library in Portland, Maine, underwent a restoration project focusing on revitalizing its aged basalt-tiled entryway.
Key Techniques:
- Polishing using a series of diamond abrasive pads to restore the original luster.
- Filling minor cracks with a color-matched epoxy resin.
- Careful cleaning and sealing to protect against future wear.
Outcome:
The library’s entryway now features a restored, elegant appearance that honors its historical character while meeting modern safety standards.
4.2. Raleigh, North Carolina – Residential Pool Deck Renewal
Project Overview:
A homeowner in Raleigh, NC, embarked on a DIY project to restore a weathered pool deck made of basalt tiles.
Key Techniques:
- Extensive cleaning and light polishing to remove algae and weather stains.
- Repairing small chips using a stone filler, followed by a gentle sanding.
- Replacing a few severely damaged tiles to ensure a uniform appearance.
Outcome:
The pool deck was transformed into a vibrant, safe space with renewed slip resistance and improved aesthetics.
4.3. Des Moines, Iowa – Retail Space Floor Restoration
Project Overview:
A retail store in Des Moines, Iowa, restored its high-traffic basalt tile floor to maintain both safety and visual appeal.
Key Techniques:
- A deep cleaning process to remove years of accumulated dirt.
- Polishing to restore shine and reduce glare.
- Filling cracks with epoxy filler and replacing isolated damaged tiles.
Outcome:
The store achieved a seamless, modern look that enhanced customer experience and safety, leading to increased foot traffic and positive reviews.
4.4. San Diego, California – Outdoor Patio Revitalization
Project Overview:
In San Diego, CA, an outdoor patio featuring basalt tiles was restored to counteract the effects of sun, wind, and occasional impact.
Key Techniques:
- Polishing using water-dampened diamond pads to rejuvenate the tile’s surface.
- Applying a sealant post-restoration to protect against UV damage.
- Replacing a few damaged tiles to maintain a uniform pattern.
Outcome:
The patio now exudes a fresh, modern vibe while withstanding harsh outdoor conditions, providing a comfortable and attractive outdoor living space.
4.5. Charleston, South Carolina – Public Plaza Renovation
Project Overview:
A public plaza in Charleston, SC, featuring our elegant black basalt tiles for upscale spaces, required restoration to address cracks and surface wear from heavy pedestrian traffic.
Key Techniques:
- Comprehensive cleaning and polishing to restore the natural texture.
- Epoxy crack filling to prevent water ingress and further damage.
- Strategic replacement of the most severely worn tiles.
Outcome:
The renovated plaza offers enhanced safety and aesthetic appeal, creating a welcoming environment for residents and visitors alike.
4.6. Spokane, Washington – Basement Lounge Redesign
Project Overview:
A renovated basement lounge in Spokane, WA, incorporated a restored our basalt tile floor to create a warm, modern ambiance.
Key Techniques:
- Surface cleaning and detailed polishing to bring back the natural shine.
- Minor crack repairs with stone filler, followed by sanding for a seamless blend.
- Selective tile replacement to address spots with extensive wear.
Outcome:
The basement lounge now features a revitalized basalt floor – Citadel Stone that exudes sophistication and durability, significantly enhancing the space’s overall appeal.
5. Maintenance Tips Post-Restoration
After restoring your basalt tiles, ongoing maintenance is crucial to prolong their life:
- Regular Cleaning: Use pH-neutral cleaners and soft cloths to avoid scratching the surface.
- Periodic Polishing: Consider light polishing annually to maintain luster.
- Sealant Reapplication: Reapply sealant as recommended by the manufacturer to protect against moisture and stains.
- Immediate Repairs: Address any new cracks or chips promptly to prevent further damage.
6. Conclusion
Restoring aged basalt tiles is a cost-effective and rewarding DIY project that can breathe new life into both interior and exterior spaces. By employing techniques such as thorough cleaning, careful polishing, crack filling, and selective tile replacement, you can rejuvenate your basalt surfaces to restore their natural beauty and functionality.
The case studies from Portland (ME), Raleigh (NC), Des Moines (IA), San Diego (CA), Charleston (SC), and Spokane (WA) demonstrate how these restoration techniques have been successfully applied in diverse settings—from historic buildings and retail spaces to outdoor patios and basements. With the right tools, materials, and step-by-step methods, you can ensure your seamless black basalt tiles for smooth transitions by Citadel Stone remain a durable and visually striking feature of your home or business for years to come.
For additional expert advice, product recommendations, and premium restoration materials, visit Citadel Stone: timeless quality, modern elegance, and explore our range of solutions tailored to your specific needs.