Winter brings a unique set of challenges for maintaining outdoor spaces, especially if you’ve invested in the elegance and durability of limestone pavers. These natural stone surfaces enhance patios, walkways, and driveways with timeless beauty, but they require proper care to withstand harsh winter conditions. At Citadel Stone—your reliable stone supplier for nationwide projects, we’re committed to helping you protect your limestone pavers and keep them looking pristine year-round. In this in-depth guide, we’ll walk you through everything you need to know about preparing your limestone pavers for winter, focusing on sealing techniques and safe snow removal practices.
This article is packed with actionable advice, expert insights, and practical tips to ensure your pavers remain in top shape through freezing temperatures, snow, and ice. From understanding why limestone needs extra attention to mastering the art of sealing and snow clearing, we’ve got you covered. Let’s dive in and get your outdoor spaces winter-ready!
Why Limestone Pavers Require Winter Preparation
Limestone is a stunning natural stone prized for its versatility and aesthetic appeal. However, its porous nature makes it particularly vulnerable during winter. When water seeps into the stone’s pores and freezes, it expands, which can lead to cracking, spalling, or other forms of damage. Additionally, snow, ice, and de-icing agents can erode the surface or cause staining if not handled carefully.
Proper winter preparation is essential to:
Prevent Freeze-Thaw Damage: Sealing blocks water from penetrating the stone.
Maintain Appearance: Protects against stains and discoloration.
Extend Lifespan: Reduces wear and tear from harsh weather.
By taking proactive steps now, you can avoid costly repairs and ensure your limestone pavers continue to enhance your property for years to come.
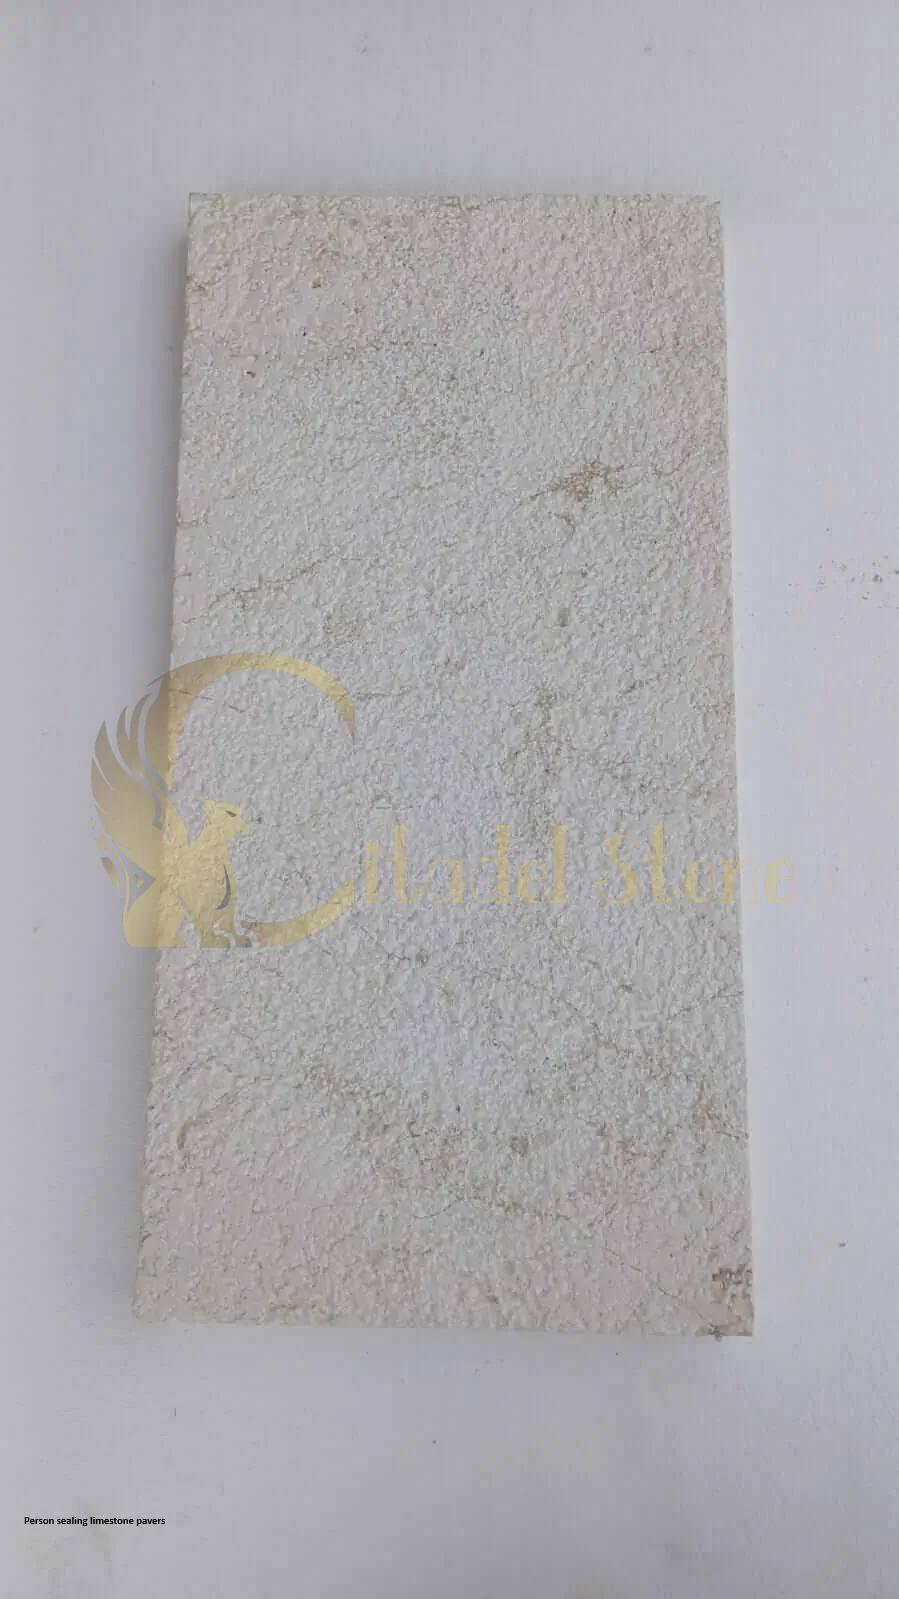
Sealing Limestone Pavers: Your First Line of Defense
Sealing is the cornerstone of winter preparation for limestone pavers. A high-quality sealant acts as a shield, repelling moisture and safeguarding the stone from the elements. Here’s everything you need to know to seal your pavers effectively.
Why Sealing Matters
Sealing isn’t just a maintenance task—it’s a protective necessity. Here’s why:
Moisture Protection: Prevents water from seeping into the stone and freezing.
Stain Resistance: Makes it harder for dirt, salt, or organic matter to penetrate.
Surface Preservation: Reduces the risk of erosion or pitting from weather exposure.
Unsealed limestone is a magnet for winter damage, so don’t skip this critical step.
Choosing the Best Sealant for Limestone
Selecting the right sealant can make or break your winter preparation efforts. For limestone pavers, opt for a penetrating sealant designed specifically for natural stone. Unlike surface sealants, penetrating options soak into the stone, offering deep protection without changing its natural look.
Key features to look for in a sealant:
Breathability: Allows trapped moisture to escape, preventing internal damage.
Weather Resistance: Shields against UV rays and temperature fluctuations.
Non-Slip Finish: Ensures safety on walkways or patios.
Longevity: Choose a product that lasts at least 1-2 years per application.
At Citadel Stone, we recommend a high-performance penetrating sealant tailored for limestone, such as a silane/siloxane-based product. These provide robust protection while preserving the stone’s texture and color.
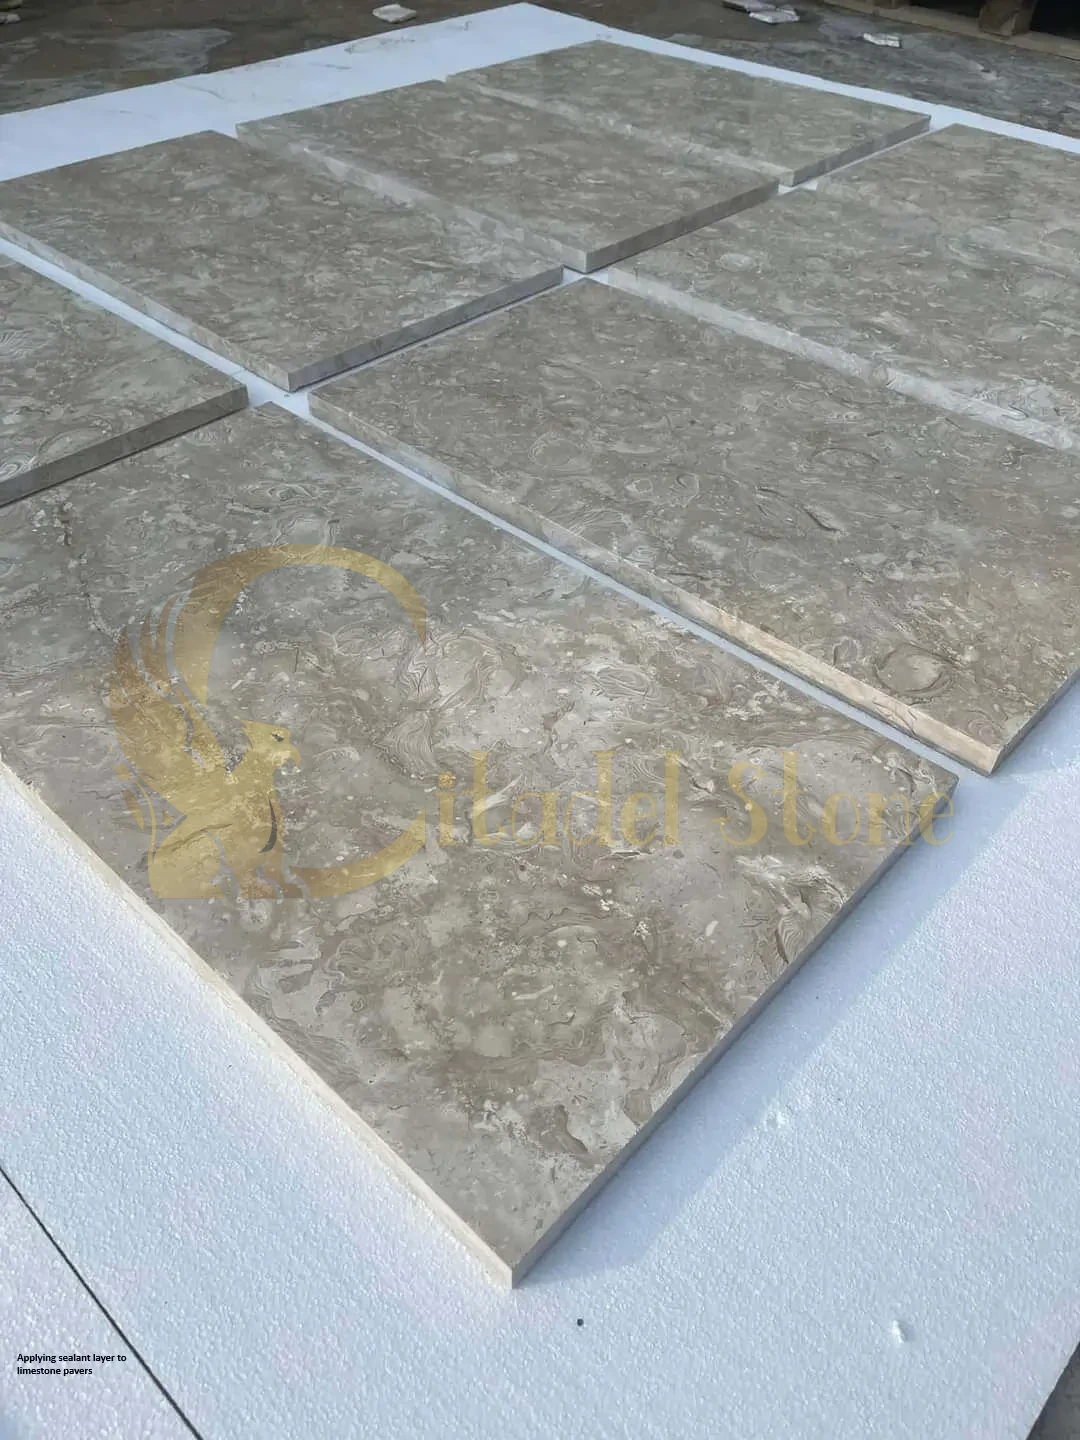
Step-by-Step Guide to Sealing Limestone Pavers
Ready to seal your pavers? Follow these steps for a flawless application:
Clean Thoroughly:
Start with a clean surface. Sweep away debris, then wash the pavers with a mild detergent and water. For stubborn stains, use a stone-safe cleaner. Rinse well and let the pavers dry completely—usually 24-48 hours.Check the Weather:
Pick a dry day with temperatures between 50°F and 80°F. Avoid sealing if rain or frost is forecast within the next 24 hours.Test First:
Apply a small amount of sealant to an out-of-the-way spot. Check for color changes or adverse reactions after it dries.Apply the Sealant:
Use a low-pressure sprayer, paint roller, or brush to apply an even layer. Work in small sections, ensuring full coverage without pooling. Follow the manufacturer’s instructions for application thickness.Let It Cure:
Allow the first coat to dry—typically 2-4 hours. Check the product label for exact timing.Add a Second Coat:
For maximum protection, apply a second coat once the first is dry. This is especially important for high-traffic areas.Final Cure:
Let the sealant cure fully (usually 24-48 hours) before exposing the pavers to moisture or heavy use.
Maintenance Tips for Sealed Pavers
Sealing isn’t a one-and-done task. To keep your pavers protected:
Inspect Annually: Look for signs of wear, like water no longer beading on the surface.
Reapply as Needed: Most sealants last 1-2 years, depending on exposure and traffic.
Clean Gently: Use a soft brush and mild cleaner to avoid stripping the sealant.
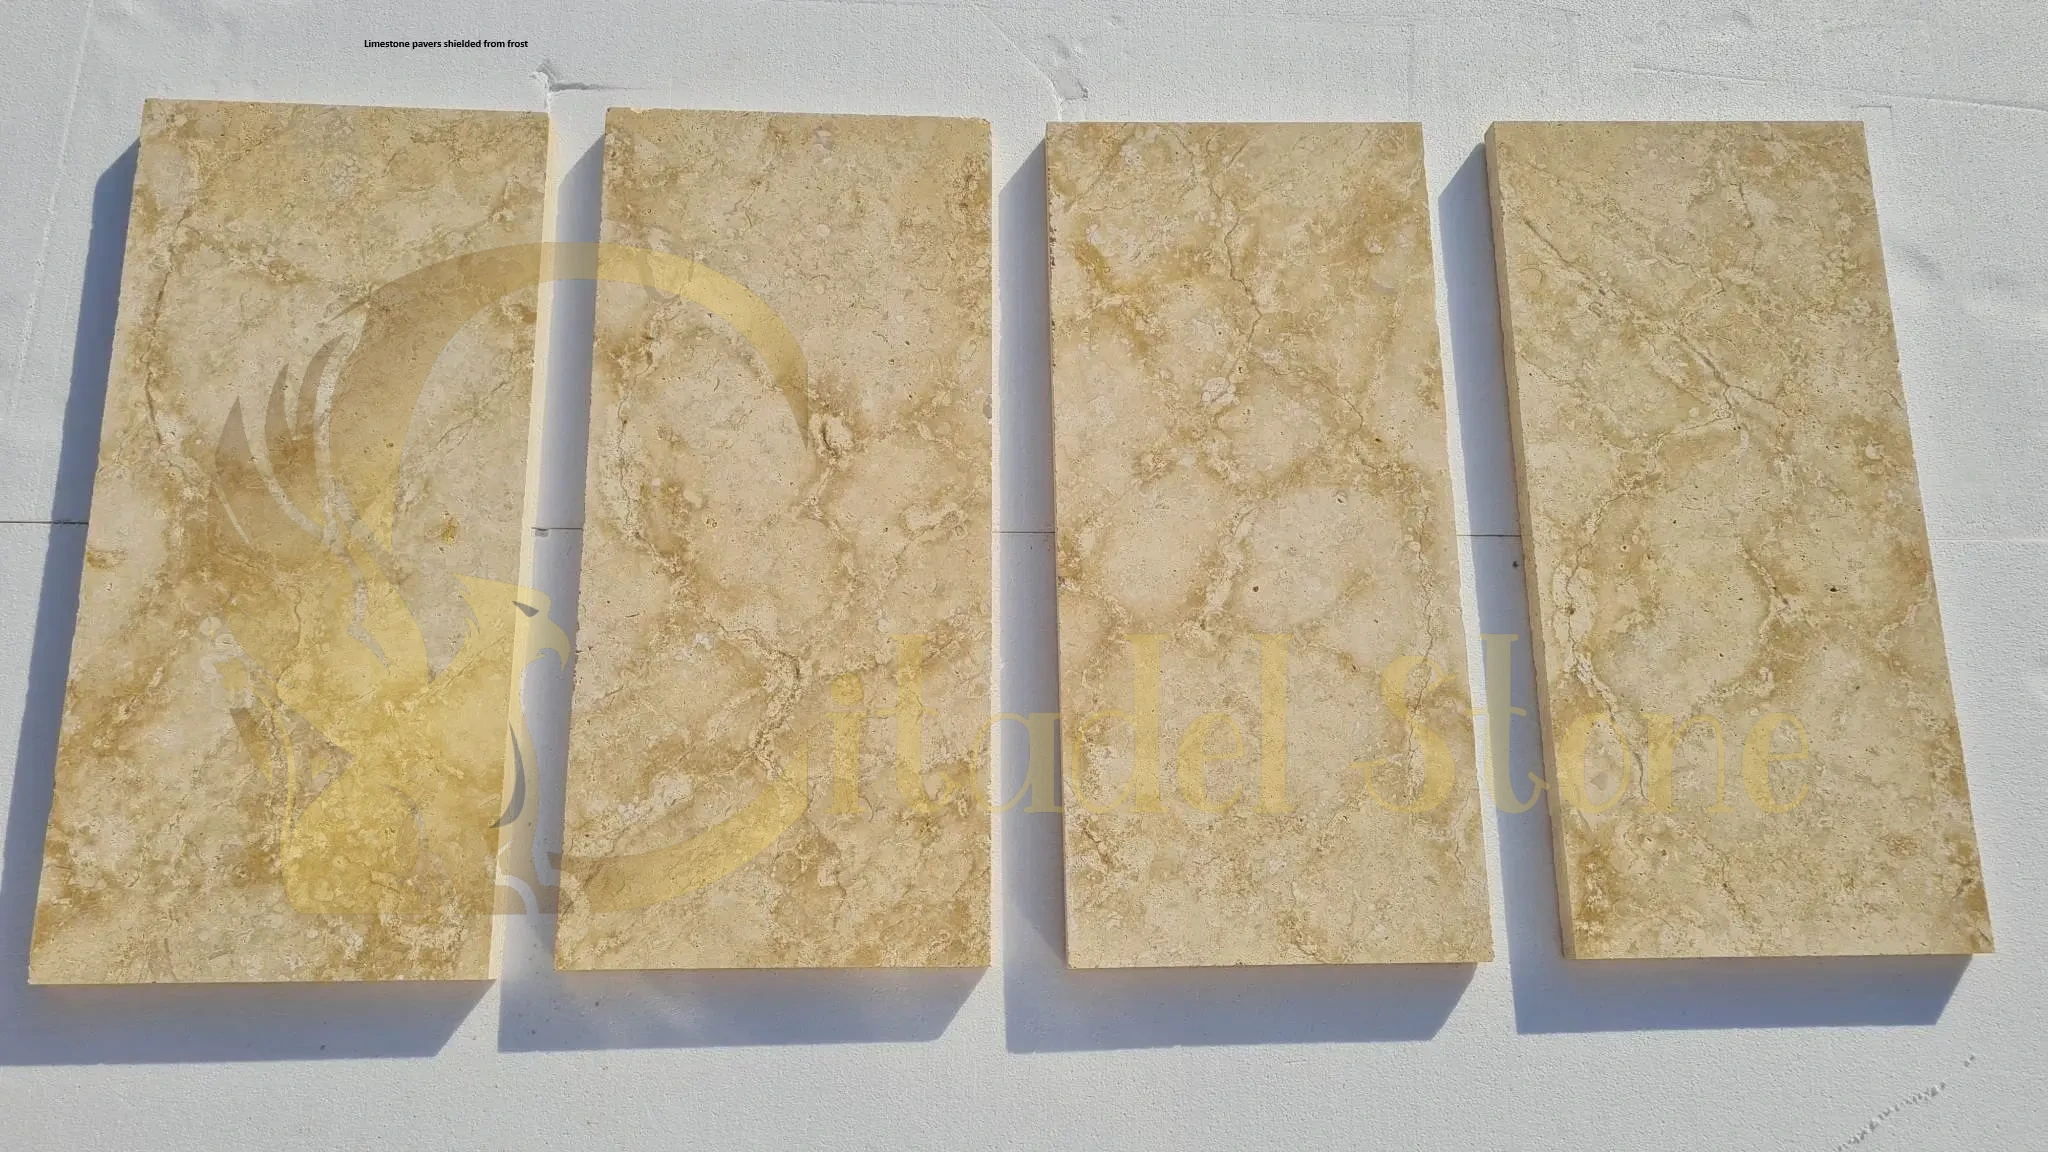
With proper sealing, your limestone pavers will be ready to face winter head-on.
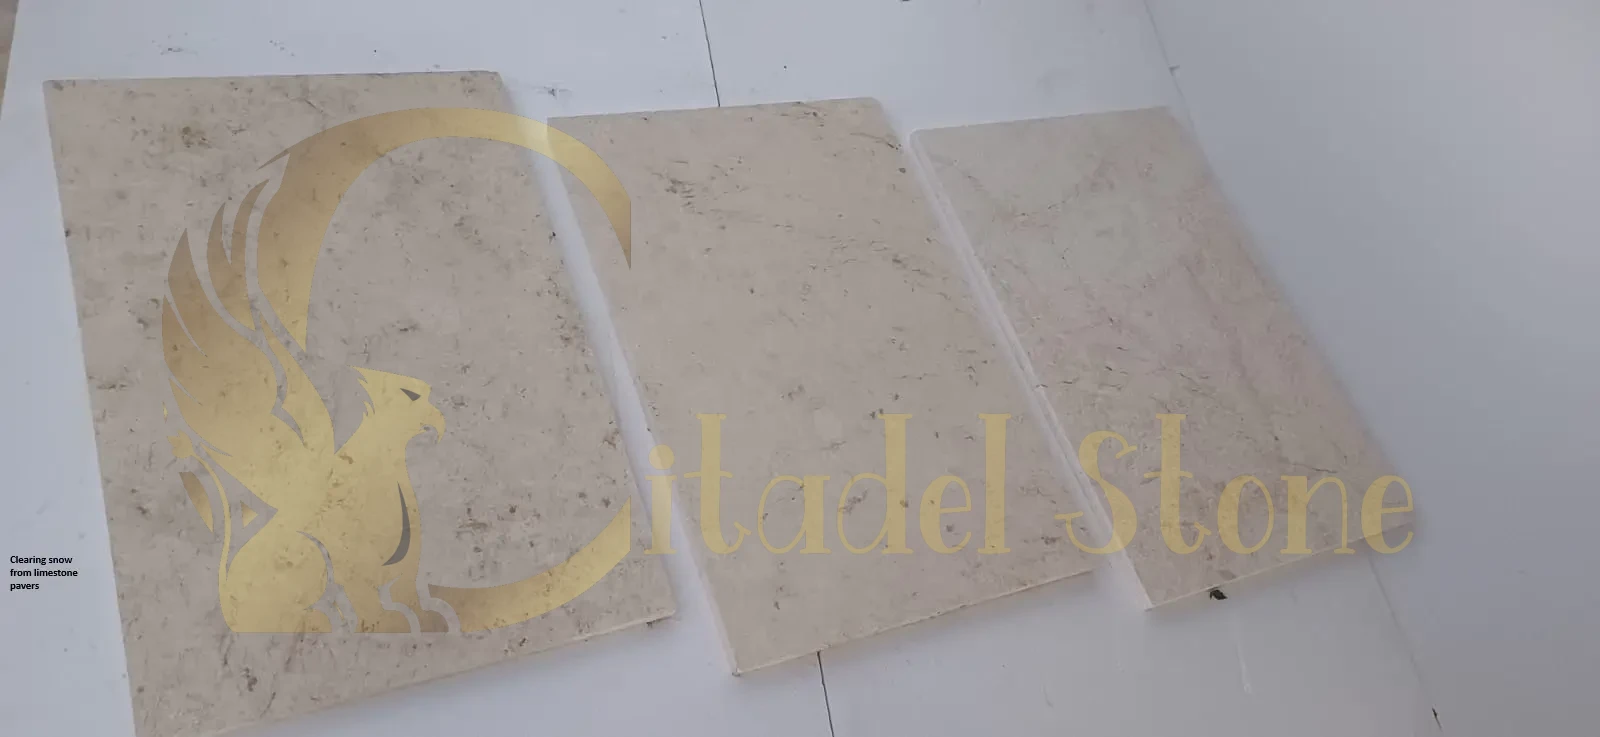
Snow Removal: Keeping Limestone Pavers Safe and Clear
Once winter arrives, snow and ice can accumulate on your limestone pavers, creating hazards and potential damage. Traditional snow removal methods can harm the stone, so it’s crucial to use techniques that prioritize safety and preservation.
Why Standard Snow Removal Won’t Work
Limestone’s delicate surface doesn’t tolerate rough treatment. Here’s why common methods fall short:
Metal Shovels: Scratch and chip the stone.
Rock Salt: Erodes the surface and damages the sealant.
Heavy Machinery: Risks cracking or shifting the pavers.
Gentle, stone-friendly approaches are the key to keeping your pavers intact.
Safe Snow Removal Techniques
Follow these tips to clear snow and ice without compromising your limestone:
Use Plastic Tools:
Swap metal shovels for plastic ones with smooth edges. They’re less likely to scratch or gouge the stone.Sweep Light Snow:
For minor snowfalls, a sturdy broom works wonders. Sweep regularly to prevent buildup.Choose Safe Traction Aids:
Avoid salt and chemical de-icers. Instead, sprinkle sand or non-clumping kitty litter to improve grip without harming the stone.Melt Ice Carefully:
If ice forms, use a stone-safe de-icer sparingly. Look for products labeled as safe for natural stone or consult Citadel Stone for recommendations.Prevent Pooling:
Ensure proper drainage by keeping gutters and downspouts clear. This reduces the chance of water freezing on your pavers.
Tools You’ll Need
Stock up on these limestone-friendly essentials:
Plastic snow shovel
Push broom with soft bristles
Sand or kitty litter
Breathable tarp (optional for unused areas)
With the right tools and techniques, snow removal becomes a breeze.
Common Mistakes to Avoid
Winter prep can go wrong if you’re not careful. Steer clear of these pitfalls:
Not Sealing at All: Leaves pavers exposed to moisture and frost.
Using Harsh Chemicals: Damages the stone and surrounding plants.
Delaying Repairs: Small cracks worsen in freezing conditions.
Overlooking Drainage: Pooling water leads to ice and damage.
Rushing the Process: Skimping on drying or curing time weakens protection.
Take your time and follow best practices for the best results.

Expert Tips from Citadel Stone
Our team at Citadel Stone has years of experience with limestone pavers. Here are our top tips to elevate your winter prep:
Time It Right: Seal in late fall before temperatures drop below 50°F.
Layer Up: Two thin coats of sealant are better than one thick one.
Cover Unused Areas: A breathable tarp can shield patios or walkways not in use.
Stay Proactive: Clear snow early to avoid compaction and ice.
Ask for Help: Unsure about a step? Contact us for tailored advice.
These insider tricks will keep your pavers in peak condition.
Limestone Pavers for Outdoor Spaces: Recent Applications
Case 1: Charleston, South Carolina – Waterfront Boardwalk Extension
Client: Municipal Parks & Waterfront Authority
Stone Used: Elegant limestone pavers, 24”×12”×2.5 cm
Purpose: Extension of pedestrian boardwalk and seating terraces along Battery Creek
Challenges:
Saltwater & Humidity Exposure: Continuous coastal environment risks salt crystallization, efflorescence, and stone degradation.
High Foot Traffic & Event Use: Weekend festivals and daily tourism lead to heavy pedestrian volumes; occasional maintenance carts and light service vehicles must traverse.
Historic Context & Aesthetic Sensitivity: The waterfront area has heritage significance; new paving must complement historic masonry and wooden boardwalk sections.
Storm Surge & Flooding: Occasional tidal flooding and storm surge necessitate rapid drainage and resilient installation.
Our Solution:
Marine-Grade Low-Porosity Limestone: Selected oyster-gray limestone with absorption ≤ 0.3% to resist salt intrusion and staining, ensuring long-term appearance and durability.
Honed Finish with Micro-Texture: Provided a smooth appearance that reflects sunlight yet includes subtle micro-texture for slip resistance in wet conditions.
Permeable Joint System & Raised Base: Laid pavers on an open-graded aggregate base with ⅜” joints filled with angular stone aggregate, enabling rapid runoff during flooding; integrated the paver field slightly elevated above existing grade to allow floodwaters to pass beneath without dislodging stones.
Edge Restraints Anchored to Concrete Curbs: Installed stainless-steel edge restraints fastened to reinforced concrete curbs to prevent lateral movement, especially during occasional surge events.
Mock-Up & Historic Review: Provided sample installation panels to the Historic Commission, verifying that limestone tone and finish harmonize with adjacent heritage elements.
Drainage Channels & Scuppers: Engineered discreet linear drains leading to stormwater infrastructure, ensuring rapid clearing after high tides or heavy rains.
Results:
Salt Resistance & Longevity: After the first year—including one tropical storm season—no visible efflorescence, spalling, or discoloration; maintenance logs report minimal cleaning needs.
Safe, Comfortable Walkway: Slip-resistance tests on wet surface exceeded ASTM recommendations; visitors and event organizers noted comfortable underfoot feel and visually appealing, cohesive integration with historic elements.
Flood Resilience: Boardwalk extension recovered quickly after tidal inundation, with water draining within 30 minutes and no paver displacement.
Case 2: Tucson, Arizona – Desert Retreat Patio
Client: Residential Homeowner Association (HOA)
Stone Used: Affordable limestone pavers, 16”×16”×2 cm
Purpose: Community courtyard and walking paths within a gated desert retreat
Challenges:
Extreme Heat & UV Radiation: Summer temperatures routinely exceed 100°F; intense UV can fade or weaken certain sealants.
Monsoon Storms & Flash Flood Risk: Sudden heavy rains risk runoff and erosion if drainage is inadequate.
Desert Soil Shifting & Sand Infiltration: Wind-blown sand can abrade surfaces and fill joints; soil heaving due to temperature swings can shift pavers.
Aesthetic Harmony with Desert Landscape: Patio design must complement native plantings, cacti, and xeriscape gardens.
Our Solution:
Tumbled Finish for Slip Resistance & Aesthetic: Chose honey-toned limestone with a tumbled finish to diffuse glare, mask minor surface wear, and provide traction—even underfoot when lightly wet from monsoon rains.
UV-Stable, Breathable Sealant: Applied a high-performance siloxane-based sealer rated for desert UV levels to preserve color and prevent micro-cracking, without sealing off necessary breathability.
Permeable Base with Graded Drainage: Installed an open-graded aggregate sub-base sloped toward discreet channel drains leading to underground retention basins; this managed monsoon runoff efficiently, preventing pooling and erosion.
Polymeric Joint Fill with Fine Silica: Used polymeric sand designed to lock joints against wind-blown sand infiltration while permitting slight movement during temperature-induced expansion/contraction.
Edge Restraints & Stabilization Fabric: Deployed geotextile stabilizing fabric beneath aggregate and anchored edge restraints to resist lateral shifting from soil movement.
Desert-Compatible Layout & Native Plant Transitions: Integrated narrow gravel borders between paver areas and planting zones to catch runoff and prevent soil debris on pavers, maintaining a clean, desert-inspired aesthetic.
Results:
Comfortable, Cool Surface: Patio surface measured up to 15°F cooler than adjacent concrete under similar conditions, enhancing usability during hot afternoons.
Stormwater Management: After multiple monsoon events, no surface pooling or erosion; HOA reports effective drainage and minimal maintenance.
Durability & Minimal Sand Infiltration: Quarterly inspections show joints remain largely free of sand; paver alignment stable despite temperature swings.
Case 3: Birmingham, Alabama – University Campus Walkway Renovation
Client: University Facilities Planning
Stone Used: Education white limestone pavers, 24”×12”×2.5 cm
Purpose: Main pedestrian spine linking academic buildings and quads
Challenges:
Heat & Humidity: Hot summers with high humidity can promote mold/mildew growth and encourage joint deterioration if water pools.
Freeze–Thaw & De-Icing: Mild winters occasionally drop near freezing; occasional de-icing salts risk limestone damage.
High Footfall & Accessibility Needs: Thousands of students, faculty, and visitors require smooth, slip-resistant, ADA-compliant paths.
Budget Constraints & Phased Work: Campus cannot fully close walkways; phasing must minimize disruption and control costs.
Our Solution:
Honed Finish with Micro-Texture: Selected honed limestone pavers with subtle micro-etching to provide traction in wet conditions while remaining smooth and comfortable for wheelchair use.
Siloxane-Based Sealant with Biocide Additive: Applied breathable, water-repellent sealant infused with anti-mold/mildew agents to protect against humidity-driven growth and block moisture ingress.
Freeze-Thaw Rated Limestone & Salt Protection: Chose dense limestone tested for at least 40 freeze-thaw cycles, then treated with chloride-blocking sealant to minimize de-icing salt effects.
Reinforced Sub-Base & Phased Grading: Excavated and installed geotextile fabric over compacted aggregate base with 1–2% slope toward hidden linear drains; work divided into segments with temporary walkway signage to maintain circulation.
Narrow Polymeric Joints & Edge Restraints: Employed ⅛” polymeric sand joints to limit water infiltration and weed growth; edge restraints anchored pavers against shifting under heavy foot traffic.
Mock-Up Areas & Student Feedback: Installed sample walkway sections early in planning to gather user input on comfort and aesthetics, ensuring final design met campus community expectations.
Results:
Durability & Cleanliness: After first rainy season, pathways show no staining, mold, or joint washout; maintenance teams note reduced cleaning time versus older concrete sidewalks.
Accessibility & Safety: Slip-resistance testing met ADA and campus guidelines; student surveys indicate high satisfaction with walkway comfort and appearance.
On-Budget & Phased Success: Phased installation completed over two summer breaks and spring breaks, avoiding major disruptions; project stayed within allocated budget, partly due to optimized material sourcing and labor scheduling.
Case 4: Providence, Rhode Island – Historic Courtyard Restoration
Client: Historic Inn Owner / Preservation Committee
Stone Used: Rapid-set white limestone flooring, 18”×18”×2 cm
Purpose: Restoration of a 19th-century inn’s central courtyard and adjacent walkways
Challenges:
Historic Authenticity: Courtyard must match period aesthetics—color, texture, and layout consistent with 1800s New England stonework.
Freeze–Thaw Cycles & Salt Air: Rhode Island winters with coastal salt air require resilient stone and protective measures.
Irregular Subgrade & Archaeological Sensitivity: Previous renovations left uneven substrate; possible archaeological remnants require careful excavation.
Slip Safety & Guest Comfort: Inn guests expect a safe, attractive courtyard for events and relaxation.
Our Solution:
Archival Quarry Sourcing & Mock-Up Approval: Partnered with regional quarries providing limestone matching historic samples; installed small mock-up paving patches for Preservation Committee review, refining finish to a tumbled-edge look replicating aged stone.
Tumbled-Edge Finish for Authenticity & Traction: Employed tumbling to round edges and subtly distress surfaces, evoking aged character while providing slip resistance under damp conditions.
Freeze-Thaw Rated Limestone & Siloxane Sealer: Selected dense limestone with absorption ≤ 0.25% and applied breathable siloxane-based sealer to repel moisture and block salt intrusion without trapping water.
Subgrade Remediation & Gentle Excavation: Conducted careful excavation with archaeological oversight; leveled and stabilized substrate using geotextile fabric over compacted crushed stone; maintained minimal disturbance to potential historic artifacts.
Narrow Mortar-Joint Emulation: Used lime-based mortar joints in select areas to mimic historical joint appearance, combined with discreet polymeric sand joints elsewhere for flexibility and reduced water infiltration.
Integrated Drainage & Landscape Blends: Installed hidden linear drains at courtyard low points; blended pavers with surrounding period-appropriate plantings and gravel borders to maintain historic ambiance.
Results:
Authentic Appearance & Preservation Approval: Preservation Committee granted final sign-off, noting near-perfect match to historical records; courtyard regained 19th-century charm.
Durability & Weather Resistance: After first winter season with freeze-thaw cycles and coastal salt air, no spalling or discoloration; inn reports minimal maintenance.
Guest Satisfaction: Inn bookings for courtyard events increased by 25%, with guests praising the “timeless limestone courtyard” ambiance.
Case 5: Fresno, California – Residential Outdoor Kitchen & Patio
Client: Homeowner / Landscape Architect
Stone Used: Warm beige honed limestone pavers, 20”×20”×2 cm
Purpose: Outdoor kitchen floor and adjacent dining patio in Central Valley home
Challenges:
High Summer Heat & UV Exposure: Fresno’s hot summers risk heat retention and color fading in outdoor surfaces.
Seasonal Rain & Drainage: Occasional heavy winter rains require adequate runoff to avoid pooling around kitchen appliances.
Slip Safety & Stain Resistance: Outdoor cooking spills (oils, wines) risk staining; surfaces must remain slip-resistant when wet.
Integration with Built-In Appliances: Patio floor must accommodate grill island, sink unit, and seating, requiring level, load-bearing support.
Our Solution:
High-Albedo Honed Limestone: Selected warm beige limestone with light-reflective qualities to keep surface cooler; honed finish offers a balance of smoothness and mild traction.
UV-Stable Sealant with Stain-Blocking Properties: Applied breathable, UV-resistant sealer formulated for outdoor kitchen environments to repel oils, grease, and moderate acid exposure.
Reinforced Sub-Base & Grading: Excavate and install geotextile fabric over compacted open-graded aggregate with a 1–2% slope toward concealed channel drains, ensuring rainwater is diverted away from appliances.
Polymeric Joint Fill & Edge Restraints: Used fine polymeric sand joints to lock pavers and resist stains; anchored edge restraints to prevent shifting under furniture and appliance weight.
Load-Bearing Design for Appliances: Verified sub-base and pavers support heavy grill island and countertop units; utilized additional concrete footings beneath appliance zones while matching limestone overlay for seamless aesthetics.
Results:
Comfortable Use in Summer: Patio surface stayed up to 15°F cooler than darker materials; homeowners report extended outdoor cooking enjoyment during hot afternoons.
Stain Resistance & Easy Cleaning: Routine spills wiped clean with no visible staining; annual resealing keeps surface protected.
Efficient Drainage: Winter rains drain quickly; no pooling around appliances, reducing risk of water damage.
Case 6: Spokane, Washington – Riverfront Park Plaza
Client: City Parks Department / Event Planners
Stone Used: Ivory-tone white limestone paving tiles, 20”×20”×3 cm
Purpose: Riverside public plaza for markets, concerts, and leisure paths
Challenges:
High Rainfall & Moss Growth: Pacific Northwest climate encourages moss/algae on stone surfaces, risking slipperiness.
Seasonal Freeze–Thaw & Snow: Winter conditions and de-icing salts can damage stone if water penetrates joints.
Flooding & Runoff from Spokane River: Occasional high water levels require rapid drainage and resilient installation to withstand submersion.
Heavy Event Loads & Foot Traffic: Markets with stalls, concert equipment, and daily pedestrians require durable, level surface.
Our Solution:
Thermal Finish for Traction: Selected limestone with thermal (flamed) finishing to create micro-rough texture that sheds water, inhibiting moss growth and improving grip when wet or icy.
Freeze-Thaw Rated Stone & Sealant: Chose dense limestone rated for ≥ 40 freeze-thaw cycles; applied breathable siloxane-based sealer to repel moisture and block salt ingress without trapping water.
Permeable Joint & Sub-Base Drainage System: Installed pavers on open-graded aggregate base with ⅜” joints filled with angular stone aggregate; beneath, engineered slotted drains connected to storm pumps to quickly remove floodwaters and melting snow.
Biocide-Infused Sealant Treatment: Included anti-mold/mildew additive in sealant to deter organic growth common in damp climates.
Edge Restraints & Modular Panels: Anchored edge restraints into reinforced curbs; used mesh-backed paver panels for rapid installation and future targeted replacements after heavy events or flood stress.
Phased Installation & Community Engagement: Conducted mock-up area for public feedback on appearance and safety; phased work to keep adjacent park areas open during construction.
Results:
Slip-Resistant & Clean Surface: After initial rainy season, minimal moss growth; maintenance crews report easier cleaning and fewer slip incidents compared to prior surfaces.
Flood and Freeze-Thaw Resilience: Plaza recovered within 24 hours after flood events; first winter saw no paver damage or joint failures.
Event Durability: Multiple markets and concerts hosted without paver displacement or cracking; cost savings in repair and downtime.
Frequently Asked Questions
Got questions? We’ve got answers:
Q: How often should I reseal my limestone pavers?
A: Every 1-2 years, depending on weather and wear. Test by sprinkling water—if it soaks in instead of beading, it’s time to reseal.
Q: Can I use a pressure washer to clean before sealing?
A: Yes, but keep it on a low setting (under 1,500 PSI) and use a wide-angle nozzle to avoid etching the stone.
Q: What’s the safest way to remove ice?
A: Gently chip it away with a plastic shovel or use a stone-safe de-icer in moderation.
Q: Will sealing change my pavers’ color?
A: A quality penetrating sealant won’t. Always test first to be sure.
Q: How do I know my pavers are ready for winter?
A: They’re clean, sealed, and free of cracks, with good drainage in place.
Conclusion: Enjoy a Worry-Free Winter
Preparing your limestone pavers for winter is an investment in their beauty and longevity. With proper sealing, you’ll shield them from moisture and frost, while smart snow removal keeps them safe and functional. At Citadel Stone, we’re passionate about helping you maintain your outdoor spaces with confidence. Follow these tips, and your limestone pavers will emerge from winter as stunning as ever.
Have a question or need expert guidance? Reach out to our team—we’re here to help. Share your winter prep stories or tips in the comments below, and subscribe to our newsletter for more seasonal advice from Citadel Stone. Here’s to a beautiful, durable outdoor space all winter long!