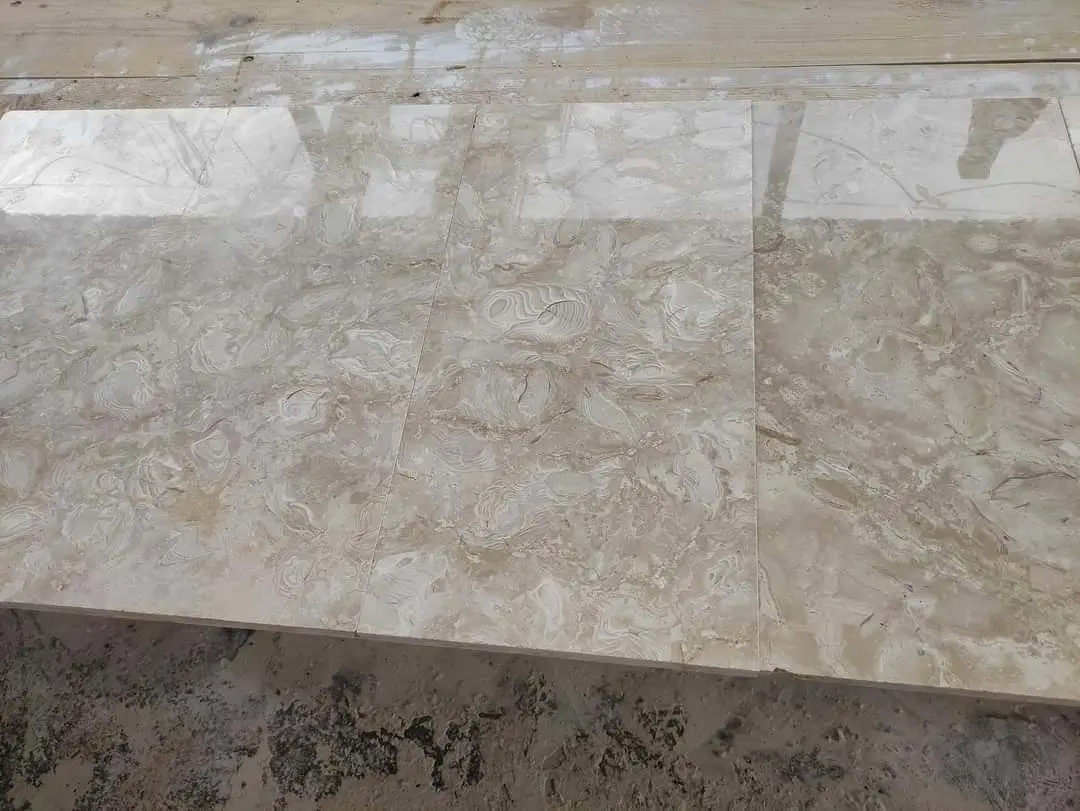
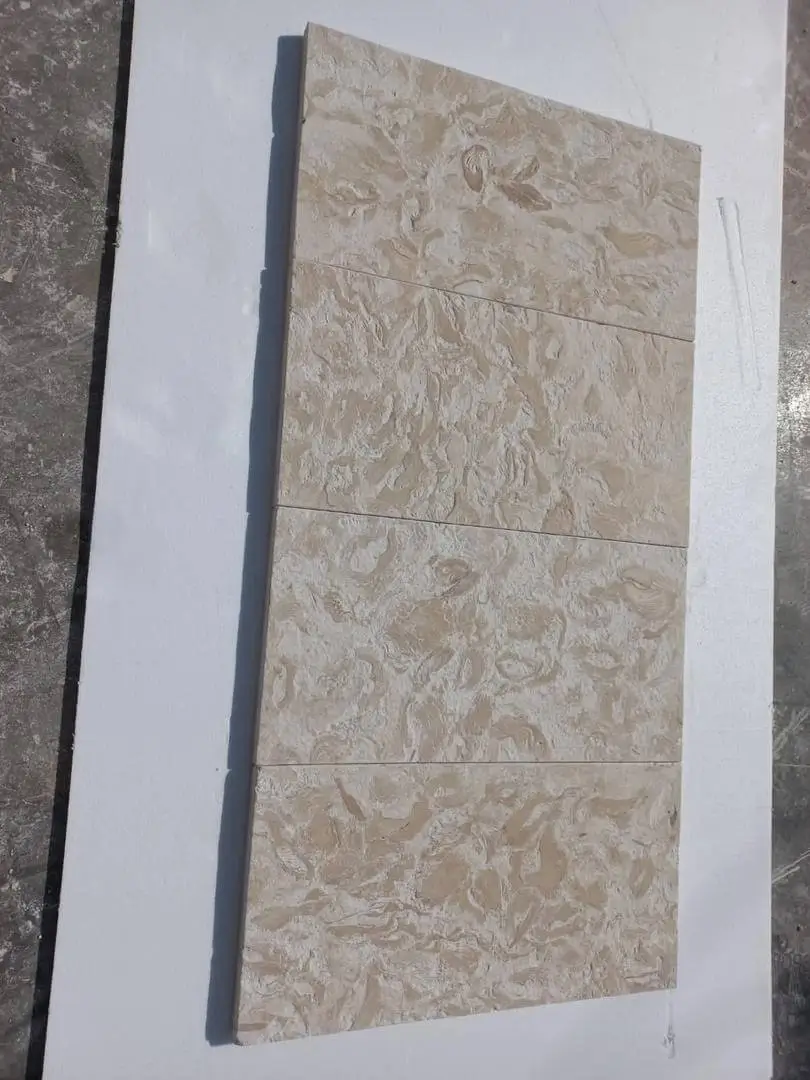
Our naturally textured Shellstone pavers for a rugged look are a beautiful and durable choice for patios, pool decks, walkways, and more. While professional installation is always an option, many DIY enthusiasts choose to install Shellstone pavers themselves to save on costs and take pride in their work. In this guide, we’ll walk you through a step-by-step installation process, list the tools and materials you’ll need, and provide tips to ensure a successful project.
Introduction to Shellstone Pavers
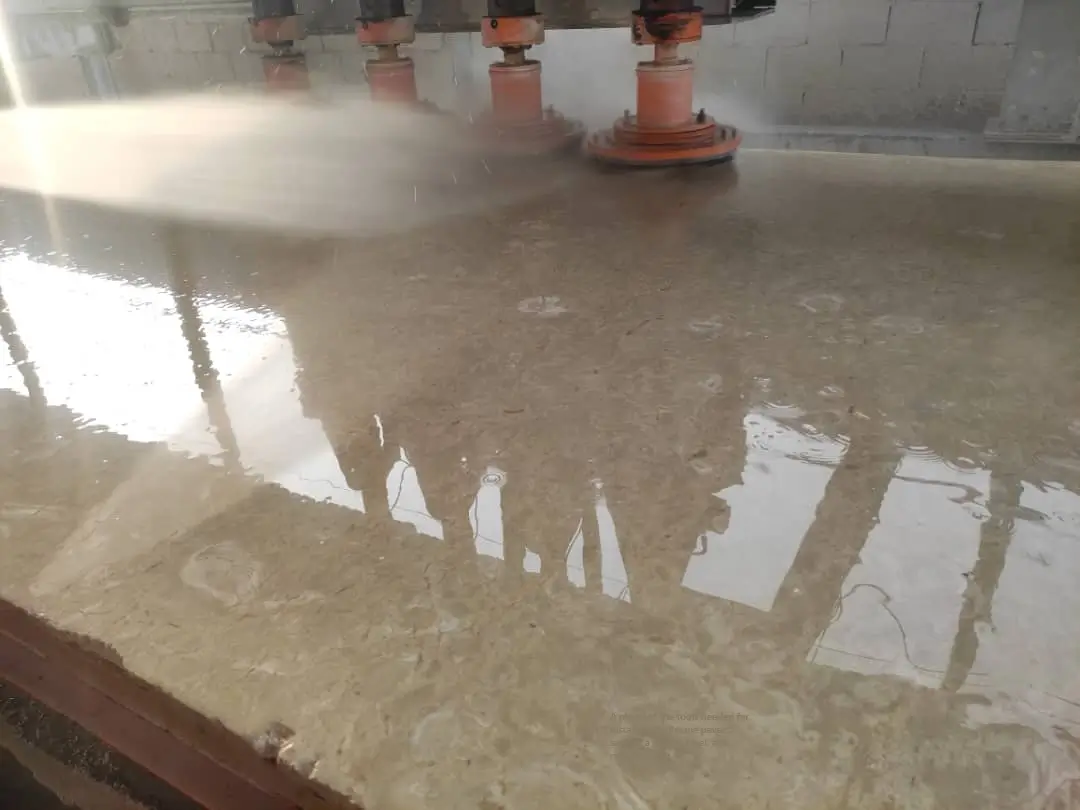
Robust Shellstone pavers perfect for commercial projects are natural stone tiles made from compressed fossils, shells, coral, and marine sediments. Their unique texture, neutral color palette, and durability make them a popular choice for outdoor and indoor spaces. Installing Shellstone pavers yourself can be a rewarding project, but it requires careful planning and preparation.
Tools and Materials Needed
Before you begin, gather the following tools and materials:
Tools:
Measuring tape
Chalk line or string
Shovel
Rake
Plate compactor or hand tamper
Rubber mallet
Level
Masonry saw or wet saw
Trowel
Broom
Safety gear (gloves, goggles, knee pads)
Materials:
Shellstone pavers
Landscape fabric
Gravel base (crushed stone or paver base)
Sand (paver sand or polymeric sand)
Edge restraints (plastic or metal)
Adhesive (optional, for vertical installations)
Sealer (optional, for added protection)
Step-by-Step Installation Guide
Step 1: Plan and Prepare the Area
Measure the Area: Determine the square footage of the area where you’ll install the pavers. Add 10-15% extra for cuts and waste.
Mark the Layout: Use a chalk line or string to mark the boundaries of the project area.
Excavate the Soil: Dig down 6-8 inches to create space for the base layers. Ensure the area is level and slopes slightly for drainage (1/4 inch per foot).
Step 2: Install the Base Layers
Lay Landscape Fabric: Place landscape fabric over the excavated area to prevent weed growth.
Add Gravel Base: Spread a 4-6 inch layer of crushed stone or paver base. Use a rake to level it, then compact it with a plate compactor or hand tamper.
Add Sand Layer: Spread a 1-2 inch layer of paver sand over the gravel. Use a leveling board or screed to ensure the sand is smooth and even.
Step 3: Lay the Shellstone Pavers
Start at a Corner: Begin laying the pavers at one corner of the area, working your way outward.
Use Spacers: Place spacers between the pavers to maintain consistent gaps for sand or grout.
Cut Pavers as Needed: Use a masonry saw or wet saw to cut pavers to fit edges and corners.
Check for Level: Use a level to ensure the pavers are even. Adjust by adding or removing sand as needed.
Step 4: Secure the Pavers
Install Edge Restraints: Place plastic or metal edge restraints around the perimeter of the paved area to keep the pavers in place.
Compact the Pavers: Run a plate compactor over the pavers to settle them into the sand. Add more sand to fill any gaps.
Step 5: Apply Joint Sand
Spread Sand: Pour polymeric sand or paver sand over the pavers and sweep it into the joints.
Compact Again: Use the plate compactor to vibrate the sand into the joints.
Remove Excess Sand: Sweep away any excess sand from the surface of the pavers.
Step 6: Seal the Pavers (Optional)
Clean the Surface: Ensure the pavers are clean and dry before applying sealer.
Apply Sealer: Use a roller or sprayer to apply a penetrating sealer, following the manufacturer’s instructions.
Allow to Dry: Let the sealer dry completely before using the paved area.
Tips for a Successful Installation
Plan Ahead: Take accurate measurements and plan the layout before starting.
Work in Small Sections: Lay and compact pavers in small sections to ensure evenness.
Check for Level Frequently: Use a level to avoid uneven surfaces.
Use Quality Materials: Invest in high-quality pavers, base materials, and sand for long-lasting results.
Follow Safety Precautions: Wear safety gear and use tools properly to avoid injuries.
Case Studies and Recent Projects
1. DIY Patio in Austin, Texas
Project Overview:
A homeowner in Austin installed artistic Shellstone pavers for creative hardscape designs for their backyard patio. The project included a gravel base, paver sand, and polymeric sand for the joints.
Key Highlights:
Application: Backyard patio.
Outcome: The patio became a stylish and functional outdoor living space.
Client Feedback:
“Installing adaptable Shellstone pavers for walkways and driveways myself was challenging but rewarding. The patio looks amazing, and I saved a lot on labor costs.”
2. Pool Deck in Miami, Florida
Project Overview:
A DIY enthusiast in Miami installed eco-friendly Shellstone pavers tailored for sustainable designs around their pool. The project included a sloped base for drainage and a penetrating sealer for added protection.
Key Highlights:
Application: Pool deck.
Outcome: The pool deck became a stunning focal point for the backyard.
Client Feedback:
“The versatile Shellstone pavers ideal for poolside settings were perfect for our pool deck. They’re slip-resistant and easy to maintain, even in Florida’s humid climate.”
3. Garden Pathway in San Diego, California
Project Overview:
A homeowner in San Diego installed elegant Shellstone pavers that elevate any exterior space for their garden pathway. The project included a compacted gravel base and tumbled pavers for a rustic look.
Key Highlights:
Application: Garden pathway.
Outcome: The pathway enhanced the garden’s aesthetic while providing a durable walking surface.
Client Feedback:
“The high-quality Shellstone pavers showcasing exceptional craftsmanship added so much character to our garden. They’re both beautiful and practical.”
Conclusion
Installing our modern Shellstone pavers for innovative landscaping solutions yourself can be a rewarding and cost-effective project. By following this step-by-step guide and using the right tools and materials, you can create a stunning outdoor space that enhances your home’s beauty and functionality. For pricing, materials, and full buying options, see our Shellstone Pavers Buyers’ Guide.
Whether you’re building a patio, pool deck, or garden pathway, our heavy-duty Shellstone pavers designed for outdoor durability offer a timeless and durable solution that will stand the test of time. With proper planning and execution, your DIY project will be a success!