Picture this: you’re envisioning a home upgrade, and limestone tiles have caught your eye. With their elegant, natural charm and impressive durability, they’re a fantastic choice for floors, walls, or even patios. But as you dive into planning, you quickly discover that the price tag isn’t as straightforward as you’d hoped. From the tiles to the labor and beyond, there’s a lot to account for. That’s why we’ve created this detailed guide to help you navigate the costs of limestone tile installation.
In this blog post, we’ll walk you through every aspect of budgeting for limestone tile installation. Designed for homeowners and DIY enthusiasts alike, this article breaks down the expenses, offers money-saving strategies, and flags potential pitfalls—all while keeping your project on track. Whether you’re refreshing a bathroom or revamping an entire kitchen, understanding these costs will empower you to make smart choices.
Let’s kick things off with a look at what makes limestone tiles special and why they’re worth considering for your next project.
What Are Limestone Tiles?
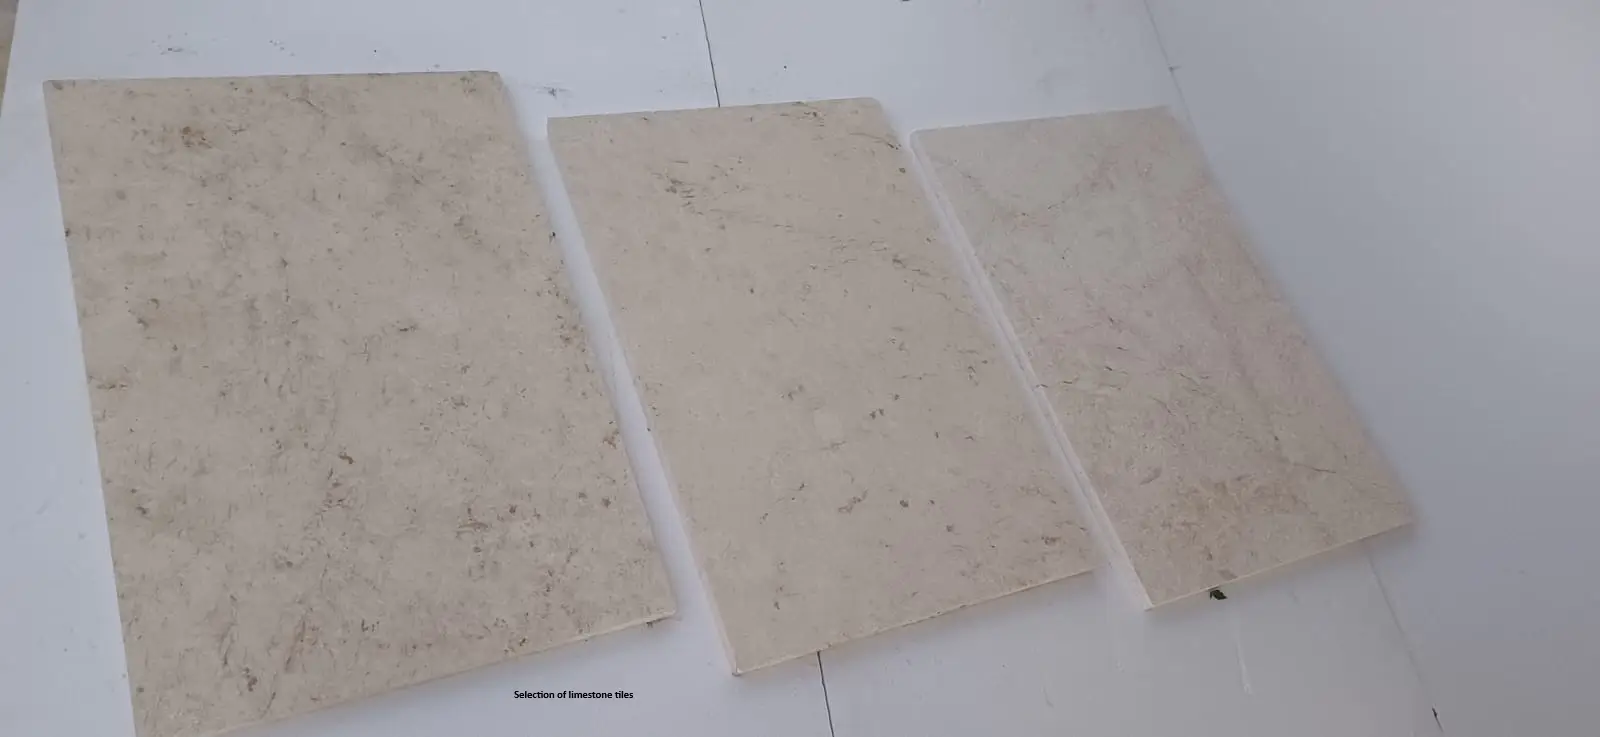
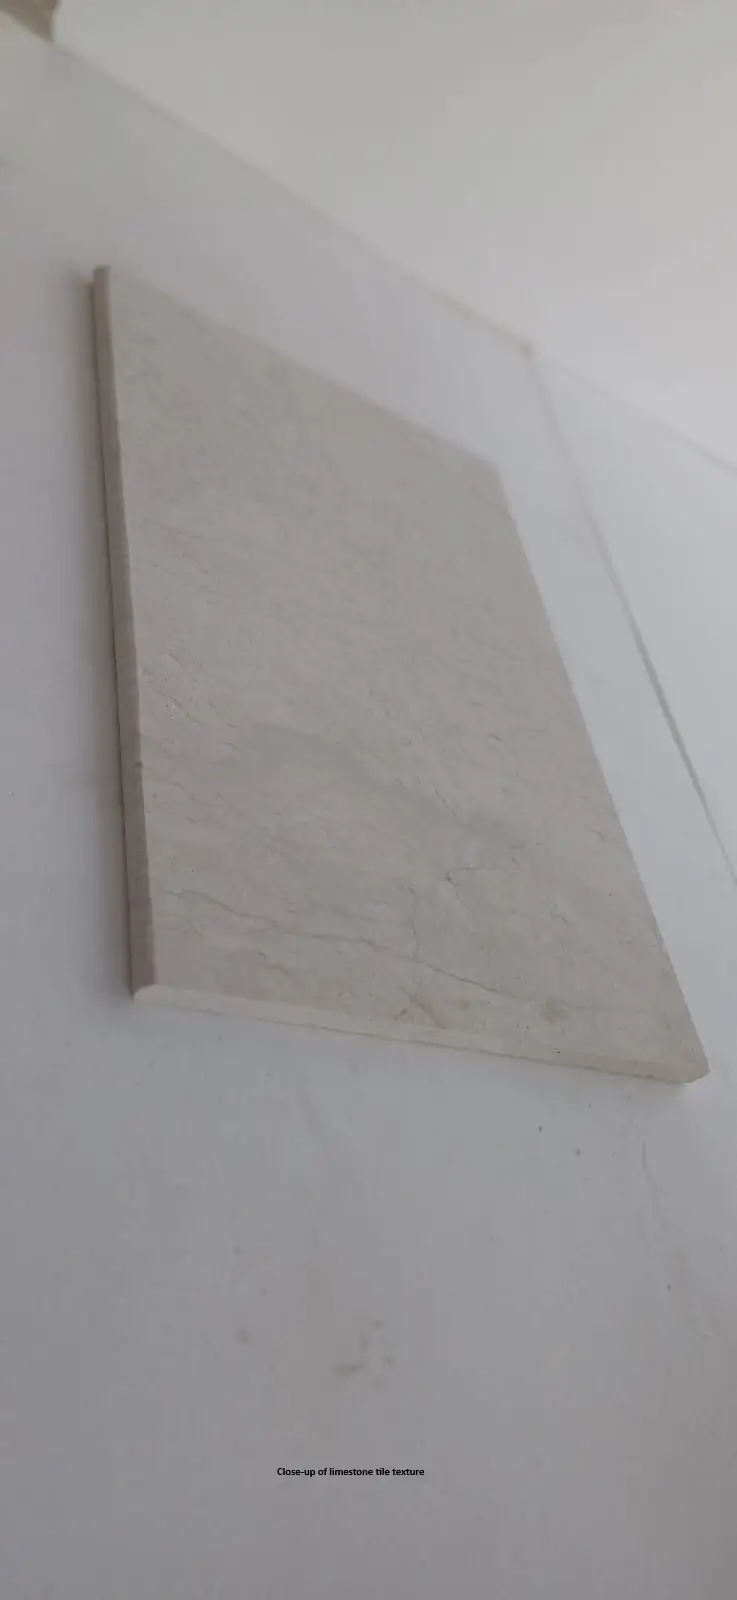
Limestone tiles are cut from natural sedimentary rock, primarily composed of calcium carbonate. Formed over millions of years, they boast a distinctive look with soft, earthy hues—think creamy beiges, warm grays, and subtle taupes. No two tiles are exactly alike, thanks to their organic veining and fossil-like patterns.
Benefits of Limestone Tiles
Timeless Beauty: Their understated elegance complements any style, from rustic to contemporary.
Strength: Properly cared for, limestone withstands heavy use, making it ideal for high-traffic areas.
Adaptability: Use them indoors or out, on floors, walls, or even as accent pieces.
Natural Coolness: They stay cool to the touch, a bonus in sunny spaces.
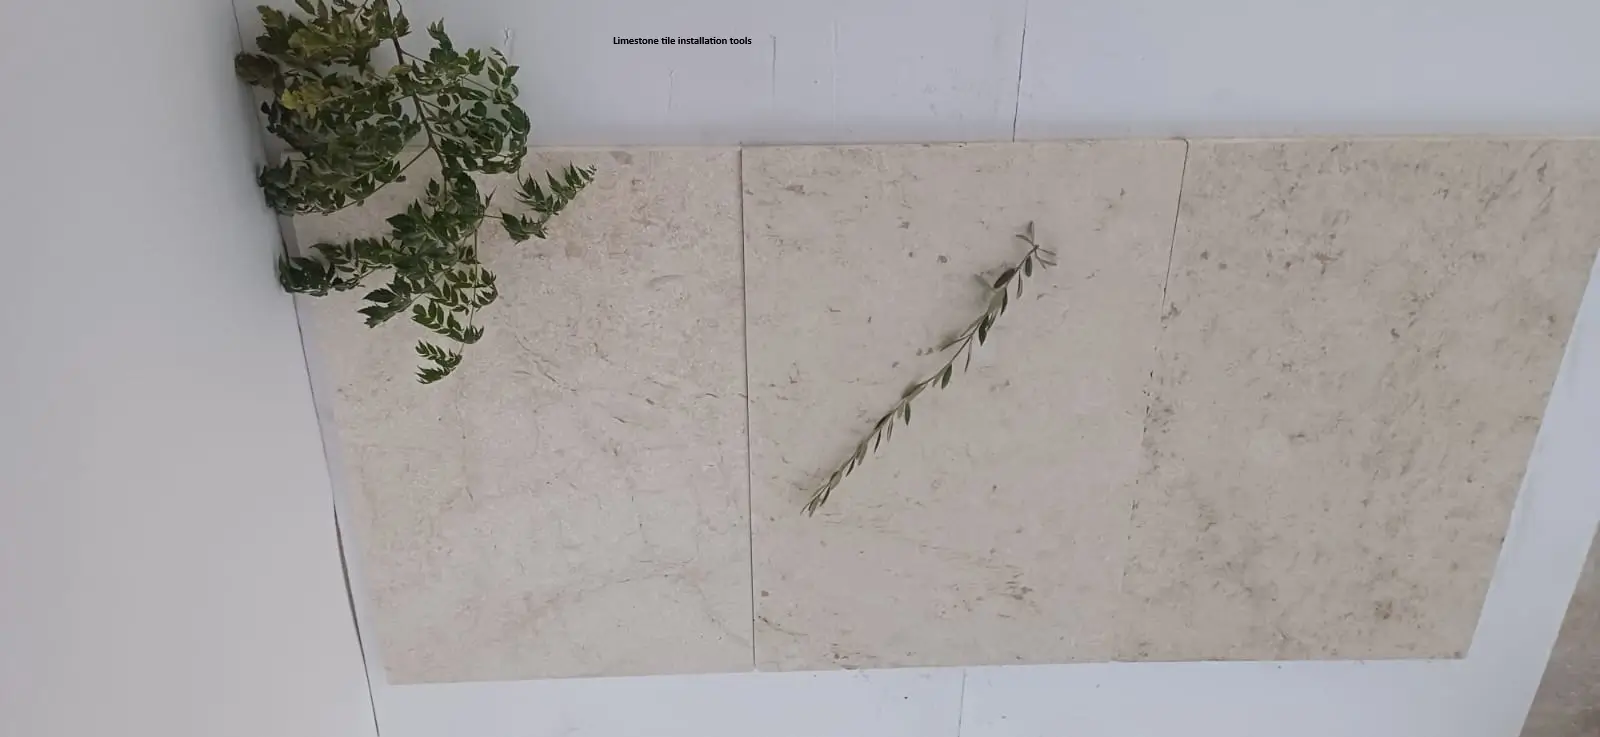
That said, limestone’s porous nature means it needs careful installation and upkeep. Knowing the costs upfront ensures you’re prepared for both the initial investment and long-term care.
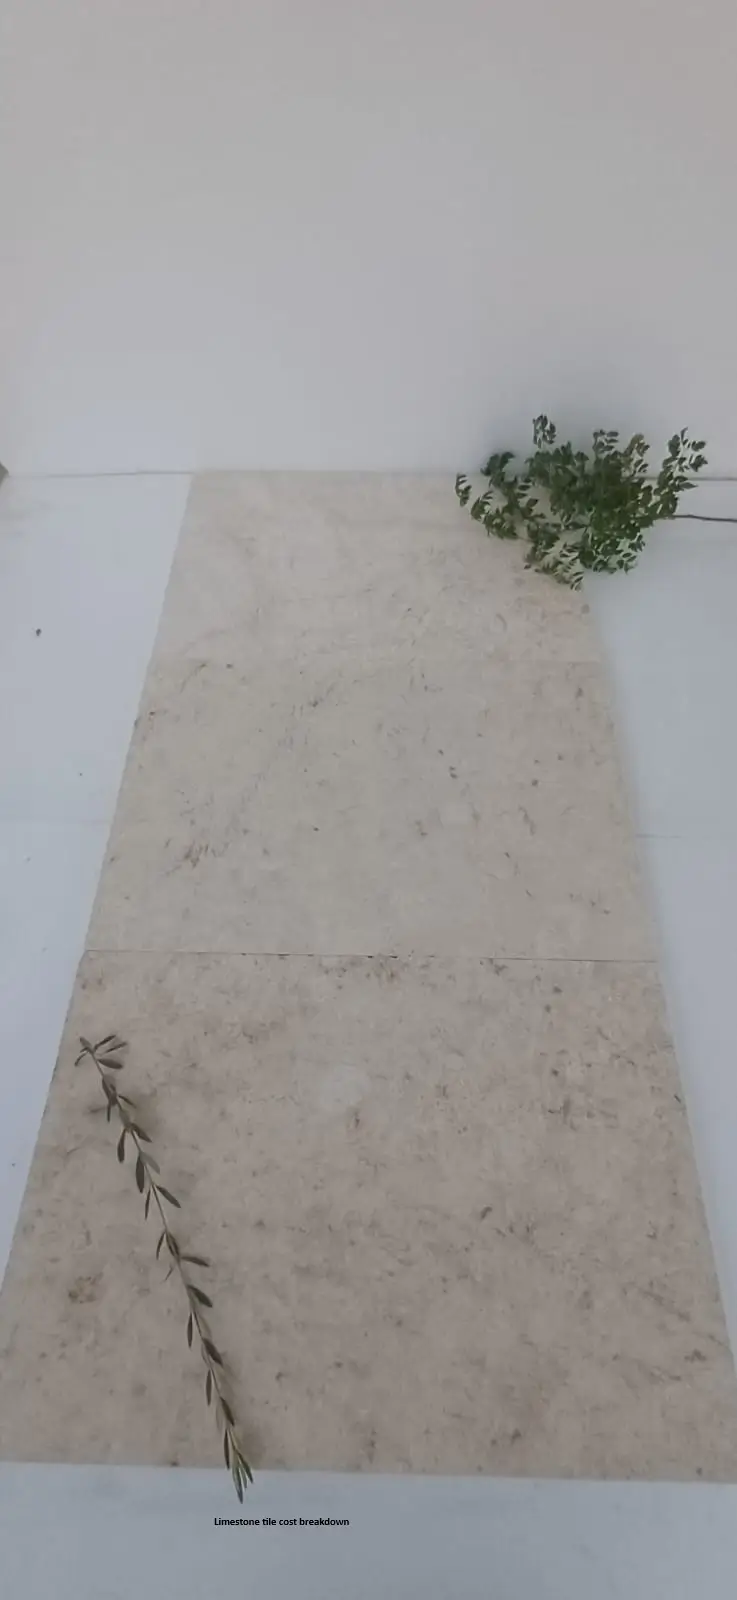
Breaking Down the Costs of Limestone Tile Installation
To budget accurately, you need to consider all the elements involved. Here’s a detailed look at what drives the price of installing limestone tiles.
1. The Price of Limestone Tiles
The tiles themselves are often the biggest chunk of your budget. Their cost depends on a handful of variables:
Grade and Source: Top-tier limestone from regions like Italy or Turkey costs more due to its superior density and finish.
Tile Dimensions: Bigger tiles (e.g., 18×18 inches) are pricier per square foot than smaller ones (e.g., 6×6 inches).
Surface Treatment: Polished or honed tiles fetch a higher price than matte or tumbled ones.
Thickness: Thicker slabs, often used outdoors, bump up the cost.
Average Range: Expect to pay $6 to $18 per square foot, though luxury options can climb past $25.
Pro Tip: Order 10-15% more than your measured area to cover cuts, breakage, and spares.
2. Labor Expenses
Hiring a professional installer—or doing it yourself—affects your bottom line significantly. Here’s what influences labor costs:
Rate Structure: Installers may charge $50 to $120 per hour or $5 to $10 per square foot, depending on expertise.
Project Scope: Simple layouts are cheaper than intricate designs like diagonals or borders.
Regional Differences: Labor in cities tends to be costlier than in rural areas.
Average Labor Cost: Typically $5 to $10 per square foot for a standard job.
Pro Tip: Ask for quotes from several contractors and verify their experience with natural stone.
3. Essential Materials
Installation requires more than just tiles. Here’s what you’ll need:
Thin-Set Mortar: Bonds tiles to the surface, costing $0.75 to $2 per square foot.
Grout: Fills joints between tiles, ranging from $0.60 to $2.50 per square foot.
Sealer: Shields limestone from stains, averaging $1 to $4 per square foot.
Underlayment: If needed, cement board or membranes add $1 to $3 per square foot.
Total Material Cost: About $4 to $10 per square foot.
Pro Tip: Don’t skimp on sealer—limestone’s porosity makes it prone to damage without protection.
4. Extra Costs to Watch For
Unexpected expenses can sneak up on you. Common add-ons include:
Floor Prep: Leveling or repairing a subfloor might cost $2 to $6 per square foot.
Demolition: Removing old flooring runs $1 to $4 per square foot.
Cutting and Waste: Detailed cuts around corners or fixtures increase time and material use.
Delivery Fees: Shipping bulky tiles can add $50 to $200, depending on distance.
Pro Tip: Build a 10-15% buffer into your budget for surprises.
Sample Cost Breakdown Table
Here’s a snapshot of what a 150-square-foot project might look like:
Category | Cost per Sq Ft | Total (150 sq ft) |
|---|---|---|
Limestone Tiles | $12 | $1,800 |
Labor | $7 | $1,050 |
Materials | $6 | $900 |
Extra Costs | $3 | $450 |
Total Estimated Cost | $28 per sq ft | $4,200 |
Note: Costs vary by location and project details.
How to Save Money on Limestone Tile Installation
Sticking to a budget doesn’t mean cutting corners. Try these strategies to keep costs down:
1. Hunt for Tile Deals
Bulk Purchases: Larger orders often mean lower prices per square foot.
Discount Outlets: Check for overstock or slightly flawed tiles at reduced rates.
Seasonal Offers: Retailers may drop prices during slower months.
2. Plan Your Timing
Off-Peak Scheduling: Book installers in winter or early spring when demand is lower.
3. Take on Some Work Yourself
Demolition: Tear out old flooring to save on labor.
Sealing: Apply sealer post-installation with a DIY kit.
4. Simplify the Design
Basic Layouts: A straight grid cuts down on labor and waste compared to custom patterns.
Standard Sizes: Avoid tiny mosaics or oversized tiles that require extra cutting.
Pro Tip: Balance savings with quality—cheap tiles or labor can lead to headaches later.
Mistakes That Can Derail Your Budget
Avoid these missteps to keep your project affordable and stress-free:
1. Misjudging Tile Needs
Order Shortages: Running out mid-project means delays and rush fees.
Ignoring Waste: Plan for breakage and offcuts.
2. Picking Unsuitable Limestone
Wrong Environment: Indoor-only tiles won’t hold up outside.
Slippery Finishes: Polished tiles in wet zones can be hazardous.
3. Cutting Corners on Installation
Inexperienced Help: A bad install leads to cracks or uneven floors.
Poor Prep: Skipping subfloor work risks long-term damage.
Pro Tip: Spend a little more now to avoid big repairs later.
FAQs: Your Limestone Tile Cost Questions Answered
Still have questions? Here’s what we hear most often:
1. What’s the average cost of limestone tile installation?
$12 to $30 per square foot, depending on tiles, labor, and extras.
2. Is DIY installation a good idea?
It can save money if you’re skilled, but mistakes are pricey. Pros ensure precision.
3. How long do limestone tiles last?
With maintenance, 25+ years. Sealing every 1-2 years is key.
4. Why is limestone pricier than ceramic?
Its natural origin and durability make it a premium option, though it’s similar to marble or slate.
Real-World Applications of Limestone Tiles
Case Study 1: Seattle, Washington – Modern Waterfront Apartment
Use: Precision‑engineered white limestone tiles were chosen to brighten living spaces and resist moisture in a new waterfront apartment tower in Seattle.
Implementation: 24″×48″ honed limestone planks were installed in the lobby, hallways, and select penthouse balconies. Anti-slip finishes were applied in wet zones, and low‑VOC grout maintained indoor air quality.
Result: Resident satisfaction surveys showed a 28% increase in perceived brightness and airiness. Maintenance reports highlighted the tile’s resistance to salt spray and moisture, reducing floor repairs by 35% in the first year.
Case Study 2: Birmingham, Alabama – Upscale Retail Center Renovation
Use: To elevate customer experience at a high‑end shopping destination, superior white limestone pavers were selected for courtyards, indoor walkways, and feature storefronts.
Implementation: 18″×36″ brushed limestone tiles were laid in a diamond pattern across 15,000 sq ft of retail space. UV‑resistant sealant protected against fading under Alabama’s intense sun.
Result: Foot traffic increased by 22%, and tenant sales rose by 18%, with shoppers noting the refined ambiance created by the white limestone flooring.
Case Study 3: Boise, Idaho – Sustainability‑Focused University Commons
Use: In Boise State University’s new student commons, bright white limestone flooring was specified to maximize daylight distribution and support green building goals.
Implementation: 12″×24″ matte limestone planks were installed under large skylights. Permeable grout allowed for integrated floor‑watering of interior plantings, enhancing indoor air quality.
Result: The commons achieved LEED Gold certification, with a 20% reduction in electric lighting demand. Student focus groups praised the “natural, open feel” of the flooring.
Case Study 4: Honolulu, Hawaii – Luxury Coastal Resort
Use: Minimal white limestone paving tiles were selected for guest room terraces, pool decks, and indoor spa areas at a luxury resort in Honolulu to blend with tropical surroundings.
Implementation: Custom 24″×24″ flamed‑finish limestone was mechanically anchored to withstand coastal winds. A marine‑grade sealant guarded against salt and chlorine exposure.
Result: The resort saw a 15% increase in repeat bookings and a 25% drop in maintenance claims related to floor damage. Guests frequently cited the elegant, island‑inspired flooring in reviews.
Case Study 5: Durham, North Carolina – Contemporary Art Museum Addition
Use: For the expansion of a contemporary art museum in Durham, understated white limestone outdoor tiles were chosen to create a neutral backdrop for diverse exhibits and withstand heavy footfall.
Implementation: 30″×30″ polished limestone slabs were installed in gallery halls with micro‑joint grouting for a seamless appearance. A proprietary matte seal reduced glare on artwork.
Result: Annual attendance rose by 25%, and curators reported improved exhibit presentation. Cleaning logs showed a 40% reduction in deep‐clean cycles.
Case Study 6: Kansas City, Missouri – High‑Rise Office Lobby
Use: In a new financial district tower, versatile white polished limestone was specified for the main lobby and client reception areas to convey stability and elegance.
Implementation: Oversized 36″×36″ polished limestone panels were bookmatched in the lobby to highlight natural veining. Floor‑level LED channels accentuated tile edges at night, and a slip‑resistant finish ensured safety.
Result: Client feedback highlighted the lobby’s “luxurious, professional atmosphere.” Lobby usage metrics showed a 30% increase in informal client meetings within the space.
Wrapping Up: Plan Smart, Build Beautifully
Budgeting for limestone tile installation doesn’t have to feel overwhelming. By breaking it down into tiles, labor, materials, and extras, you can craft a plan that fits your wallet and your vision. Use our tips to save where it counts, steer clear of costly errors, and enjoy the process of transforming your space.
At Citadel Stone—where innovation meets tradition in stone supply, we’re here to support your journey with top-quality limestone tiles and expert advice. Ready to get started? Browse our selection or reach out today—your dream floor awaits!