Transforming your outdoor space into a stylish, durable oasis has never been easier—especially when you choose quality materials and follow a proven installation process. At Citadel Stone – A legacy built to endure, we pride ourselves on offering top-quality paving solutions that enhance the beauty and functionality of any exterior area. In this comprehensive guide, we will walk you through every step of installing Ocean Reef Pavers, a choice that combines aesthetic appeal with long-lasting durability. Whether you’re planning a patio, driveway, pool deck, or a charming walkway, this guide is tailored for DIY enthusiasts in the United States who want to achieve professional-looking results without breaking the bank.
In the following sections, you’ll find detailed instructions—from planning and substrate preparation to laying the pavers and final touches. Our goal is to ensure your project is successful, efficient, and enjoyable. Let’s dive in!
Why Choose Ocean Reef Pavers for Your Project?
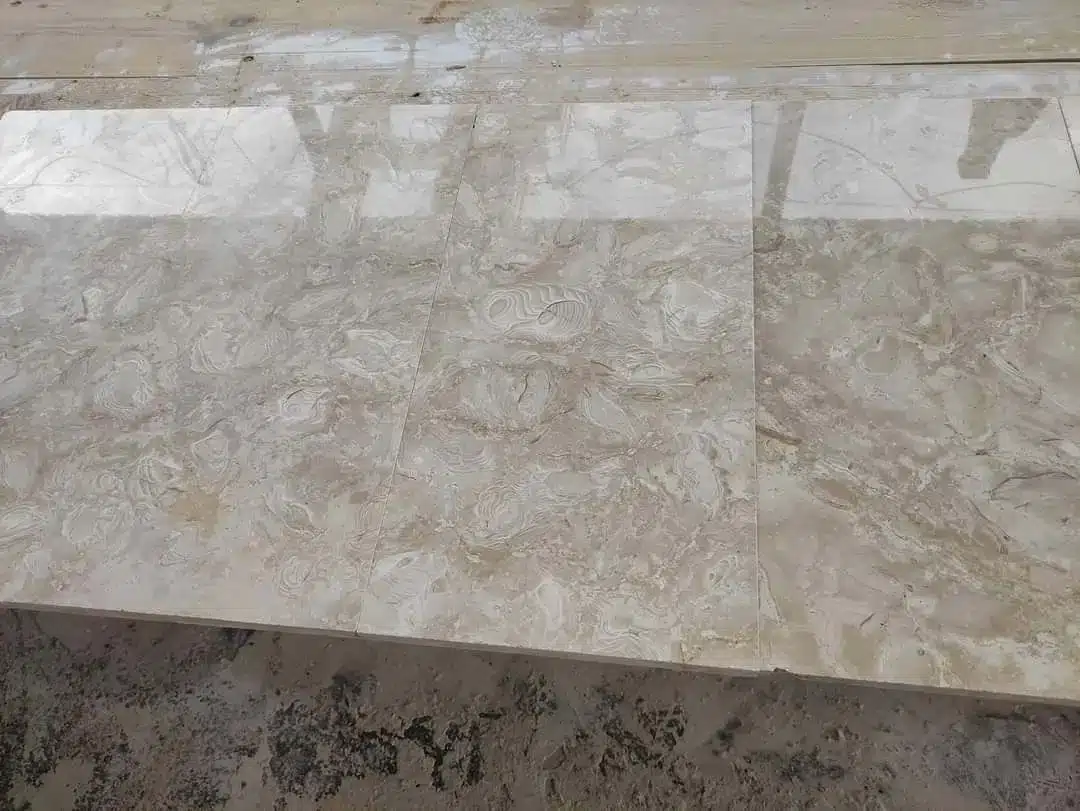
Our richly textured Ocean Reef Pavers adding dimension to hardscapes are known for their robust construction and elegant design, making them an excellent choice for various outdoor projects. Here are some reasons why these pavers might be the perfect option for your next DIY installation:
- Durability: Made from high-quality materials, our natural Ocean Reef Pavers complementing any landscape can withstand harsh weather conditions, heavy foot traffic, and even vehicular loads.
- Aesthetic Appeal: Their sleek design and versatile color options allow you to create visually striking patterns that complement any landscape style.
- Low Maintenance: Once installed, these pavers require minimal upkeep. Occasional cleaning and periodic joint sand replacement are typically all that’s needed.
- Ease of Installation: Designed with the DIY enthusiast in mind, these pavers are relatively easy to install when you follow a systematic, step-by-step approach.
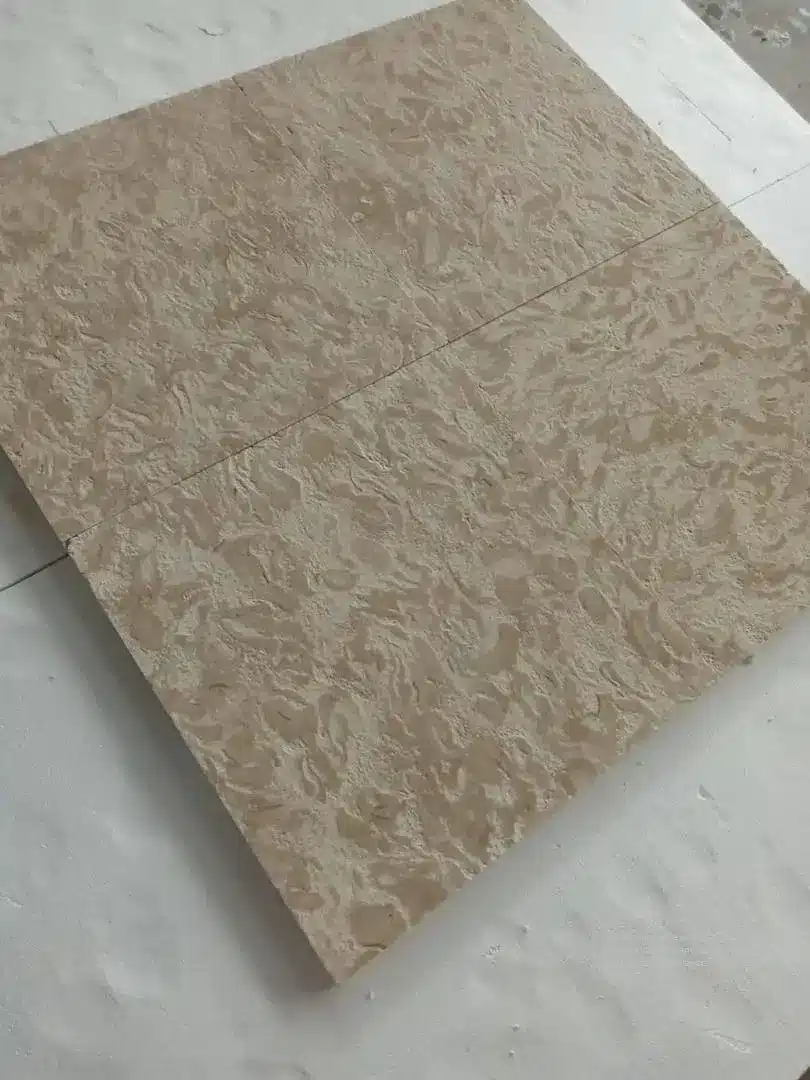
By choosing textured Ocean Reef Pavers adding depth to patios and walkways, you’re investing in a product that will enhance your property’s curb appeal while delivering enduring performance.
Planning and Design: Laying the Foundation for Success
A successful paver installation starts long before the first stone is laid. Proper planning and design are crucial to ensure that your project is both functional and visually appealing. Follow these steps to set the stage for your installation:
1. Define Your Project Scope
- Determine the Area: Measure the space where you plan to install the pavers. Whether it’s a small patio or an expansive driveway, accurate measurements are essential.
- Set a Budget: Establish a realistic budget that covers materials, tools, and any additional supplies you might need.
- Design the Layout: Sketch a rough layout of your project. Consider patterns such as herringbone, basketweave, or running bond, which can add character and improve stability.
2. Check Local Regulations
- Permits and Codes: Depending on your location, there might be local building codes or permit requirements for paving projects. Ensure you’re in compliance with any regulations before beginning your project.
- Drainage Considerations: Plan for proper drainage to prevent water accumulation, which can undermine your paver installation over time. A slight slope away from your home is usually recommended.
3. Gather Inspiration
Visit our Citadel Stone website for design ideas and product showcases. Whether you’re revamping an old patio or designing a brand-new outdoor space, seeing examples of finished projects can help spark creativity and refine your vision.
Tools and Materials You Will Need
Before you start digging, ensure you have all the necessary tools and materials on hand. Having everything ready will streamline the installation process and help you avoid unnecessary interruptions.
Essential Tools
- Measuring Tape and Marking Tools: For accurate measurements and layout marking.
- Shovel and Spade: To remove soil and excavate the installation area.
- Rake: For leveling and spreading base materials.
- Wheelbarrow: For transporting materials like gravel and sand.
- Plate Compactor: To compact the substrate and base layers effectively. (You can often rent one from local hardware stores.)
- Rubber Mallet: For gently tapping pavers into place without damaging them.
- Level and Screed Board: To ensure that your pavers and sand bedding layer are even.
- Safety Gear: Gloves, safety glasses, and a dust mask to protect you during cutting and compacting.
- Paver Saw or Angle Grinder: For cutting pavers to fit along edges and curves.
Necessary Materials
- Ocean Reef Pavers: Your chosen paver product from Citadel Stone.
- Paver Base Material: Typically a type of crushed stone or gravel that provides a stable foundation.
- Bedding Sand: Fine, well-graded sand used to create a smooth, level layer for the pavers.
- Joint Sand (Polymeric Sand): Specially formulated sand that hardens to secure the pavers in place once activated by water.
- Landscape Fabric: Optional but useful for preventing weed growth beneath the pavers.
- Edging Material: To secure the paver layout and prevent lateral movement.
Having these tools and materials ready will make your installation process smoother and more efficient, ensuring you can focus on achieving a flawless finish.
Step 1: Preparing the Substrate
Proper substrate preparation is the foundation of any successful paver installation. A well-prepared substrate not only enhances the stability and longevity of your project but also ensures proper drainage and prevents shifting over time.
1. Mark the Area
- Outline Your Space: Use stakes and string or marking paint to outline the exact area where you will install the pavers.
- Double-Check Measurements: Ensure your marked area is slightly larger than the intended finished area. This extra space allows for adjustments during the installation process.
2. Excavate the Site
- Depth Considerations: For most patio installations, you should excavate to a depth of about 8 to 12 inches. This depth includes room for both the paver base and the bedding sand.
- Remove Debris: Clear the area of any vegetation, rocks, or debris that could interfere with a level substrate.
- Ensure Proper Slope: Grade the excavated area so that it slopes gently away from any structures (typically a 1/8 inch per foot slope) to facilitate water runoff.
3. Install Landscape Fabric
- Weed Prevention: Lay landscape fabric over the excavated area to inhibit weed growth and maintain a stable base.
- Secure the Fabric: Use landscape staples or pins to keep the fabric in place.
4. Compact the Soil
- Initial Compaction: Use a plate compactor or a hand tamper to compact the soil evenly. A well-compacted base prevents future settling and shifting of the pavers.
- Check the Surface: Run a level over the compacted area to ensure it is as even as possible.
By taking the time to properly prepare the substrate, you set the stage for a durable and long-lasting paver installation that can withstand the test of time.
Step 2: Installing the Base Layer
The base layer is critical for providing stability and support to your paver installation. It distributes the load evenly and helps prevent shifting or sinking over time.
1. Add the Paver Base Material
- Depth and Distribution: Spread a 4- to 6-inch layer of crushed stone or gravel evenly over the prepared area. This layer forms the foundation of your paver installation.
- Work in Sections: For larger areas, work in smaller sections to maintain a consistent layer and ensure even distribution.
2. Compact the Base
- Use a Plate Compactor: Run the compactor over the entire base layer multiple times to achieve a firm and stable surface. Proper compaction is essential to prevent future settling.
- Check the Level: After compacting, use a level or screed board to ensure that the base layer is even. Make any necessary adjustments by adding or removing material.
3. Edge the Base (Optional)
- Preventing Shifts: Installing edging material along the perimeter of the base can help contain the aggregate and provide a guide for the paver layout.
- Secure the Edging: Use stakes or adhesive, as recommended by the edging manufacturer, to secure the material firmly in place.
A well-installed base layer is vital for the longevity of your paver installation. It not only supports the pavers but also contributes to proper drainage and load distribution.
Step 3: Creating the Bedding Layer
The bedding layer, usually composed of sand, provides a smooth surface for laying the pavers and allows for minor adjustments during installation. This layer is key to achieving a level and even paver surface.
1. Spread the Bedding Sand
- Layer Thickness: Distribute a 1- to 1.5-inch layer of bedding sand evenly over the compacted base.
- Use a Rake: Smooth out the sand with a rake, ensuring there are no high spots or depressions.
2. Screed the Sand
- Leveling Process: Place a long, straight board (screed) on the edges of the project area. Pull the board across the sand to level it out uniformly.
- Final Check: Use a level to verify that the sand layer is perfectly flat. This step is crucial as it determines the overall level of your paver installation.
3. Mark the Starting Line
- Establish a Guide: Before laying the pavers, mark a straight starting line along one edge of the installation area. This line will serve as a guide to ensure your pavers are aligned correctly.
- Double-Check Measurements: Confirm that the starting line is level and parallel to the intended finished edge.
By creating a smooth and even bedding layer, you ensure that each paver will sit perfectly, resulting in a professional-looking finish.
Step 4: Laying the Ocean Reef Pavers
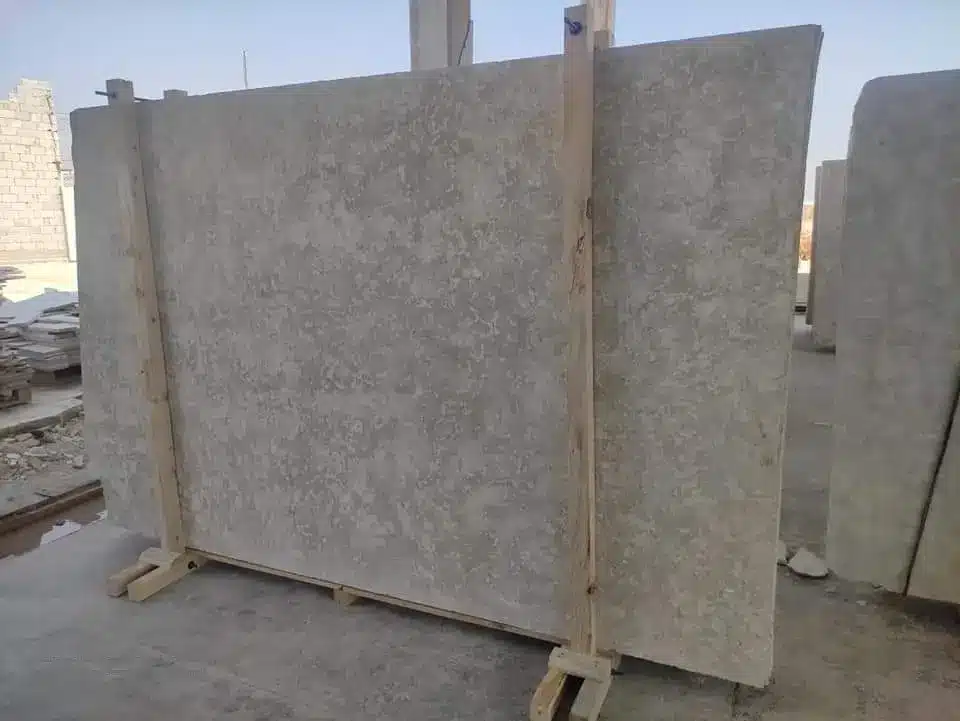
Now comes the exciting part: laying your our versatile Ocean Reef Pavers blending effortlessly into modern designs. This step requires patience and precision to achieve a visually pleasing and structurally sound installation.
1. Start at the Corner
- Begin at One End: Begin laying your pavers at one corner of the area. This method ensures that any necessary adjustments or cuts are made along the perimeter, keeping the central area neat and uniform.
- Align with the Guide: Use the marked starting line as your reference point. Place the first paver carefully, ensuring it sits flush with the guide.
2. Place Each Paver
- Lay in the Chosen Pattern: Depending on your design, begin laying the pavers in your selected pattern (e.g., herringbone, basketweave, or running bond). Consistency is key, so try to maintain uniform gaps between each paver.
- Tap into Place: Use a rubber mallet to gently tap each paver into the bedding sand. This action helps seat the paver securely without damaging its surface.
- Check Alignment: Continually check that each paver is level and aligned with its neighbors. Adjust the bedding sand if necessary to correct any misalignments.
3. Maintain Consistent Joints
- Uniform Gaps: Leave a consistent gap (typically around 1/8 to 1/4 inch) between pavers. These gaps will later be filled with polymeric sand to lock the pavers in place.
- Use Spacers: Consider using paver spacers to help maintain uniformity, especially if you’re working on a large area.
Taking your time to lay each paver carefully will pay off in the long run, resulting in a stable, attractive surface that stands the test of time.
Step 5: Cutting and Fitting Pavers
It’s common to encounter edges or curves that require custom-sized pavers. Here’s how to handle these adjustments:
1. Mark the Cut Line
- Measure Precisely: Use a measuring tape and chalk to mark the precise cut line on the paver that needs to be trimmed.
- Double-Check Measurements: Verify your measurements to avoid cutting too much material.
2. Choose the Right Tool
- Paver Saw or Angle Grinder: A wet saw or an angle grinder equipped with a diamond blade is ideal for making clean, precise cuts. Always use the tool that you are most comfortable with.
- Safety First: Wear safety glasses, gloves, and a dust mask to protect yourself during the cutting process.
3. Make the Cut
- Cut Slowly and Steadily: Guide the tool along the marked line slowly to ensure a clean cut. Rushing the process can lead to uneven edges or broken pieces.
- Test the Fit: Place the cut paver in position to check the fit. If necessary, make minor adjustments until it fits seamlessly within your layout.
By carefully measuring and cutting your pavers, you ensure that the entire installation appears cohesive and professionally executed.
Step 6: Filling Joints and Final Compaction
Once all the pavers are in place, the next step is to secure them by filling the joints with sand, which not only locks them in place but also prevents weed growth and insect infestations.
1. Choose the Right Joint Sand
- Polymeric Sand: This type of sand hardens when moistened, providing additional stability and reducing maintenance needs.
- Regular Joint Sand: Alternatively, you can use standard joint sand if polymeric sand is not available. However, polymeric sand is generally preferred for its durability.
2. Spread the Sand
- Even Application: Pour the joint sand over the entire surface of the pavers.
- Sweep into Gaps: Use a broom to sweep the sand into the gaps between the pavers, ensuring that all joints are completely filled.
3. Compact the Surface
- Final Compaction: Use a plate compactor to gently compact the pavers once more. This step helps settle the sand into the joints and ensures that the pavers are firmly locked in place.
- Repeat if Necessary: If you notice any joints that are not fully filled, apply a little more sand and compact the area again.
4. Clean Up and Seal (Optional)
- Remove Excess Sand: Once all joints are filled and compacted, brush off any excess sand from the paver surfaces.
- Sealing Your Pavers: Consider applying a sealant specifically designed for pavers to protect the surface from stains, UV rays, and moisture. This step is optional but can extend the life and beauty of your installation.
Filling the joints properly not only stabilizes your paver installation but also enhances its overall appearance, giving it that professional, finished look.
Troubleshooting Common Installation Issues
Even with meticulous planning and execution, you may encounter a few challenges along the way. Here are some common issues and practical solutions:
1. Uneven Pavers
- Problem: Pavers may appear uneven or wobbly.
- Solution: Check the thickness of your bedding sand and ensure that the base layer is uniformly compacted. Adjust by adding or removing bedding sand and re-compacting the area.
2. Shifting or Settling
- Problem: Pavers may shift over time due to inadequate base support.
- Solution: Ensure that your base layer is deep and well-compacted. In areas with heavy traffic, consider increasing the base depth and using a high-quality crushed stone for improved stability.
3. Poor Drainage
- Problem: Water pooling on the surface or beneath the pavers.
- Solution: Revisit your slope calculations and ensure that your installation has a slight grade away from structures. Consider adding a drainage layer or installing permeable pavers if water retention remains an issue.
4. Difficulty Cutting Pavers
- Problem: Pavers may crack or chip when cutting.
- Solution: Use the appropriate cutting tool (wet saw or angle grinder) and take your time with each cut. Make sure to use water to cool the blade if necessary and always follow safety guidelines.
By anticipating and addressing these potential issues, you can avoid setbacks and ensure a smoother installation process.
Additional Tips for a Successful DIY Paver Installation
Here are some extra tips and best practices to keep in mind as you work on your project:
- Plan for Weather: Choose a dry, mild day for installation. Excess moisture can affect the compaction of the substrate and bedding layers.
- Rent Quality Equipment: If you don’t own a plate compactor or paver saw, consider renting them from a local hardware store. High-quality equipment makes the process more efficient and reduces the risk of mistakes.
- Work with a Partner: If possible, enlist the help of a friend or family member. Two sets of hands can make tasks like compaction and layout alignment much easier.
- Stay Patient: Rushing through the installation can lead to mistakes. Take your time, especially during the substrate preparation and leveling stages, as these steps are critical for long-term success.
- Consult Experts: When in doubt, consult with professionals or reach out to Citadel Stone’s customer service for advice. We’re here to help you achieve the best results possible.
Remember, a well-executed paver installation not only enhances your outdoor living space but also adds value to your property. With careful planning and attention to detail, even a novice DIY enthusiast can achieve professional-quality results.
Maintaining Your Ocean Reef Paver Installation
Once your custom-cut Ocean Reef Pavers for a flawless architectural fit are installed, routine maintenance will help keep your project looking its best for years to come. Here are some tips for long-term care:
1. Regular Cleaning
- Sweep Frequently: Regularly sweep the paver surface to remove dirt, debris, and any loose sand.
- Power Washing: Periodically use a power washer on a low setting to clean the pavers. Avoid using harsh chemicals that might damage the sealant or the pavers’ surface.
2. Inspect Joints
- Replenish Sand: Over time, joint sand can erode. Inspect the joints periodically and add more polymeric sand as needed.
- Weed Control: Even with landscape fabric underneath, weeds might occasionally sprout. Remove them promptly to maintain the integrity of the installation.
3. Sealing
- Apply Sealant: If you’ve chosen to seal your pavers, reapply the sealant every few years to maintain protection against stains and weathering.
- Follow Manufacturer Guidelines: Always follow the sealant manufacturer’s instructions for the best results.
Proper maintenance will extend the life of your paver installation and keep your outdoor space looking fresh and inviting.
Bringing It All Together
Installing weather-resistant Ocean Reef Pavers maintaining their charm year-round is a rewarding DIY project that, when executed correctly, can dramatically enhance the look and functionality of your outdoor space. By following the step-by-step instructions outlined in this guide, you’ll be well on your way to creating a durable, visually appealing surface that you can enjoy for years to come.
Recap of the Process
- Planning and Design: Define your project scope, measure your space, and sketch your layout while considering drainage and local regulations.
- Substrate Preparation: Mark, excavate, install landscape fabric, and compact the site to create a stable foundation.
- Base Layer Installation: Spread and compact a robust layer of crushed stone or gravel to ensure stability.
- Bedding Layer Creation: Apply a smooth, level layer of sand to serve as the working surface for your pavers.
- Laying the Pavers: Start at a corner, lay pavers in your chosen pattern, and maintain consistent joints.
- Cutting and Fitting: Carefully measure and cut pavers to fit edges and curves, ensuring a seamless finish.
- Filling Joints and Final Compaction: Fill gaps with polymeric sand and re-compact to lock the pavers in place.
- Maintenance: Regular cleaning, joint inspections, and periodic sealing ensure longevity.
By investing time in each step, you not only enhance the appearance of your outdoor area but also create a resilient surface that stands up to everyday use and the elements.
Why Citadel Stone is Your Trusted Partner
At Citadel Stone – Designed to last a lifetime, we understand that a successful DIY project starts with quality materials and expert guidance. Our handcrafted Ocean Reef Pavers showcasing nature’s finest textures are manufactured to meet the high standards of durability and design, making them an ideal choice for projects across the United States. We are committed to helping homeowners and DIY enthusiasts alike achieve professional-level results without compromising on quality.
- Expert Advice: Our website offers a wealth of resources, including detailed guides, design inspiration, and expert advice to help you through every stage of your project.
- High-Quality Products: With Citadel Stone, you can be confident that you are using pavers that are built to last. Our products are designed to withstand harsh weather conditions and heavy usage, ensuring your investment pays off in the long run.
- Customer Support: Whether you have questions about product specifications or need guidance on installation techniques, our customer support team is here to assist you every step of the way.
Final Thoughts and Call to Action
Installing elegant Ocean Reef Pavers bringing a polished touch to landscapes can be a transformative DIY project that not only boosts your home’s aesthetic appeal but also adds significant value to your property. By following this detailed, step-by-step guide, you can confidently tackle your paver installation project and achieve a beautiful, long-lasting result.
If you’re ready to begin your project or need more information about our products, visit Citadel Stone today. Our team is dedicated to providing you with high-quality materials, expert advice, and the inspiration you need to create your perfect outdoor space.
Remember, every great project begins with a single step. Start planning, prepare your materials, and let your creativity flow as you build an outdoor haven that reflects your style and stands the test of time. Happy paving!