Basalt tiles, renowned for their durability, natural beauty, and low maintenance, are an excellent choice for a wide range of applications—from sleek indoor floors and walls to rugged outdoor patios and walkways. However, installing basalt tiles requires careful planning, proper substrate preparation, and the right installation techniques to ensure long-lasting results. This in-depth guide will walk you through every step of the process, covering everything from initial planning and substrate preparation to adhesive selection, tiling, grouting, and finishing touches.
Whether you’re a DIY enthusiast or a professional contractor working in the USA, this guide is designed to provide clear, actionable instructions that help you achieve a flawless basalt tile installation.
1. Introduction
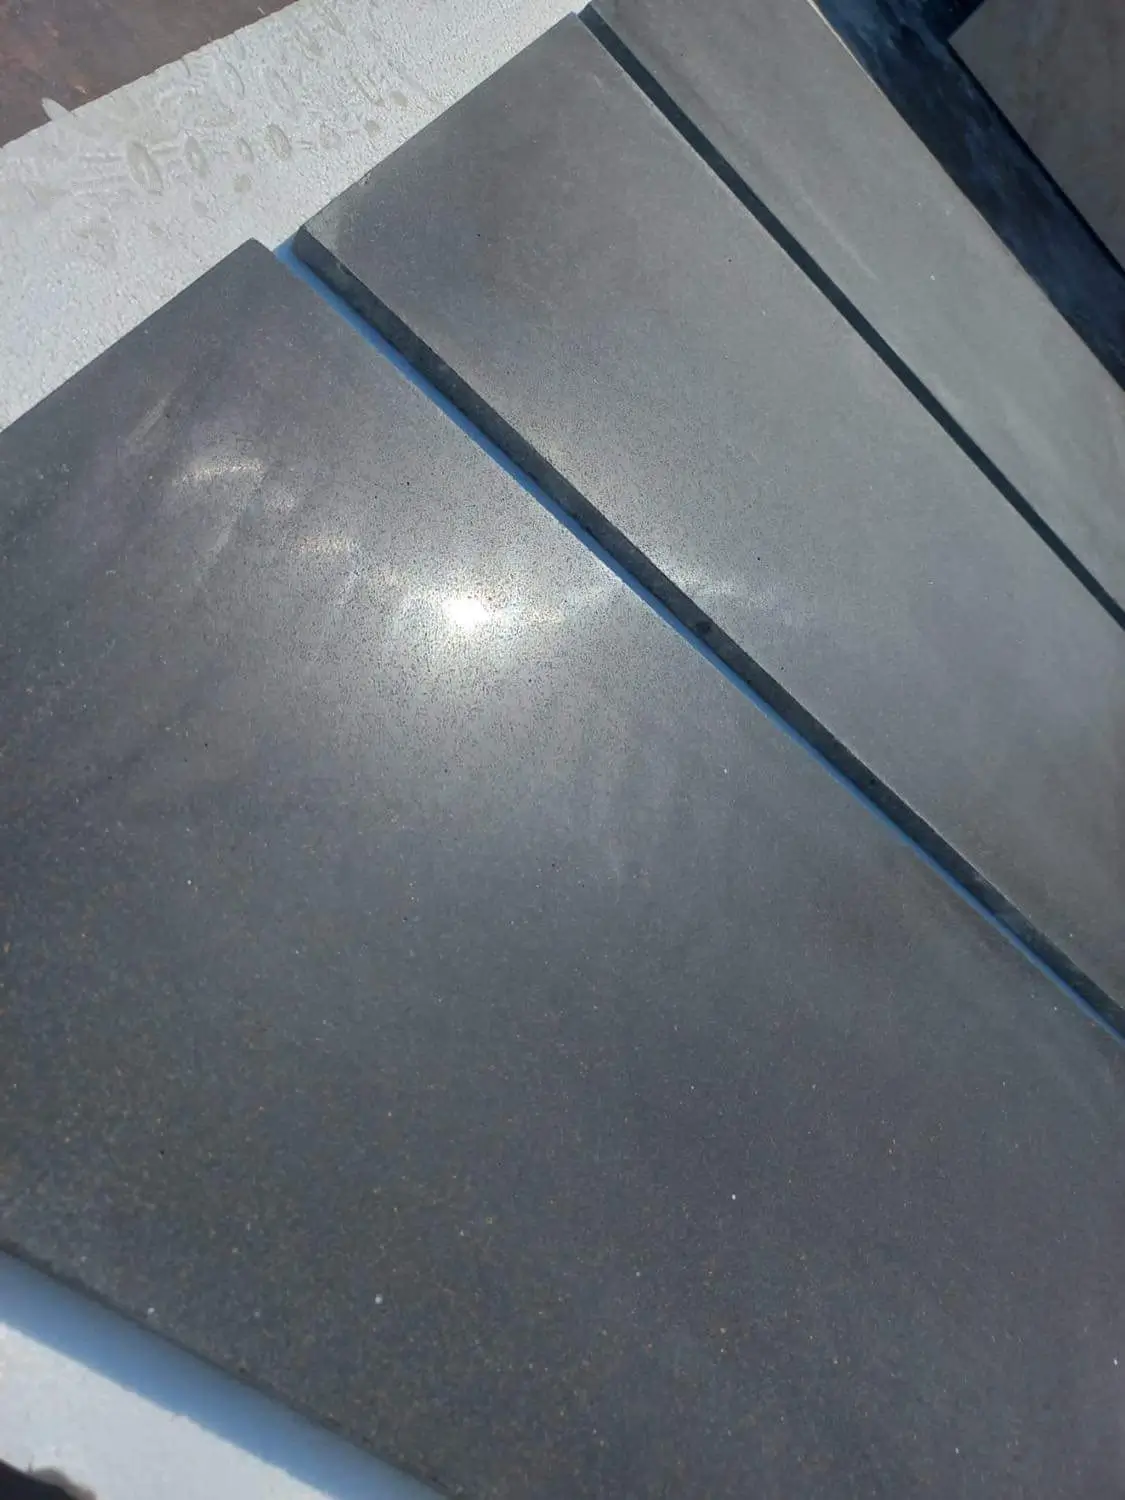
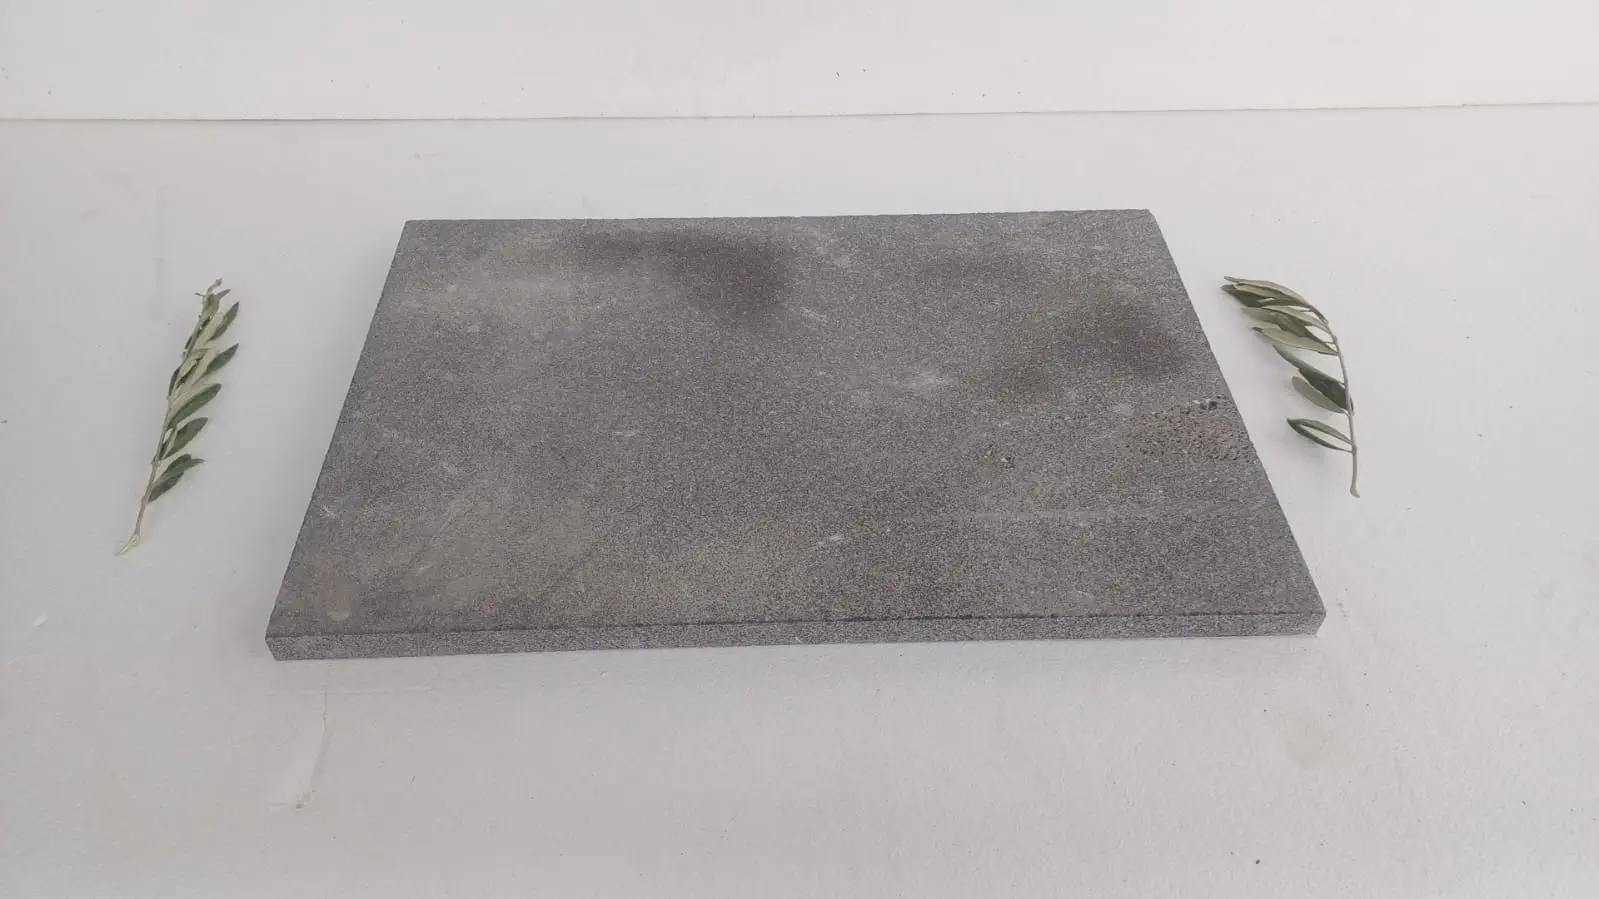
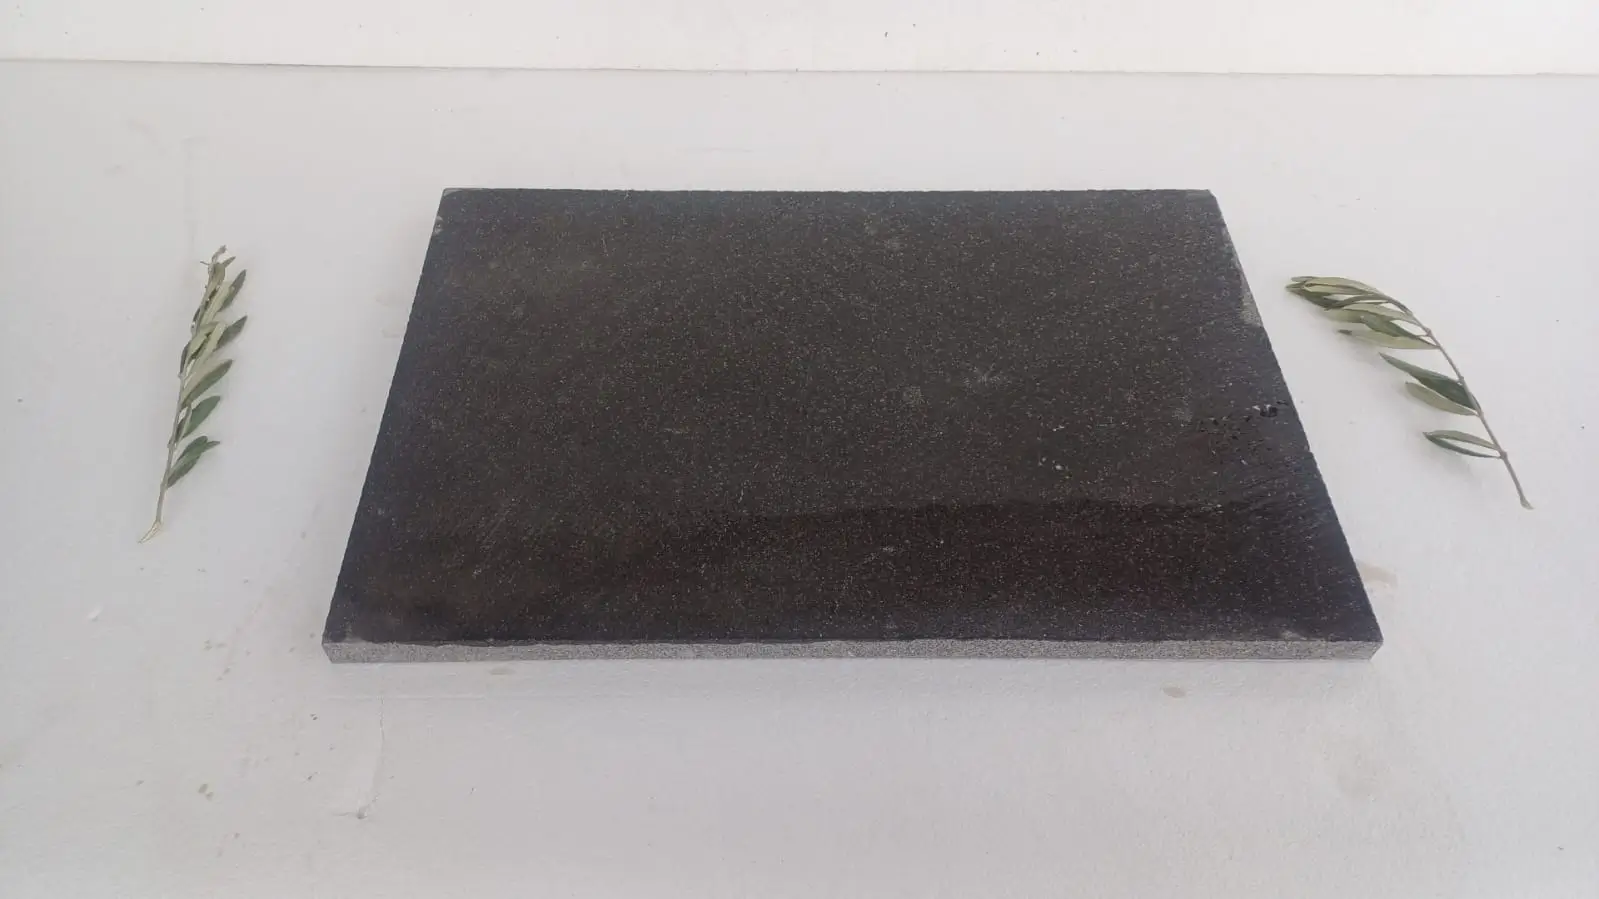
Basalt is a natural volcanic stone prized for its strength, low porosity, and elegant dark hues that range from deep grays to rich charcoals. Its inherent durability makes it suitable for high-traffic areas and outdoor applications where weather resistance is key. However, because our distinguished basalt tiles are dense and require precise installation techniques, following a detailed step-by-step process is essential to ensure proper adhesion, alignment, and long-term performance.
In this guide, we will cover:
- Planning and Design: How to prepare your space and layout your design.
- Substrate Preparation: Steps for preparing floors, walls, and outdoor surfaces.
- Adhesive Selection: Choosing the right adhesive for basalt tiles.
- Tile Installation: Best practices for laying and aligning tiles.
- Grouting Tips: How to grout basalt tiles for a seamless finish.
- Finishing Touches: Sealing, cleaning, and maintenance advice.
2. Planning and Design
Before you start installing basalt tiles, thorough planning and design are crucial. This initial phase helps ensure that your project runs smoothly and that the final outcome meets your aesthetic and functional goals.
2.1. Assessing Your Space
- Measure the Area: Accurately measure the square footage of the space where the basalt tiles will be installed. This includes floors, walls, or outdoor areas.
- Determine the Layout: Sketch a floor plan or wall layout. Consider the tile pattern you want to achieve (e.g., straight lay, diagonal, herringbone) and plan for any cuts or custom placements.
- Identify Environmental Factors: For outdoor installations, assess the exposure to sunlight, moisture, and temperature fluctuations. For indoor projects, note traffic patterns and high-use areas.
2.2. Gather Tools and Materials
Make sure you have all the necessary tools and materials on hand before starting:
- Tools: Tape measure, chalk line, notched trowel, rubber mallet, level, wet saw or tile cutter, grout float, sponge, mixing paddle.
- Materials: Basalt tiles, appropriate adhesive (thinset mortar or epoxy-based adhesive), grout (sanded or unsanded, based on joint width), sealant (if required), primer or backer board (for walls or uneven surfaces).
2.3. Safety and Preparation
- Personal Protective Equipment (PPE): Wear safety glasses, gloves, and a dust mask when cutting tiles or mixing adhesives.
- Workspace Preparation: Ensure that your work area is clean, well-ventilated, and free from debris. Cover any nearby surfaces to protect them from spills and dust.
3. Substrate Preparation
A properly prepared substrate is the foundation of any successful tile installation. The substrate must be flat, clean, and structurally sound.
3.1. For Floor Installations
- Existing Surface Evaluation: Determine whether your existing floor is concrete, wood, or another material. For concrete floors, check for cracks or moisture issues.
- Cleaning: Remove all dust, dirt, grease, and debris. For concrete, use a vacuum and mop; for wood, ensure the surface is free of any loose particles.
- Leveling: If the floor is uneven, use a self-leveling compound to create a flat, even surface. This is crucial to avoid lippage (uneven tile edges).
- Moisture Barrier: In damp areas, consider applying a moisture barrier or primer recommended by your adhesive manufacturer.
3.2. For Wall Installations
- Surface Preparation: Ensure that the wall surface is smooth, free of peeling paint or wallpaper, and securely attached. A cement backer board is often used to create a stable, moisture-resistant surface.
- Reinforcement: If the wall is subject to vibrations or minor movements, use mesh tape or another reinforcement method to prevent cracking of the tiles.
3.3. For Outdoor Installations
- Weather Considerations: Ensure that the outdoor surface is stable, level, and properly drained. Poor drainage can lead to tile shifting or water damage.
- Surface Preparation: Clean and remove any vegetation or loose debris. For patios or walkways, ensure that the substrate (often concrete or compacted gravel) is firm and even.
- Additional Sealants: In areas with high moisture, an extra waterproofing layer may be applied before the tile installation.
4. Adhesive Selection
Choosing the right adhesive is critical for basalt tile installation. Our basalt—the backbone of great designs is a dense, heavy stone, so the adhesive must provide excellent bond strength.
4.1. Thinset Mortar
- Suitable for Floors and Walls: Thinset mortar is a cement-based adhesive that works well for most basalt tile installations.
- Advantages: It offers strong adhesion, is versatile, and works well with underfloor heating systems.
- Application: Use a notched trowel to spread a uniform layer of thinset on the substrate, ensuring good coverage for each tile.
4.2. Epoxy Adhesives
- When to Use: Epoxy adhesives are ideal for installations in areas with high moisture, heavy traffic, or where extra bond strength is needed.
- Advantages: They provide superior adhesion and chemical resistance, and are less prone to cracking.
- Considerations: Epoxy adhesives can be more expensive and have a shorter working time, so they require precise application.
4.3. Adhesive Tips
- Mixing: Follow the manufacturer’s instructions for mixing the adhesive. Use a mixing paddle attached to a drill for uniform consistency.
- Consistency: The adhesive should have a peanut butter-like consistency—neither too runny nor too stiff.
- Application: Apply adhesive in small sections at a time to prevent it from drying out before the tiles are set.
5. Tiling Process
With your substrate prepared and adhesive chosen, you’re ready to begin laying the our artisan basalt tiles. This process involves careful layout, placement, and alignment to achieve a professional finish.
5.1. Dry-Laying the Tiles
- Plan Your Layout: Before applying adhesive, dry-lay the tiles to determine the best arrangement and to make any necessary cuts. This helps avoid awkward cuts and ensures a balanced look.
- Mark Reference Lines: Use a chalk line to create straight reference lines along the center and edges of the installation area. This will help maintain alignment as you lay the tiles.
5.2. Applying Adhesive and Laying Tiles
- Spread the Adhesive: Using a notched trowel, spread a thin, even layer of adhesive over a small area of the substrate. Work in manageable sections.
- Set the Tiles: Place the non-slip basalt tiles from Citadel Stone onto the adhesive, pressing firmly to ensure full contact. Use a slight twisting motion to embed the tile into the adhesive.
- Maintain Consistent Gaps: Use tile spacers to ensure uniform gaps between tiles. These gaps will later be filled with grout.
- Check Alignment: Continuously check that the tiles are level and aligned with your reference lines. Adjust as necessary before the adhesive sets.
- Use a Level: Place a level on top of several tiles periodically to confirm that the surface is even.
5.3. Special Considerations for Different Surfaces
- Floor Installations: Ensure that the tiles are evenly pressed into the adhesive and that there is no lippage. A rubber mallet can help gently tap tiles into place.
- Wall Installations: For vertical surfaces, work from the bottom up. Use a level and temporary supports if needed to hold the tiles in place until the adhesive sets.
- Outdoor Installations: Consider the effects of weather. It’s best to install outdoor tiles in mild weather conditions. Use outdoor-rated adhesives and grouts that can withstand freeze-thaw cycles.
6. Grouting Tips
Once the tiles are set and the adhesive has cured (follow the manufacturer’s recommended curing time), the next step is to grout the joints between the basalt tiles.
6.1. Selecting the Right Grout
- Type of Grout: Choose between sanded or unsanded grout based on the width of your joints. For wider joints (typically over 1/8 inch), sanded grout is recommended for better stability.
- Color Matching: Select a grout color that complements or contrasts with your basalt tiles, depending on your design preferences.
- Epoxy Grout: In high-moisture or high-traffic areas, consider using epoxy grout for its enhanced durability and stain resistance.
6.2. Grouting Process
- Mix the Grout: Follow the manufacturer’s instructions to mix the grout to the proper consistency. Use a grout float or trowel to mix thoroughly.
- Apply the Grout: Using a rubber grout float, spread the grout diagonally across the tile surface to push the grout into the joints. Ensure that the joints are fully filled.
- Remove Excess Grout: After filling the joints, use the edge of the float to scrape off excess grout from the tile surface.
- Clean the Tiles: Wait about 10 to 15 minutes, then use a damp sponge to gently wipe the surface of the tiles. Rinse frequently with clean water. Avoid removing grout from the joints.
- Curing: Allow the grout to cure according to the manufacturer’s instructions before exposing it to heavy traffic or moisture.
6.3. Finishing Touches
- Sealing the Grout: Once the grout has fully cured, apply a grout sealer to protect it from stains and moisture. This is particularly important for outdoor installations.
- Polishing and Cleaning: Clean any remaining haze from the tiles using a soft cloth or microfiber towel. For a high-gloss finish, you might consider a tile polish recommended by the manufacturer.
7. Maintenance Tips for Basalt Tile Installations
Proper installation is only the beginning. Maintaining your basalt tile installation will ensure its longevity and continued beauty.
7.1. Routine Cleaning
- Daily/Weekly Cleaning: Sweep or vacuum to remove loose dirt and debris. Use a damp mop with a pH-neutral cleaner for regular cleaning.
- Avoid Harsh Chemicals: Harsh chemicals or abrasive cleaning tools can damage the tile surface and grout, so stick to products recommended for natural stone.
7.2. Periodic Maintenance
- Grout Sealing: Depending on the installation’s exposure to moisture and traffic, reseal grout lines every 1-2 years.
- Inspect for Damage: Regularly inspect tiles for any signs of cracking or chipping and address repairs promptly to prevent further damage.
- Outdoor Care: For outdoor installations, clean tiles after heavy rain or seasonal changes to prevent buildup of algae or mildew.
8. Troubleshooting Common Issues
Even with careful planning and execution, you may encounter challenges during or after installation. Here are some common issues and their solutions:
8.1. Uneven Tiles
- Cause: Inadequate substrate preparation or uneven adhesive application.
- Solution: Use a level during installation and adjust the bedding layer or adhesive as needed. Consider using leveling compounds if necessary.
8.2. Gaps Not Filling Properly
- Cause: Incorrect grout consistency or premature drying.
- Solution: Mix the grout to the proper consistency and work quickly to fill all gaps. Use a damp sponge to keep joints moist while grouting.
8.3. Grout Staining
- Cause: Excess grout left on the tile surface or inadequate cleaning.
- Solution: Clean tiles immediately after grouting with a damp sponge and, if needed, use a grout haze remover once the grout has cured.
8.4. Adhesive Issues
- Cause: Incorrect adhesive mix or application method.
- Solution: Ensure you follow manufacturer instructions closely. If adhesive fails to bond, allow extra curing time or consult with the supplier for troubleshooting tips.
9. Conclusion
Installing our ultra-durable basalt tiles can transform your space into a durable, elegant, and low-maintenance work of art. With the natural beauty of basalt from Citadel Stone and its ability to withstand heavy foot traffic and harsh outdoor conditions, this material is ideal for floors, walls, and outdoor areas alike. By following these detailed, step-by-step instructions—from proper substrate preparation and adhesive selection to tile layout, grouting, and finishing—you can achieve professional results that stand the test of time.
Remember:
- Plan Thoroughly: A detailed layout and accurate measurements set the stage for success.
- Prepare the Substrate: A stable, clean, and level surface is essential for adhesion.
- Choose the Right Adhesive: Whether you opt for thinset or epoxy, ensure it suits your environment.
- Lay Tiles Carefully: Use dry-lay techniques and spacers to maintain alignment and consistent gaps.
- Grout and Seal: Proper grouting and sealing protect your work and enhance longevity.
By paying attention to every detail of the installation process and following best practices, you will enjoy the beauty and performance of our architectural basalt tiles in your home or business for years to come.
For additional expert advice, product recommendations, and inspiration for your next tiling project, visit Citadel Stone: the art of stone, perfected. With quality materials and proven techniques, you can bring your vision to life with confidence and ease.